
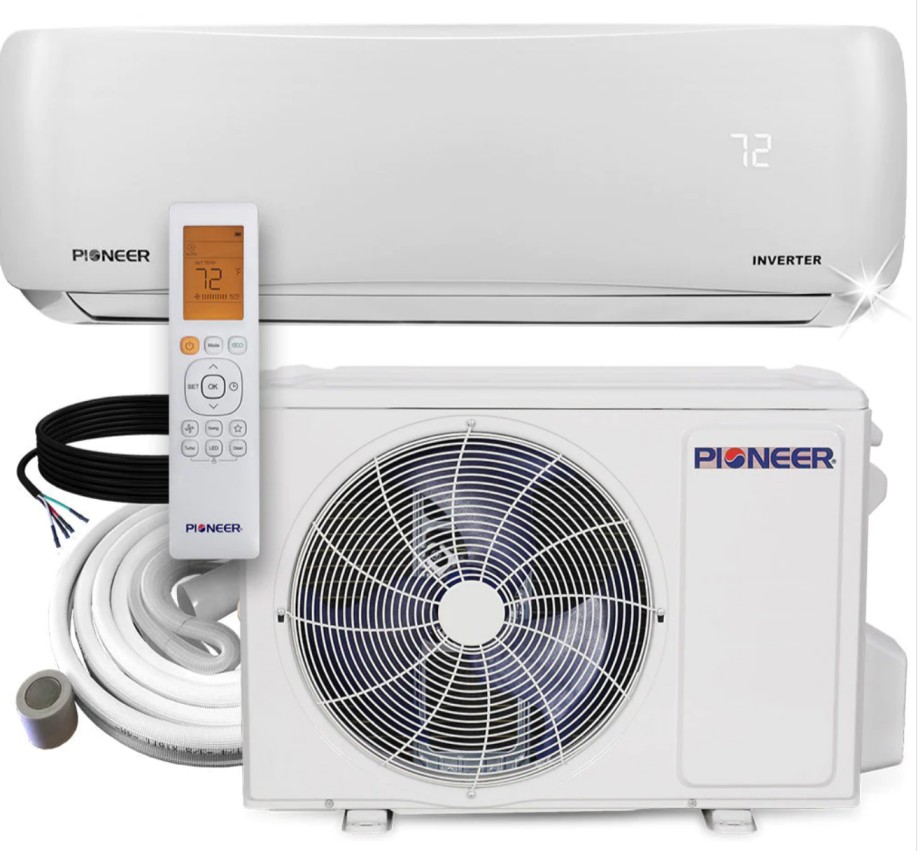
Connecting your Pioneer air conditioner (AC) to WiFi can provide you with enhanced control and convenience, allowing you to manage your home’s climate from anywhere. To achieve this, you’ll need to install a Smart Controller, which is available for various Pioneer AC models, including cassettes, ceiling, and floor units. The Smart Controller enables you to control your AC through the Cielo Home App, compatible with both iOS and Android devices.
Install the Smart Controller
-
Prepare the Installation Area: Before starting the installation, ensure that you have a clean and well-lit work area. Gather the necessary tools, including a screwdriver set, wire cutters/strippers, and any other equipment specified in the user manual.
-
Locate the AC’s Control Board: Identify the location of the AC’s control board, typically found inside the indoor unit. This is where you’ll need to install the Smart Controller.
-
Remove the Existing PCB: Carefully remove the existing printed circuit board (PCB) from the AC’s control board compartment. Refer to the user manual for specific instructions on how to safely remove the PCB without causing any damage.
-
Attach the Smart PCB: Connect the Pioneer connecting cable to the Smart PCB, ensuring a secure and proper connection. This will allow the Smart Controller to communicate with the AC’s internal components.
-
Install the Smart Controller: Carefully place the Smart Controller and the connected cable inside the docking station or designated area within the AC’s control board compartment. Secure the components in place according to the manufacturer’s instructions.
-
Reassemble the AC: Carefully replace the front panel or any other components you may have removed during the installation process. Ensure that all connections are secure and that the AC is properly reassembled.
Connect the Smart Controller to your AC
-
Power Off the AC: Before connecting the Smart Controller, make sure the AC is powered off to prevent any potential damage during the installation process.
-
Connect the Smart PCB Cable: Connect the cable of the newly installed Smart PCB to the AC cable coming out from the display panel. Double-check the connections to ensure they are secure and properly aligned.
-
Power On the AC and Smart Controller: Turn on the AC, and verify that the Smart Controller is installed correctly by checking for any indicator lights or status updates on the display panel.
Download and Install the Cielo Home App
-
Obtain the Cielo Home App: Visit the App Store (for iOS users) or the Google Play Store (for Android users) and search for the “Cielo Home” app. Download and install the app on your smartphone or tablet.
-
Register the Smart Controller: After installing the app, you’ll need to register your Smart Controller. For iOS users, select “Pioneer” as the manufacturer and your “remote model number” from the list. For Android users, go to your phone’s WiFi settings, connect to the Pioneer Smart Controller WiFi (Cielo_BI01_XXXXXX), and then return to the Cielo Home App to complete the registration process.
Connect the Smart Controller to your Home WiFi
-
Ensure Network Compatibility: Verify that your home WiFi network is compatible with the Smart Controller’s requirements, such as the supported wireless frequency (2.4GHz or 5GHz) and security protocols (WEP, WPA, or WPA2).
-
Connect to the WiFi Network: Follow the instructions provided in the Cielo Home App to connect your Smart Controller to your home WiFi network. Make sure your smartphone or tablet is also connected to the same network during this process.
-
Confirm the Connection: Once the Smart Controller is successfully connected to your home WiFi, the app should indicate the connection status and provide you with the necessary information to proceed with controlling your Pioneer AC.
Control your AC through the Cielo Home App
-
Familiarize with the App: Explore the Cielo Home App’s user interface and features. Understand how to adjust the temperature, fan speed, mode, and other settings for your Pioneer AC.
-
Utilize Advanced Features: Depending on your AC model and the Cielo Home App’s capabilities, you may have access to additional features, such as scheduling, remote access, energy monitoring, and voice control integration.
-
Customize Settings: Personalize your AC’s settings to suit your preferences, such as setting up temperature preferences, creating custom schedules, and enabling energy-saving modes.
For advanced users, there’s an alternative option to connect your Pioneer AC to WiFi using the Wireless Internet Remote Programming & Access Dongle for Pioneer WYS/WS series air conditioning systems. This dongle allows you to access, monitor, and control your Pioneer system from anywhere in the world using a smartphone and your local home WiFi network.
By following these steps, you can successfully connect your Pioneer AC to WiFi and enjoy the convenience of remote control and monitoring through the Cielo Home App. Remember to refer to your AC’s user manual and the Cielo Home App’s instructions for any model-specific details or troubleshooting guidance.
References:
– Pioneer AC WiFi Connection Tutorial
– Cielo Home App Setup Guide
– Wireless Internet Remote Programming & Access Dongle for Pioneer WYS/WS Series
– Pioneer Mini-Split WiFi Remote Programming & Access Dongle