
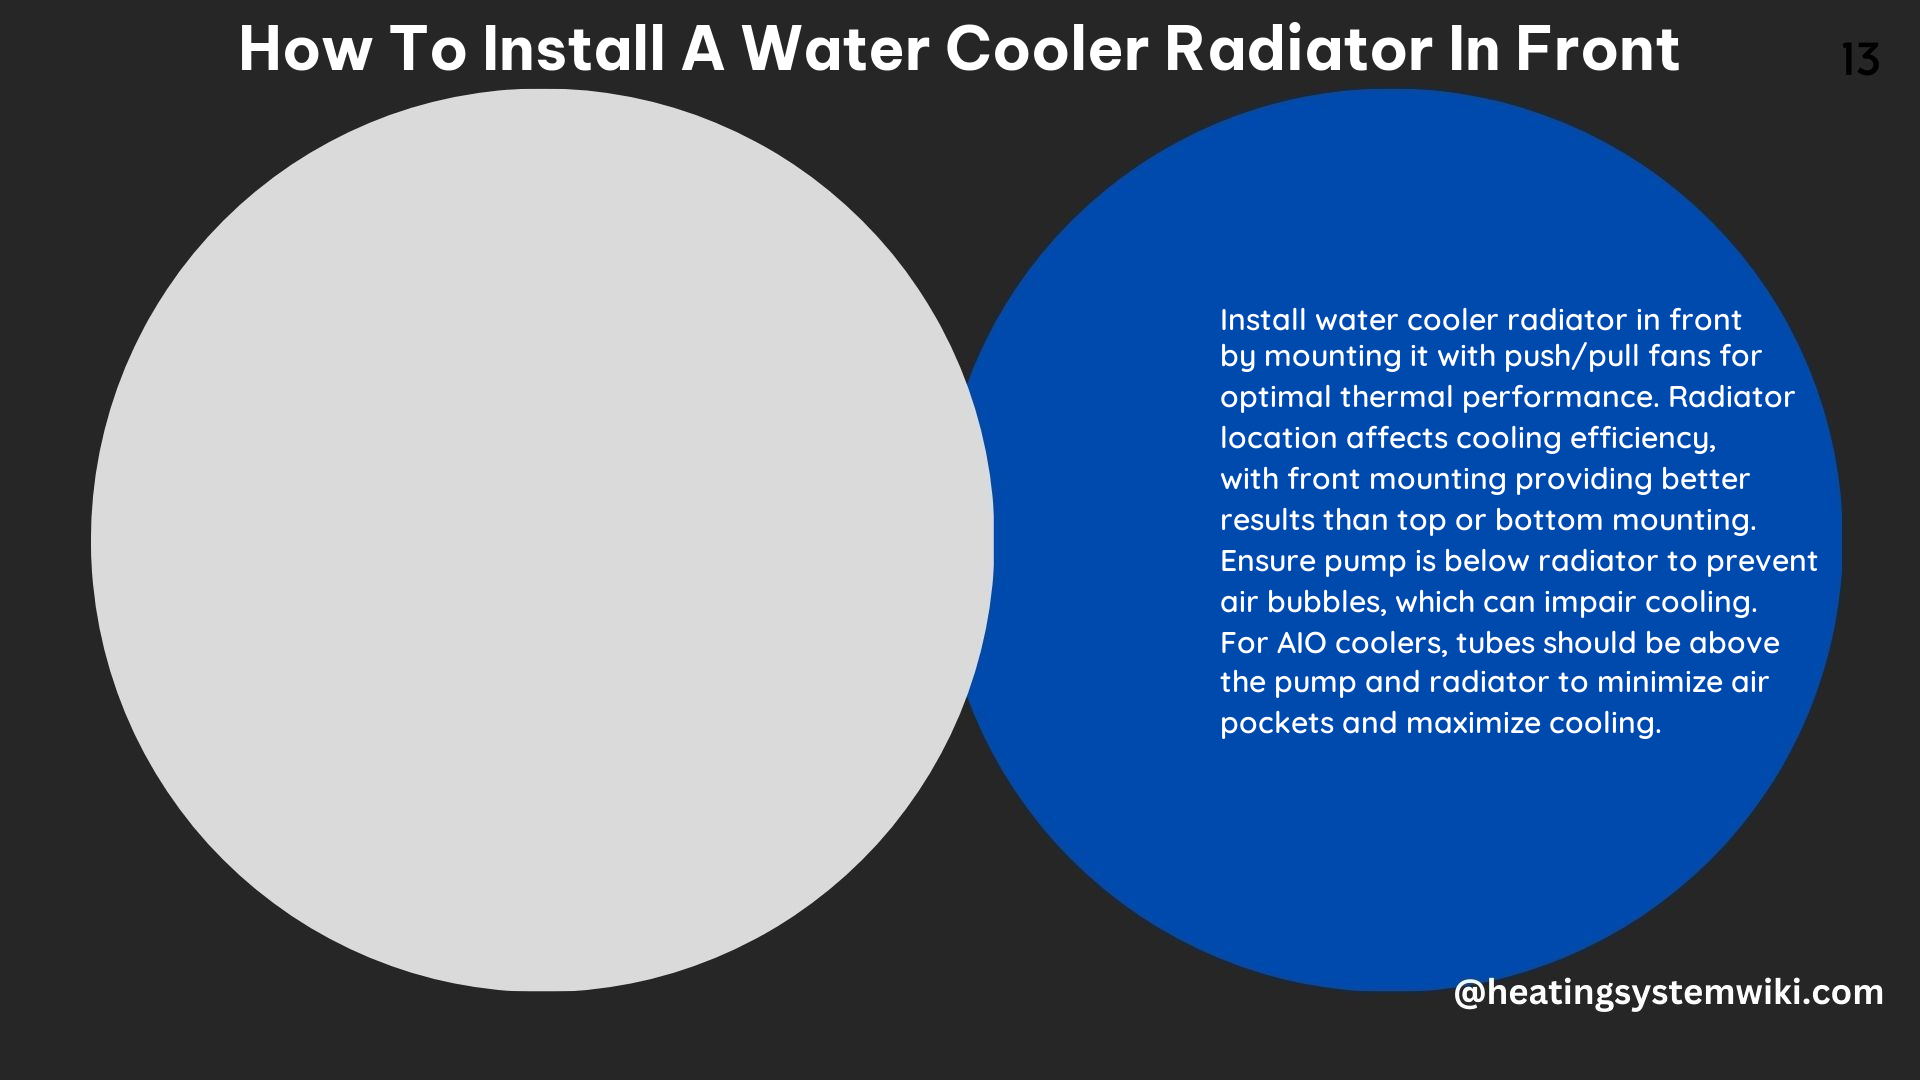
Installing a water cooler radiator in the front of your PC case can be a crucial step in optimizing your system’s cooling performance. This comprehensive guide will walk you through the process, providing detailed technical specifications and best practices to ensure a successful installation.
Choosing the Right Radiator Size
The size of the radiator you choose will depend on the compatibility of your PC case. Common radiator sizes include 120mm, 140mm, 240mm, 280mm, and 360mm. When selecting the radiator, make sure to measure the available space in your case and choose a size that fits snugly without interfering with other components.
| Radiator Size | Typical Dimensions (L x W x D) |
|---|---|
| 120mm | 120mm x 120mm x 27mm |
| 140mm | 140mm x 140mm x 27mm |
| 240mm | 275mm x 120mm x 27mm |
| 280mm | 322mm x 140mm x 27mm |
| 360mm | 398mm x 120mm x 27mm |
It’s important to note that the thickness of the radiator can also vary, with common options being 27mm, 30mm, and 45mm. Thicker radiators generally offer better cooling performance but may require more clearance in your case.
Determining the Fan Configuration
The fan configuration you choose can have a significant impact on the cooling efficiency of your water cooler. There are three main options:
- Push Configuration: The fans are installed on the front of the radiator, blowing air through the radiator and into the case.
- Pull Configuration: The fans are installed on the back of the radiator, pulling air through the radiator and out of the case.
- Push-Pull Configuration: Fans are installed on both the front and back of the radiator, with one set pushing air in and the other set pulling air out.
The push-pull configuration generally provides the best cooling performance, as it maximizes the airflow through the radiator. However, it also requires more space and may be more challenging to install.
Installing the Radiator
- Carefully measure the available space in the front of your PC case to ensure the radiator will fit properly.
- Secure the radiator to the front of the case using the provided mounting screws. Make sure the radiator is level and firmly in place.
- Leave enough clearance around the radiator to allow for proper airflow and the installation of the fans.
Installing the Fans
- Attach the fans to the radiator, ensuring they are securely fastened.
- Arrange the fans in your desired configuration (push, pull, or push-pull).
- Connect the fans to the motherboard or a dedicated fan controller, depending on your system’s setup.
Filling the Cooler with Coolant
- Follow the manufacturer’s instructions for filling the water cooler with the appropriate coolant.
- Carefully pour the coolant into the designated fill port, taking care not to spill or overfill the system.
- Check for any leaks and address them before proceeding.
Installing the Pump
- Mount the pump on the CPU, making sure it is securely fastened.
- Connect the pump to the motherboard or a dedicated pump controller, depending on your system’s setup.
Powering Up the System
- Carefully connect all the necessary cables, ensuring the radiator, fans, and pump are properly powered and connected to the appropriate headers on the motherboard.
- Power on the system and monitor the temperatures to ensure the water cooler is functioning correctly.
- Adjust the fan speeds or pump settings as needed to optimize the cooling performance.
By following these detailed steps and technical specifications, you can successfully install a water cooler radiator in the front of your PC case, ensuring efficient cooling and optimal system performance.