
Summary
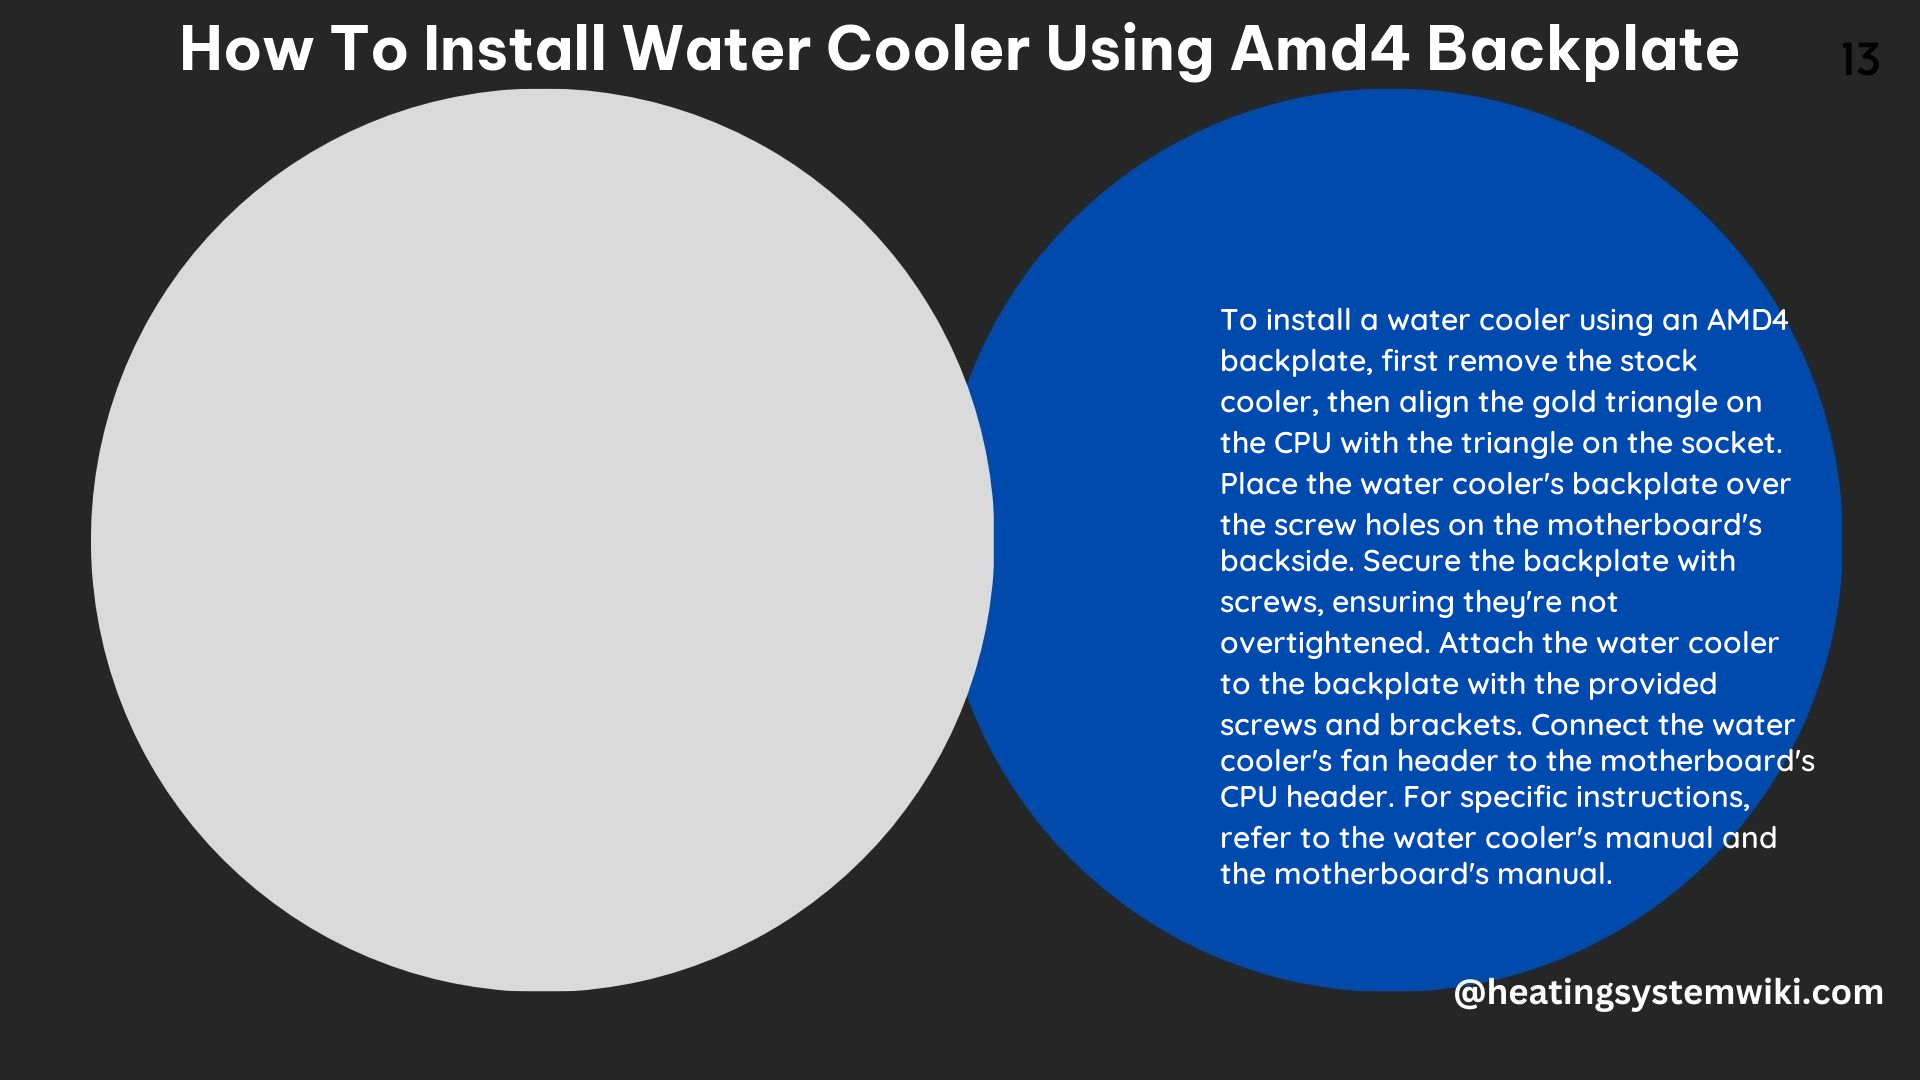
Installing a water cooler using an AMD4 backplate can be a challenging task, as the backplate is designed to be held in place solely by the pressure of the cooler itself, without any built-in mechanism to keep it attached to the motherboard. This article provides a comprehensive, step-by-step guide on how to successfully install a water cooler using an AMD4 backplate, with a focus on technical details and advanced-level information to help you navigate the process effectively.
Preparing the Motherboard
-
Removing the Stock Cooler and Backplate: Begin by carefully removing the stock CPU cooler and its accompanying backplate from the motherboard. This will involve unscrewing the cooler and gently lifting it off the CPU, as well as detaching the backplate from the rear of the motherboard.
-
Motherboard Placement: For optimal installation, it is recommended to remove the motherboard from the computer case and place it on a flat, stable surface. This will provide you with more space to work and make it easier to keep the AMD4 backplate in place during the installation process.
-
If your computer case has an access panel or opening that allows you to reach the backplate while the motherboard is still installed, you can also consider working with the motherboard in the case. However, this may be more challenging, as you’ll have less room to maneuver.
-
Backplate Alignment: Carefully place the AMD4 backplate over the corresponding mounting holes on the motherboard, ensuring that it is properly aligned. The backplate should fit snugly over the holes without any gaps or misalignment.
Installing the Water Cooler
-
Backplate Stabilization: Since the AMD4 backplate does not have any built-in mechanism to keep it in place, you may need to use a tool or object to hold the backplate steady while you install the water cooler. This could involve using a screwdriver, a small block of wood, or even your fingers to keep the backplate firmly against the motherboard.
-
Cooler Alignment: Carefully position the water cooler over the CPU, aligning the mounting holes on the cooler with the corresponding holes in the backplate. It’s important to ensure that the cooler is properly centered and aligned to ensure even pressure distribution and optimal cooling performance.
-
Securing the Cooler: Gradually tighten the screws that secure the water cooler to the backplate, following a crisscross or star pattern to ensure even tightening. The specific tightening sequence and torque values may vary depending on the water cooler manufacturer, so be sure to refer to the installation instructions provided with your specific model.
-
Typical tightening torque for AMD4 backplate installations ranges from 4 to 6 inch-pounds (0.45 to 0.68 Newton-meters).
-
Overtightening the screws can damage the motherboard or the CPU, so it’s crucial to follow the manufacturer’s recommendations closely.
-
Final Inspection: Once the water cooler is securely installed, double-check that all screws are tightened evenly and that the cooler is firmly in place. Ensure that there are no gaps or misalignment between the cooler and the CPU surface.
Troubleshooting and Tips
-
Backplate Stability: If you’re having difficulty keeping the AMD4 backplate in place during the installation process, consider using a small amount of adhesive or double-sided tape to temporarily secure the backplate to the motherboard. This can help prevent the backplate from shifting while you’re installing the water cooler.
-
Thermal Paste Application: Ensure that you apply a sufficient and even layer of thermal paste between the CPU and the water cooler’s contact surface. This will help optimize heat transfer and improve the overall cooling performance.
-
The recommended amount of thermal paste is typically a small pea-sized drop or a thin, even spread across the CPU surface.
-
Cable Management: Plan ahead for the water cooler’s cables, such as the power and pump connections, to ensure they are routed neatly and do not interfere with other components or airflow within the case.
-
Post-Installation Testing: After completing the installation, power on the system and monitor the CPU temperatures under load to ensure the water cooler is functioning correctly. If you notice any abnormal temperatures or performance issues, double-check the installation and make any necessary adjustments.
By following these detailed instructions and technical guidelines, you can successfully install a water cooler using an AMD4 backplate, ensuring optimal cooling performance and a smooth, hassle-free experience.