
Cold water boiler problems can be a significant source of frustration and discomfort, especially during the winter months when reliable heating is crucial. As a comprehensive guide, this article delves into the most common cold water boiler problems and provides detailed solutions to help you maintain the optimal performance of your system.
1. No Heat or Hot Water
Cause: Faulty thermostat, heat exchanger, or diverter valve.
Solution: Begin by checking the thermostat to ensure it is functioning correctly. Verify that the thermostat is set to the desired temperature and that the power supply is intact. If the thermostat appears to be working, the issue may lie with the heat exchanger or the diverter valve.
The heat exchanger is responsible for transferring heat from the boiler to the water, and a malfunctioning heat exchanger can prevent the system from generating adequate heat or hot water. To diagnose a faulty heat exchanger, you can perform a visual inspection for signs of corrosion or damage. Additionally, you can measure the temperature difference between the inlet and outlet pipes to determine if the heat exchanger is operating efficiently.
The diverter valve is a crucial component that directs the flow of hot water to either the central heating system or the domestic hot water supply. If the diverter valve is not functioning correctly, it can prevent the boiler from providing adequate heat or hot water. You can test the diverter valve by manually operating it and observing the water flow.
If the thermostat, heat exchanger, and diverter valve all appear to be in working order, the issue may be more complex, and it is recommended to call a professional engineer for further diagnosis and repair.
2. Leaking and Dripping
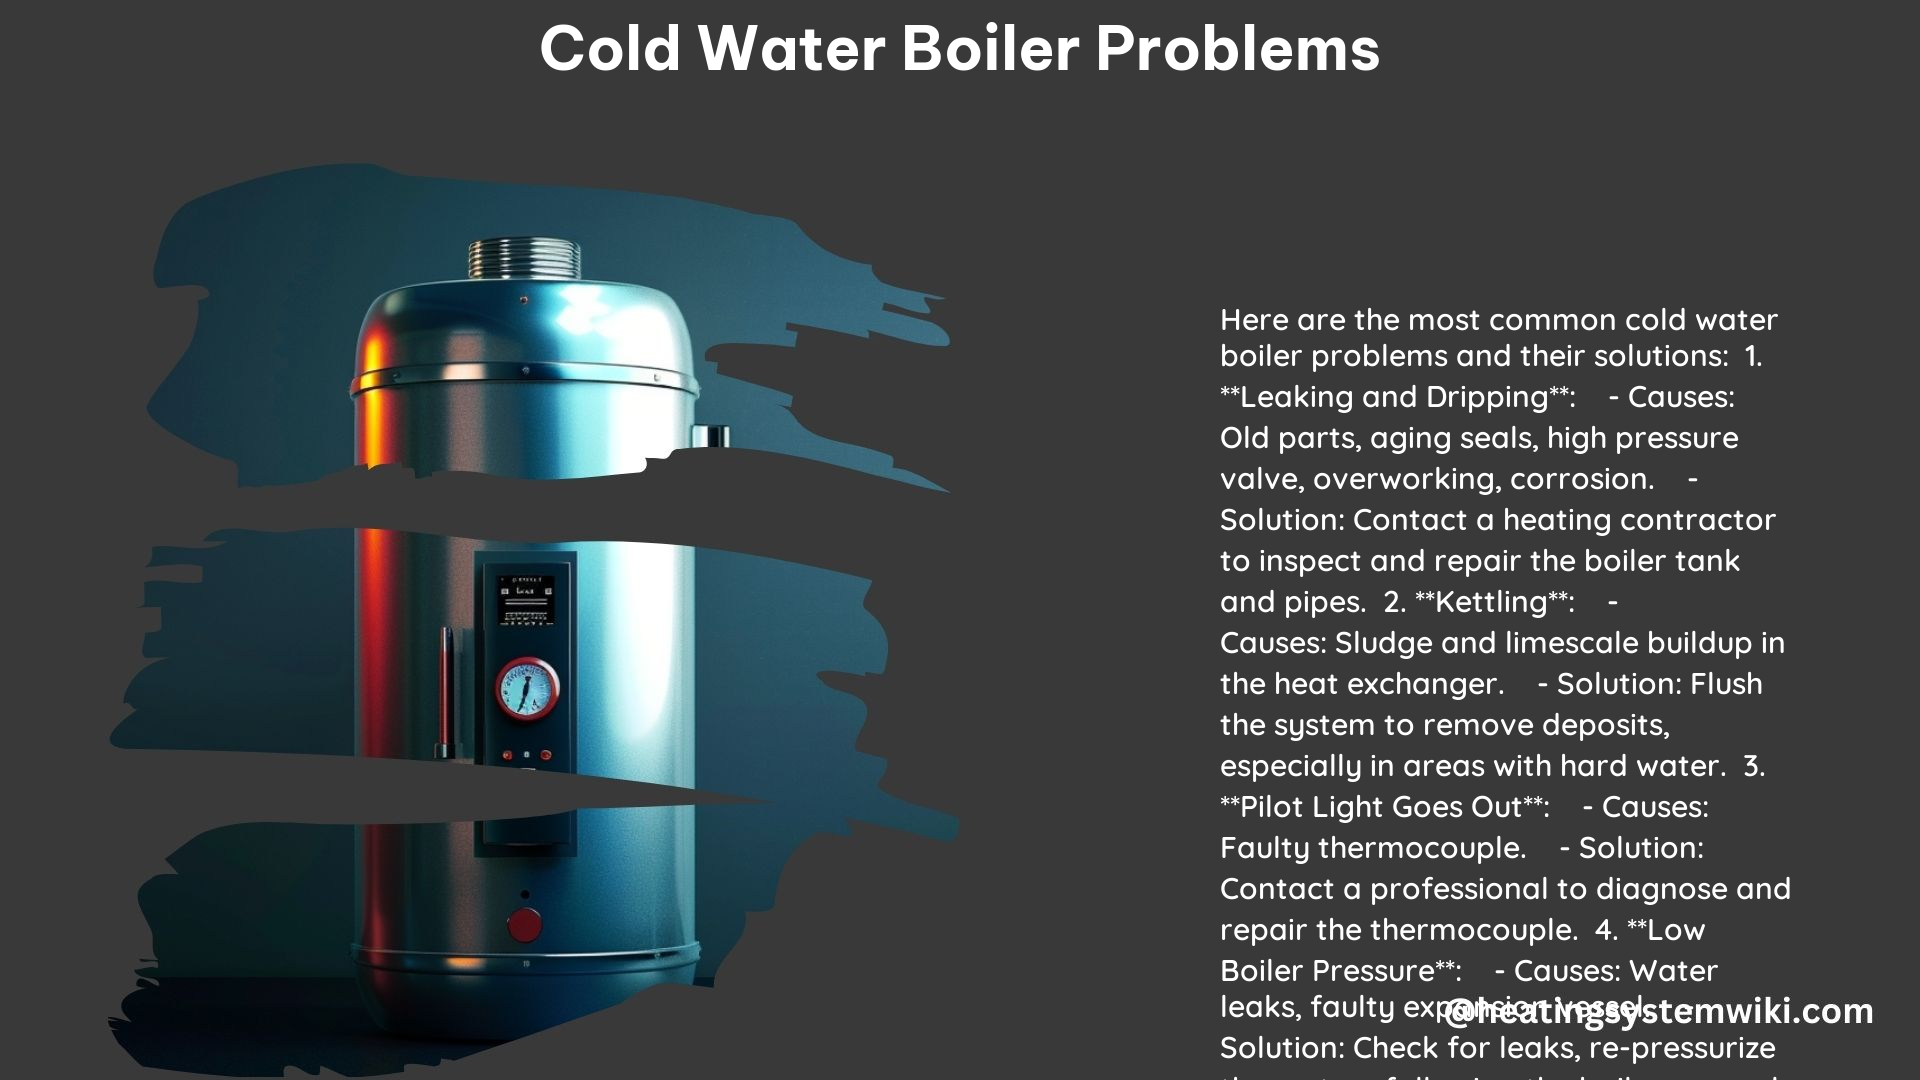
Cause: Faulty relief valve, corroded pipe, or faulty pump.
Solution: If you notice any leaks or dripping from your cold water boiler, the first step is to turn off the hot and cold water supply to the system. This will prevent further water damage and allow you to safely investigate the source of the leak.
The most common causes of leaks and dripping are a faulty relief valve, corroded pipes, or a faulty pump. The relief valve is designed to release excess pressure from the system, and if it is not functioning correctly, it can lead to leaks. Inspect the relief valve for any signs of damage or wear and replace it if necessary.
Corroded pipes can also be a source of leaks, as the deterioration of the pipe material can lead to cracks and holes. Carefully inspect the pipes for any visible signs of corrosion and replace any damaged sections.
Finally, a faulty pump can also cause leaks, as the pump seals may wear out over time. If you suspect the pump is the issue, it is best to call a professional technician to diagnose and repair the problem.
Once the source of the leak has been identified and addressed, it is essential to thoroughly dry the affected area and monitor the system for any further leaks or dripping.
3. Kettling
Cause: Sludge and limescale buildup.
Solution: Kettling is a common problem in cold water boilers, and it is caused by the buildup of sludge and limescale within the system. This buildup can create a barrier that prevents the efficient transfer of heat, leading to a boiling or “kettling” sound.
To address this issue, you will need to flush the system to remove the accumulated sludge and limescale. This process, known as power flushing, involves circulating a cleaning solution through the system to dislodge and flush out the buildup.
The power flushing process typically involves the following steps:
- Isolate the boiler from the central heating system by closing the valves.
- Connect a power flushing pump to the system, ensuring that the flow rate is appropriate for the size of the boiler.
- Circulate a cleaning solution, such as a chemical descaler, through the system for a specified duration, usually around 2-3 hours.
- Flush the system with clean water to remove any remaining debris and cleaning solution.
- Refill the system with fresh water and check the pressure.
It is important to note that power flushing can be a complex and potentially dangerous task, and it is recommended to have a professional engineer perform this service to ensure the safety and proper functioning of your cold water boiler.
4. Pilot Light Goes Out
Cause: Faulty thermocouple.
Solution: If your cold water boiler’s pilot light keeps going out, the most common cause is a faulty thermocouple. The thermocouple is a safety device that monitors the pilot light and shuts off the gas supply if the pilot light is extinguished, preventing the release of unburned gas.
To troubleshoot this issue, follow these steps:
- Relight the pilot light according to the manufacturer’s instructions.
- Observe the pilot light and check if it is burning steadily and with a blue flame.
- Use a multimeter to measure the voltage output of the thermocouple while the pilot light is burning. The voltage should be between 20-30 millivolts.
- If the voltage is below the recommended range, the thermocouple is likely faulty and needs to be replaced.
It is important to note that working with gas-powered appliances can be dangerous, and it is recommended to have a professional technician handle any repairs or replacements related to the pilot light and thermocouple.
5. Low Boiler Pressure
Cause: Water leaks, bleeding radiators, or broken valves.
Solution: Low boiler pressure can be a frustrating issue, as it can prevent the system from functioning correctly and providing adequate heat and hot water. The most common causes of low boiler pressure are water leaks, bleeding radiators, or broken valves.
To address low boiler pressure, follow these steps:
- Check the boiler’s pressure gauge and ensure that the pressure is within the recommended range, typically between 1-2 bar.
- Inspect the system for any visible signs of water leaks, such as damp spots or dripping water. If you find a leak, turn off the water supply and call a professional technician to repair the issue.
- Bleed the radiators to remove any trapped air in the system. This can be done by opening the bleed valves on each radiator until water starts to flow out, then closing the valves.
- Examine the system’s valves, including the filling loop, the pressure relief valve, and the expansion vessel valve, to ensure they are functioning correctly. Replace any broken or faulty valves as needed.
If the low boiler pressure persists after following these steps, it is recommended to call a professional engineer to perform a more thorough inspection and diagnosis of the issue.
6. Frozen Condensate Pipe
Cause: Cold weather.
Solution: In cold weather conditions, the condensate pipe, which is responsible for draining the boiler’s condensation, can freeze and cause the boiler to shut down. This is a common problem that can be addressed through the following steps:
- Locate the condensate pipe, which is typically a small plastic pipe that runs from the boiler to the outside or a drain.
- Use hot water or a heat gun to thaw the frozen section of the pipe. Be careful not to overheat the pipe, as this can cause damage.
- Once the pipe is thawed, insulate the exposed section to prevent the condensate from freezing again. You can use pipe insulation or wrap the pipe with heat tape.
- Consider installing a condensate pump or a condensate neutralizer to help prevent the pipe from freezing in the future. These devices can help maintain the flow of the condensate and prevent it from freezing.
If the frozen condensate pipe issue persists or you are unsure of the proper steps to take, it is best to contact a professional heating engineer for assistance.
7. Thermostat Issues
Cause: Faulty thermostat.
Solution: The thermostat is a critical component of your cold water boiler system, as it is responsible for controlling the temperature and ensuring the boiler operates efficiently. If your thermostat is not functioning correctly, it can lead to a variety of issues, such as the boiler not turning on or not maintaining the desired temperature.
To troubleshoot thermostat issues, follow these steps:
- Check the power supply to the thermostat. Ensure that the thermostat is receiving the necessary voltage and that the wiring is intact.
- Examine the thermostat’s settings, including the clock, timer, and temperature setpoints. Ensure that the thermostat is configured correctly according to the manufacturer’s instructions.
- Perform a basic functionality test by manually adjusting the thermostat’s temperature setpoint and observing the boiler’s response.
- If the thermostat appears to be faulty, replace it with a new, compatible model. When installing a new thermostat, be sure to follow the manufacturer’s instructions carefully to ensure proper integration with the boiler system.
It is important to note that some thermostats may require professional installation or programming to ensure optimal performance and integration with the boiler system. If you are unsure or uncomfortable with the troubleshooting process, it is recommended to contact a qualified heating engineer for assistance.
8. Strange Noises
Cause: Air in the system, low water pressure, or failing pump.
Solution: If your cold water boiler is producing strange noises, such as banging, whistling, or gurgling, it could be an indication of an underlying issue that requires attention.
The most common causes of strange noises in a cold water boiler are:
-
Air in the system: Trapped air can cause a range of noises, including gurgling or whistling sounds. To address this, you can bleed the radiators to remove any air pockets.
-
Low water pressure: If the boiler’s water pressure is too low, it can lead to strange noises, such as banging or knocking. Check the pressure gauge and refill the system if necessary.
-
Failing pump: A failing or malfunctioning boiler pump can also cause unusual noises, such as a rumbling or grinding sound. If the pump is the issue, it will likely need to be replaced by a professional technician.
If the strange noises persist after addressing these potential causes, it is recommended to call a professional heating engineer for a more thorough inspection and diagnosis. They can use specialized equipment and expertise to identify the root cause of the issue and provide the appropriate solution.
9. Radiators Not Heating Up
Cause: Pump issues, rust in pipes, or air buildup.
Solution: If your radiators are not heating up as they should, it could be due to a variety of issues, including pump problems, rust in the pipes, or air buildup in the system.
To troubleshoot this problem, follow these steps:
-
Check the boiler pump: Ensure that the pump is functioning correctly and that it is circulating the hot water through the radiators. You can test the pump by feeling the inlet and outlet pipes – they should be hot if the pump is working.
-
Inspect the pipes for rust: Over time, the pipes in your heating system can become corroded, which can restrict the flow of hot water and prevent the radiators from heating up. Visually inspect the pipes for any signs of rust or corrosion.
-
Bleed the radiators: Air trapped in the radiators can prevent the hot water from circulating properly. Bleed each radiator by opening the bleed valve until water starts to flow out, then close the valve.
If the radiators still do not heat up after addressing these potential issues, it may be necessary to perform a power flush of the entire system to remove any accumulated sludge or debris. This is a more complex task that is best left to a professional heating engineer.
10. Boiler Keeps Switching Off
Cause: Low water pressure, thermostat issues, or lack of flow.
Solution: If your cold water boiler keeps switching off, it could be due to a variety of reasons, including low water pressure, thermostat issues, or a lack of water flow.
To troubleshoot this problem, follow these steps:
-
Check the water pressure: Ensure that the boiler’s water pressure is within the recommended range, typically between 1-2 bar. If the pressure is too low, the boiler may shut off as a safety precaution.
-
Inspect the thermostat: A faulty thermostat can cause the boiler to switch off prematurely or fail to maintain the desired temperature. Check the thermostat’s settings and functionality, and replace it if necessary.
-
Assess the water flow: Restricted water flow can also cause the boiler to shut off. Check for any blockages or obstructions in the system, such as a stuck valve or a buildup of sludge or debris.
If the boiler continues to switch off after addressing these potential issues, it is recommended to call a professional heating engineer for a more thorough inspection and diagnosis. They may need to perform additional tests or checks to identify the root cause of the problem and provide the appropriate solution.
References:
- https://www.edfenergy.com/energywise/10-common-boiler-problems
- https://cloverco.com/most-common-boiler-problems-and-how-to-fix-them/
- https://www.farnendermer.com/blog/2018/november/top-10-common-boiler-issues-and-how-to-resolve-t/