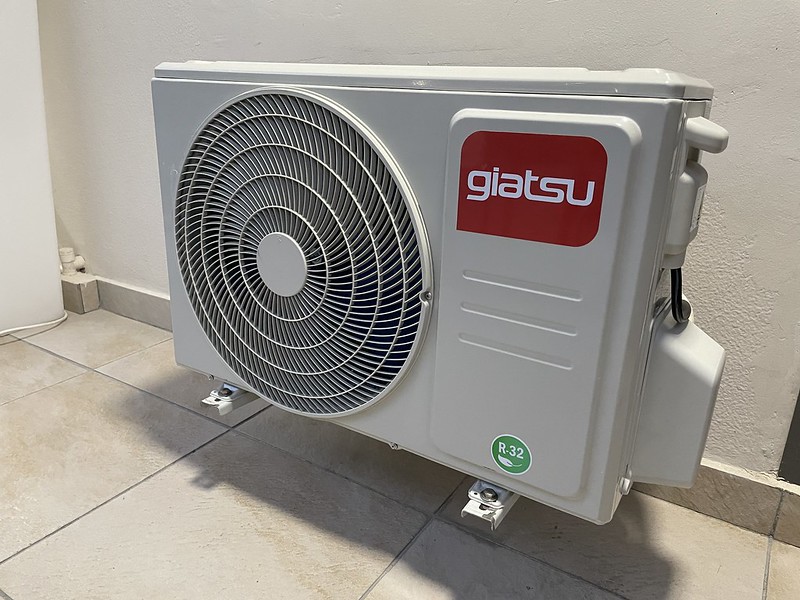
When it comes to maintaining the optimal performance of a mini-split heat pump, understanding the refrigerant pressure is crucial. This comprehensive guide will delve into the technical details and provide a step-by-step approach to accurately measuring and interpreting the refrigerant pressure in your mini-split system.
Factors Affecting Refrigerant Pressure in Mini-Split Heat Pumps
The refrigerant pressure in a mini-split heat pump is influenced by several key factors, including:
-
System Capacity: The capacity of the mini-split system, typically measured in BTU/HR (British Thermal Units per Hour), plays a significant role in determining the appropriate refrigerant pressure. For a 12,000 BTU/HR mini-split, the target CFM (Cubic Feet per Minute) should be around 400.
-
Operating Conditions: The operating conditions, such as ambient temperature, humidity, and the system’s mode (cooling or heating), can significantly impact the refrigerant pressure. It’s essential to consider these factors when measuring and interpreting the pressure readings.
-
Superheat: Superheat is the difference between the saturated temperature of the refrigerant and its actual temperature in the vapor line. Proper superheat is crucial for efficient operation and to prevent issues like a frozen evaporator coil.
Measuring Refrigerant Pressure in Mini-Split Heat Pumps
To accurately measure the refrigerant pressure in a mini-split heat pump, follow these steps:
-
Gather the Necessary Tools: You’ll need a set of refrigerant manifold gauges, a thermometer, and a vacuum pump. Ensure that the gauges are calibrated and in good working condition.
-
Identify the Pressure Ports: Locate the high-side and low-side pressure ports on the mini-split system. These are typically found near the compressor or the service valves.
-
Connect the Manifold Gauges: Attach the high-side and low-side hoses of the manifold gauges to the respective pressure ports on the mini-split system.
-
Measure the Pressures: Turn on the mini-split system and allow it to run for at least 15 minutes to stabilize. Then, read the pressure readings on the high-side and low-side gauges.
-
Convert Pressure to Saturation Temperature: Using a refrigerant pressure-temperature chart or an online calculator, convert the measured pressures to their corresponding saturation temperatures. This will help you determine the actual refrigerant state in the system.
-
Measure Superheat: To measure superheat, attach a thermometer to the vapor line near the compressor. The superheat is the difference between the vapor line temperature and the saturation temperature corresponding to the low-side pressure.
Interpreting the Refrigerant Pressure Readings
Once you have the pressure and superheat measurements, you can interpret the results to assess the refrigerant charge and the overall system performance:
-
Ideal Superheat: For an R-410A mini-split system running in cooling mode at full capacity, the ideal superheat should be around 2°F to 3°F.
-
Refrigerant Charge: If the superheat is within the ideal range, the refrigerant charge is likely correct. If the superheat is too high, it may indicate a low refrigerant charge, and if the superheat is too low, it may indicate an overcharge.
-
Pressure Concerns: If the pressure converted to saturation temperature is below 32°F, it could signal a problem, such as a refrigerant leak or a malfunctioning component, which could eventually lead to a frozen evaporator coil.
-
Manufacturer’s Guidelines: Always refer to the manufacturer’s specifications and guidelines for the proper refrigerant charge and pressure ranges for your specific mini-split model.
Maintaining Optimal Refrigerant Pressure
To maintain the optimal refrigerant pressure in your mini-split heat pump, follow these best practices:
-
Regularly Check for Leaks: Inspect the system for any signs of refrigerant leaks, such as oil stains or hissing sounds. If a leak is detected, have it repaired by a qualified HVAC technician before recharging the system.
-
Follow Manufacturer’s Charging Instructions: When adding or removing refrigerant, strictly adhere to the manufacturer’s guidelines for the specific mini-split model. Improper charging can lead to system performance issues and potential damage.
-
Monitor System Performance: Regularly monitor the system’s performance, including temperature differences, airflow, and energy consumption. Significant changes in these parameters may indicate a need to check the refrigerant charge.
-
Maintain the System: Regularly clean the air filters, outdoor coil, and indoor coil to ensure optimal airflow and heat transfer, which can impact the refrigerant pressure and system efficiency.
By following this comprehensive guide, you can accurately measure and interpret the refrigerant pressure in your mini-split heat pump, ensuring optimal system performance, energy efficiency, and longevity.

