Changing the mode on a Daikin AC remote is a straightforward process, but understanding the various modes and their functionalities can be crucial for optimizing your home’s comfort and energy efficiency. This comprehensive guide will walk you through the step-by-step process of changing the mode on your Daikin AC remote, along with detailed explanations of each mode and their specific applications.
Locating the Mode Button
The mode button on a Daikin AC remote is typically located near the center of the remote control and is marked with an icon that resembles a fan with a water droplet. This button is the primary means of switching between the various operating modes available on your Daikin AC unit.
Understanding the Daikin AC Modes
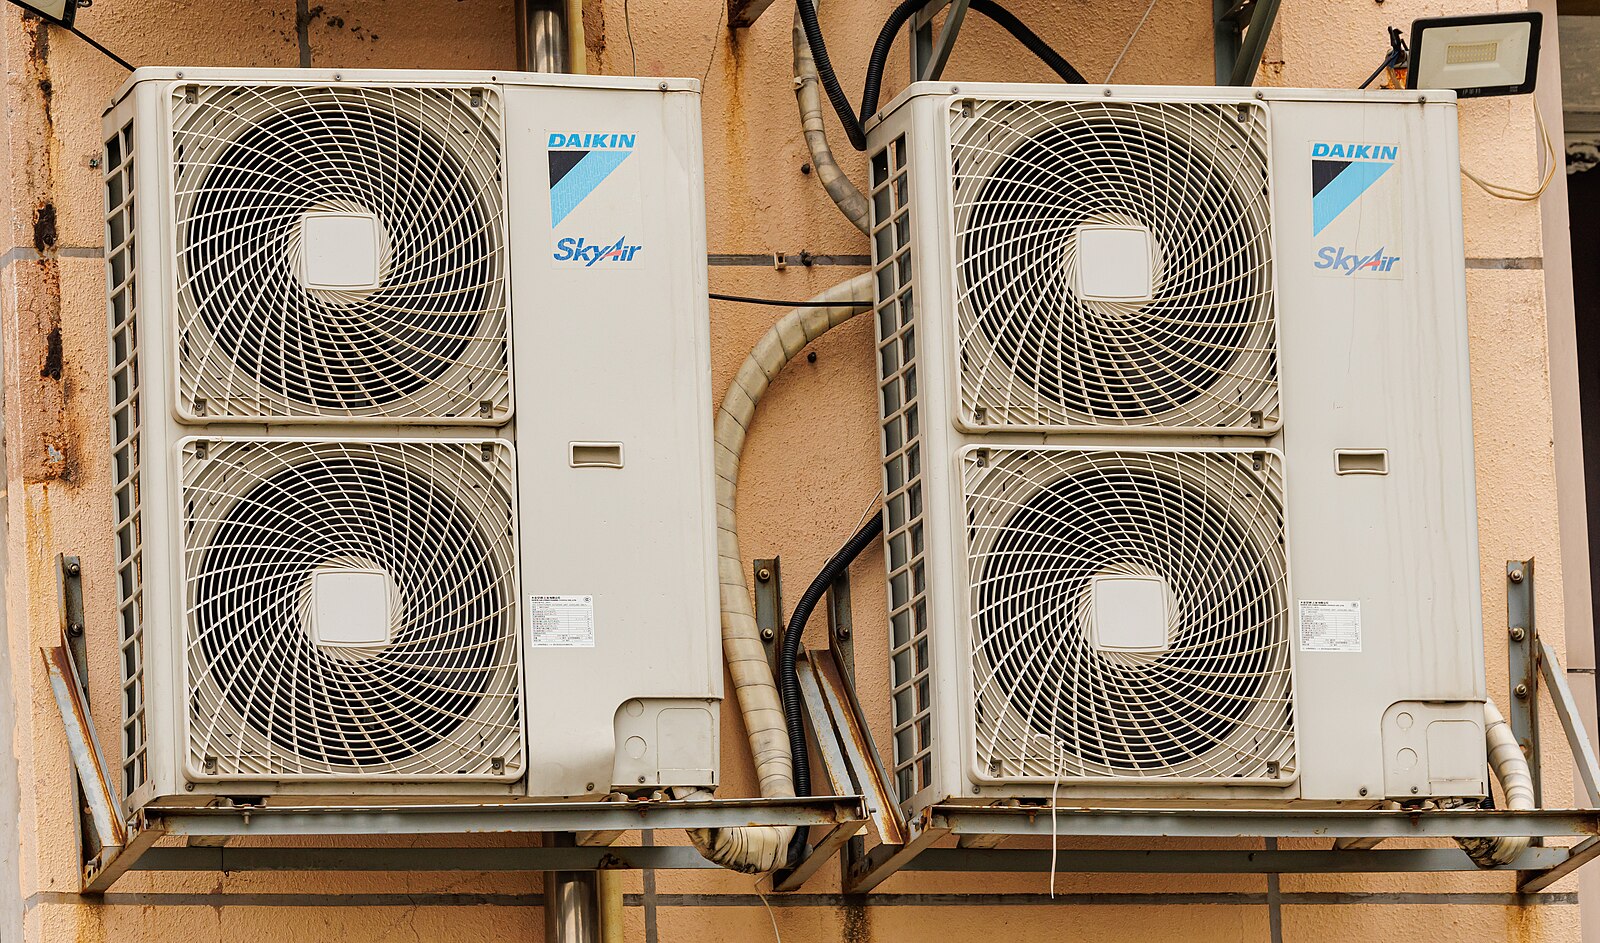
 Image source: Daikin Air Conditioner Outdoor by Dinkun Chen
Daikin AC units offer a range of operating modes, each designed to cater to specific climate conditions and user preferences. Let’s explore the different modes in detail:
Cool Mode
To activate the cool mode, press the mode button once. This mode is represented by an ice cube or snowflake icon and is used to lower the room temperature. In this mode, the compressor and fan work together to draw heat from the indoor air and expel it outside, effectively cooling the space.
Fan Mode
Pressing the mode button again will activate the fan mode, which is represented by a fan icon. In this mode, the fan operates independently, circulating the air within the room without actively cooling or heating it. This mode is useful for improving air circulation and promoting a more comfortable environment.
Dry Mode
Pressing the mode button once more will activate the dry mode, which is represented by a water droplet icon. This mode is designed to remove excess humidity from the air, making the environment more comfortable and reducing the risk of mold and mildew growth.
Heat Mode
Pressing the mode button again will activate the heat mode, which is represented by a sun or flame icon. This mode is used to increase the room temperature by drawing heat from the outdoor air and transferring it indoors.
Auto Mode
Pressing the mode button one final time will activate the auto mode, which is represented by the word “auto.” In this mode, the Daikin AC unit automatically switches between the cool, fan, dry, and heat modes to maintain the set temperature, ensuring optimal comfort and energy efficiency.
It’s important to note that the temperature cannot be adjusted in fan, dry, or auto modes. However, the fan speed can be adjusted in all modes except dry mode, which remains in auto mode.
Remote Control Specifications and Maintenance
The Daikin AC remote control is powered by two AAA batteries, which should be replaced when the display begins to fade or the remote’s reception performance degrades. The remote control has a maximum communication distance of 23 feet (7 meters) and should be pointed directly at the infrared receiver on the indoor unit for effective operation.
The Daikin AC remote control is compatible with both single and multi-split wall-mounted units, ensuring versatility in your home or office environment.
Troubleshooting and Additional Resources
If you encounter any issues or have additional questions regarding the operation of your Daikin AC remote, refer to the manufacturer’s user manual or contact their customer support team. Additionally, the following resources may provide further guidance:
- Daikin AC Remote Control Operation Manual
- How to Set a Daikin AC Remote
- Daikin AC Remote Control Demonstration
By following the steps outlined in this comprehensive guide, you can confidently navigate the various modes of your Daikin AC remote, ensuring optimal comfort and energy efficiency in your living or working space.
