
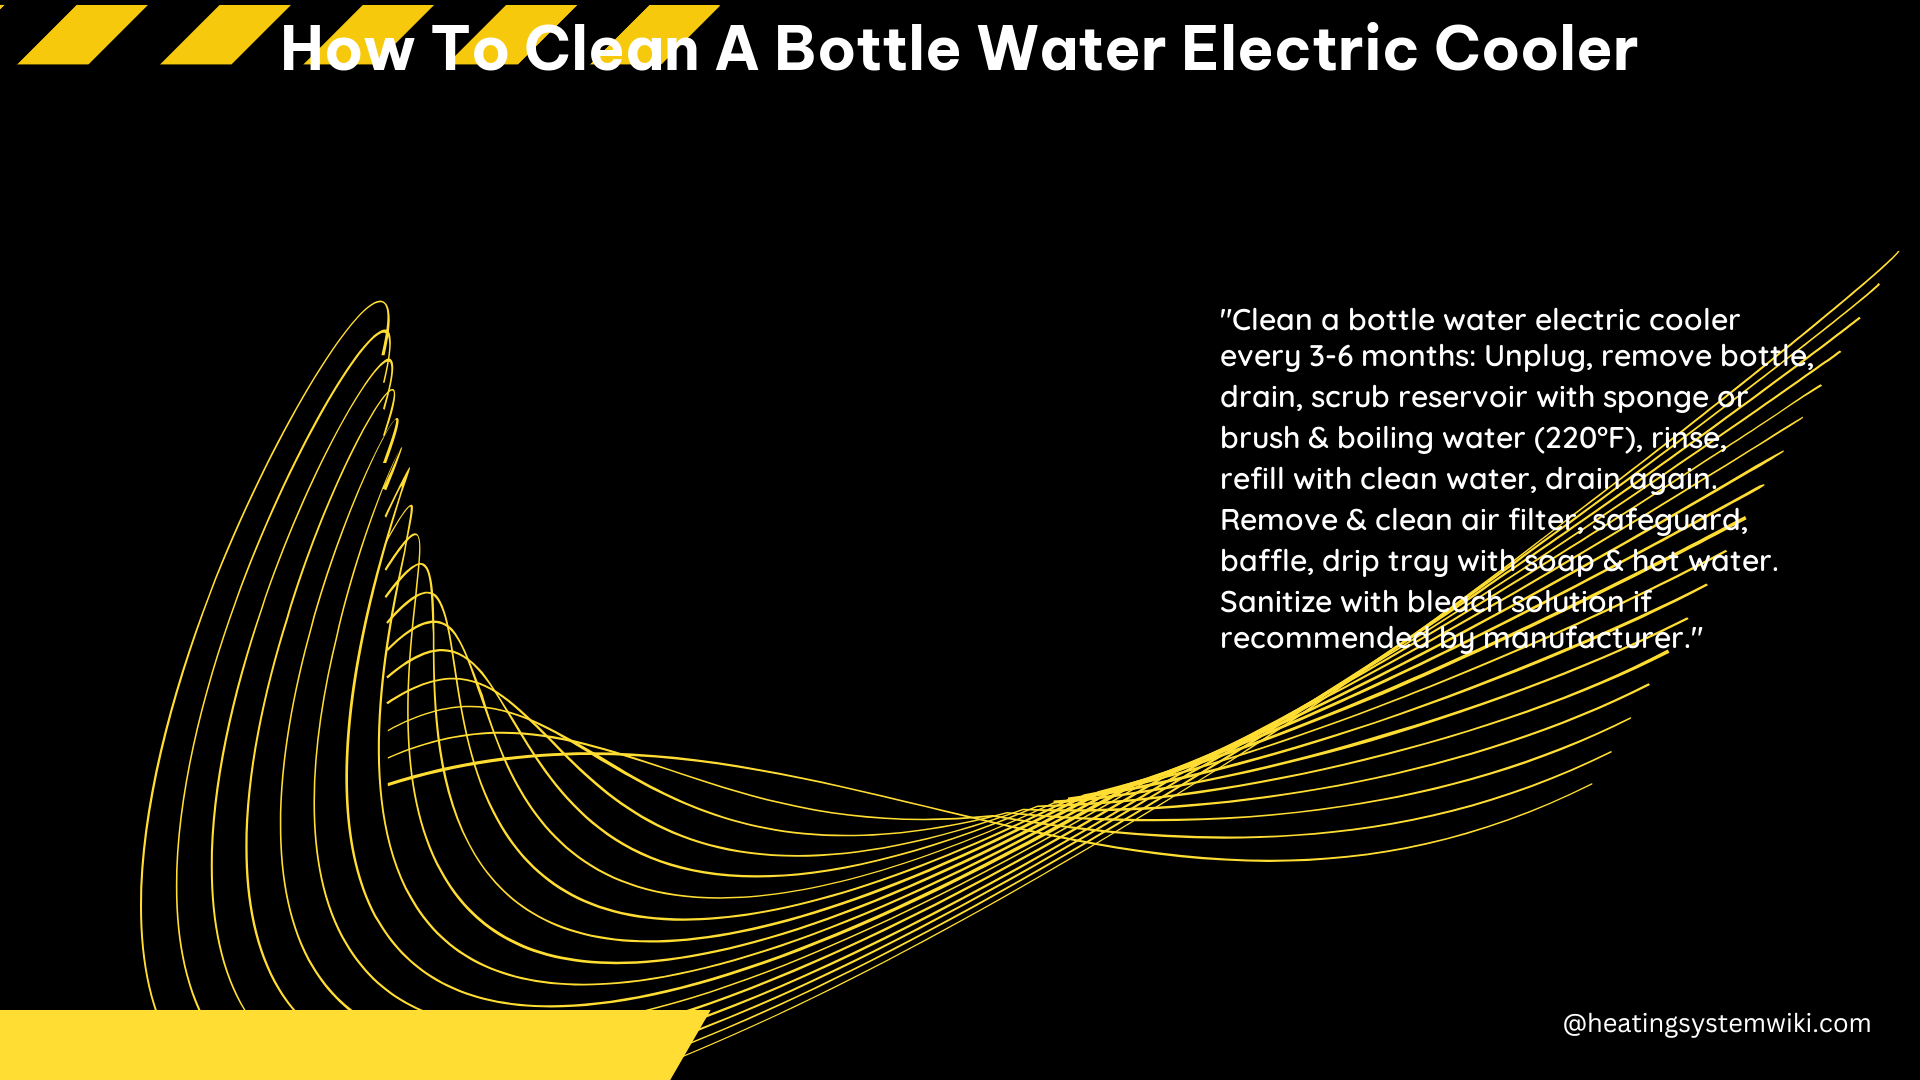
Maintaining a clean and well-functioning bottle water electric cooler is essential for ensuring the safety and purity of your drinking water. This comprehensive guide will walk you through the step-by-step process of cleaning your bottle water electric cooler, providing you with the necessary technical details and expert insights to keep your appliance in top-notch condition.
Preparing the Cooler for Cleaning
-
Emptying the Cooler: Before starting the cleaning process, ensure that the cooler is completely empty. This will make the cleaning process easier and prevent any spills or leaks. Carefully remove the water bottle and drain any remaining water through the spigots.
-
Unplugging the Cooler: For safety reasons, always unplug the cooler from the power source before beginning the cleaning process. This will prevent any electrical hazards and ensure a safe working environment.
-
Removing the Safeguard: The safeguard is the part of the cooler that punctures the lids of the water bottles. Depending on the model, the safeguard may have different removal mechanisms, so be sure to follow the manufacturer’s instructions carefully.
Cleaning the Internal Components
-
Cleaning the Safeguard and Baffle: Wash the safeguard and baffle using a mixture of mild dishwashing liquid and warm water. Ensure that you thoroughly rinse them and set them aside on a clean, dry microfiber cloth.
-
Cleaning the Reservoir: Pour the vinegar and water cleaning solution (1 cup of distilled white vinegar mixed with 3 cups of hot water) into the reservoir. Use a microfiber cloth to wipe the inside of the reservoir clean. Drain the cleaning solution into a bucket and rinse the reservoir twice by filling it with clean water and draining it into the bucket.
-
Sanitizing the Reservoir: To ensure the cooler is free from any harmful bacteria or viruses, it is recommended to sanitize the reservoir every 3-6 months, following the manufacturer’s instructions. This step is crucial for maintaining the overall cleanliness and safety of your bottle water electric cooler.
Cleaning the Exterior
-
Wiping the Exterior: Use a microfiber cloth spritzed with distilled white vinegar to wipe down the outside of the cooler, including the taps. This will help kill any germs and remove any grime or buildup on the surface.
-
Cleaning the Drip Tray: If your bottle water electric cooler has a removable drip tray, be sure to clean it thoroughly using the same vinegar and water solution. Rinse the tray and dry it completely before replacing it.
Reassembling and Maintaining the Cooler
-
Replacing the Parts: Once the cleaning process is complete, return the baffle and the water guard to their respective positions. Install a new water bottle in the cooler and plug the power supply back in.
-
Routine Cleaning: It is recommended to clean the cooler every time you change the water bottle. This will help maintain the overall cleanliness and prevent the buildup of any contaminants.
-
Disinfecting the Cooler: In addition to regular cleaning, it is essential to disinfect the cooler every 3-6 months, following the manufacturer’s instructions. This will ensure that the cooler is free from any harmful bacteria or viruses.
-
Checking for Leaks: Periodically inspect the cooler for any signs of leaks or water damage. If you notice any issues, address them promptly to prevent further damage and ensure the safety of your drinking water.
By following this comprehensive guide, you can effectively clean and maintain your bottle water electric cooler, ensuring that it continues to provide you with clean, safe, and refreshing drinking water for years to come.
Reference:
– Merry Maids: How to Clean a Water Cooler
– Alberta Health Services: Water Coolers
– YouTube: How to Clean a Water Cooler