
Maintaining a clean and well-functioning Primo water cooler is essential for providing your household or office with fresh, safe, and great-tasting drinking water. This comprehensive guide will walk you through the step-by-step process of thoroughly cleaning a top-loading Primo water cooler, ensuring it operates at its best and delivers the quality water you expect.
Preparing for the Cleaning Process
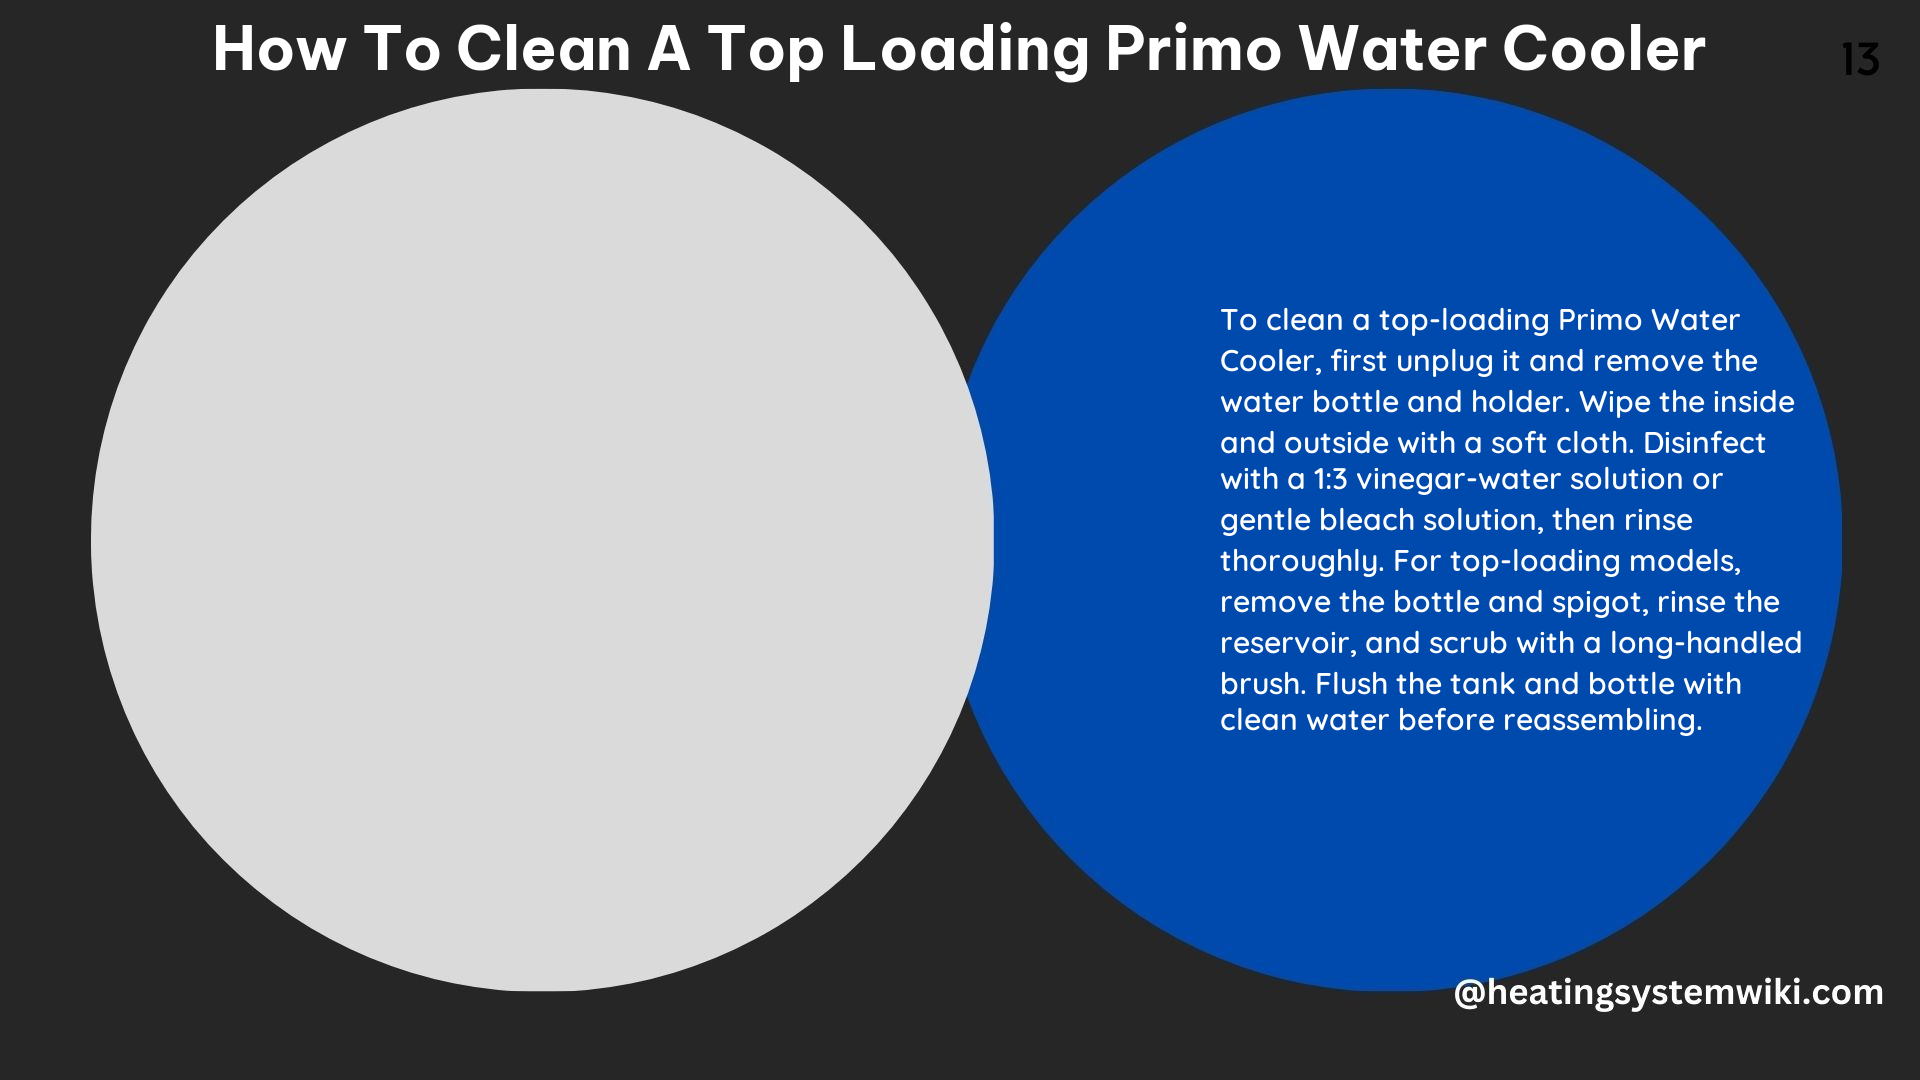
Before you begin the cleaning process, make sure to gather all the necessary supplies:
- 5-gallon bottle of clean water
- Distilled white vinegar
- Warm water
- A clean cloth or sponge
- A long-handled scrub brush
- Mild dish soap
Additionally, ensure that the water cooler is unplugged from the power source to prevent any electrical hazards during the cleaning.
Emptying the Reservoir
- Remove the Water Bottle: Start by removing the 5-gallon water bottle from the top of the cooler.
- Drain the Reservoir: Locate the drain plug at the bottom of the reservoir and open it to allow any remaining water to drain out completely.
- Rinse the Reservoir: Once the reservoir is empty, use a clean cloth or sponge and warm water to rinse the interior of the reservoir, removing any visible dirt or debris.
Cleaning the Reservoir
- Prepare the Cleaning Solution: In a separate container, mix 2 cups of distilled white vinegar with 1 quart of warm water to create a cleaning solution.
- Apply the Cleaning Solution: Pour the vinegar-water solution into the reservoir and let it sit for approximately 10 minutes. This will help to break down any mineral deposits or bacterial buildup.
- Scrub the Reservoir: Using the long-handled scrub brush, gently scrub the interior walls of the reservoir to remove any stubborn deposits or stains.
- Rinse Thoroughly: After scrubbing, rinse the reservoir thoroughly with clean water to remove any remaining vinegar solution.
Cleaning the Spigot
- Remove the Spigot: Locate the spigot at the front of the water cooler and carefully remove it.
- Clean the Spigot: In a separate container, mix a small amount of mild dish soap with warm water. Use this soapy solution to clean the spigot, removing any mineral buildup or debris.
- Rinse the Spigot: Rinse the spigot thoroughly with clean water to remove any soap residue.
- Reattach the Spigot: Once the spigot is clean and dry, carefully reattach it to the water cooler.
Cleaning the Exterior
- Wipe Down the Exterior: Use a clean, damp cloth to wipe down the exterior of the water cooler, including the drip tray and any visible surfaces.
- Dry the Exterior: Thoroughly dry the exterior of the water cooler with a clean, dry cloth to prevent water spots or residue.
Reassembling and Refilling
- Replace the Water Bottle: Once the cleaning process is complete, replace the 5-gallon water bottle on the top of the cooler.
- Plug in the Cooler: Plug the water cooler back into the power source, ensuring it is properly connected.
- Allow the Cooler to Refill: Allow the water cooler to refill the reservoir with the new water bottle. This may take several minutes.
Maintaining a Clean Primo Water Cooler
To keep your Primo water cooler in optimal condition, it is recommended to clean it every 3 months. Regular cleaning will help prevent the buildup of mineral deposits, bacteria, and other contaminants, ensuring your water remains fresh and safe to drink.
Technical Specifications
- Cleaning Frequency: Every 3 months
- Cleaning Solution: 2 cups of distilled white vinegar mixed with 1 quart of warm water
- Cleaning Time: Approximately 30 minutes