Maintaining the cleanliness of your Daikin mini split’s blower wheel is crucial for optimal performance, energy efficiency, and prolonged lifespan of the unit. This comprehensive guide will walk you through the step-by-step process of cleaning the blower wheel on your Daikin mini split, ensuring your system operates at its best.
Preparation: Gather the Necessary Tools and Materials
Before you begin the cleaning process, make sure you have the following tools and materials on hand:
- Screwdriver (flathead and Phillips head)
- Soft-bristle brush
- Mild soap or detergent
- Garden pump sprayer
- Coil cleaner (recommended: Viper Coil Cleaner by Refrigeration Technologies)
- Mini split cleaning kit (recommended: Turbo Tank by Nu-Calgon)
- Protective gloves and eyewear
Accessing the Blower Wheel
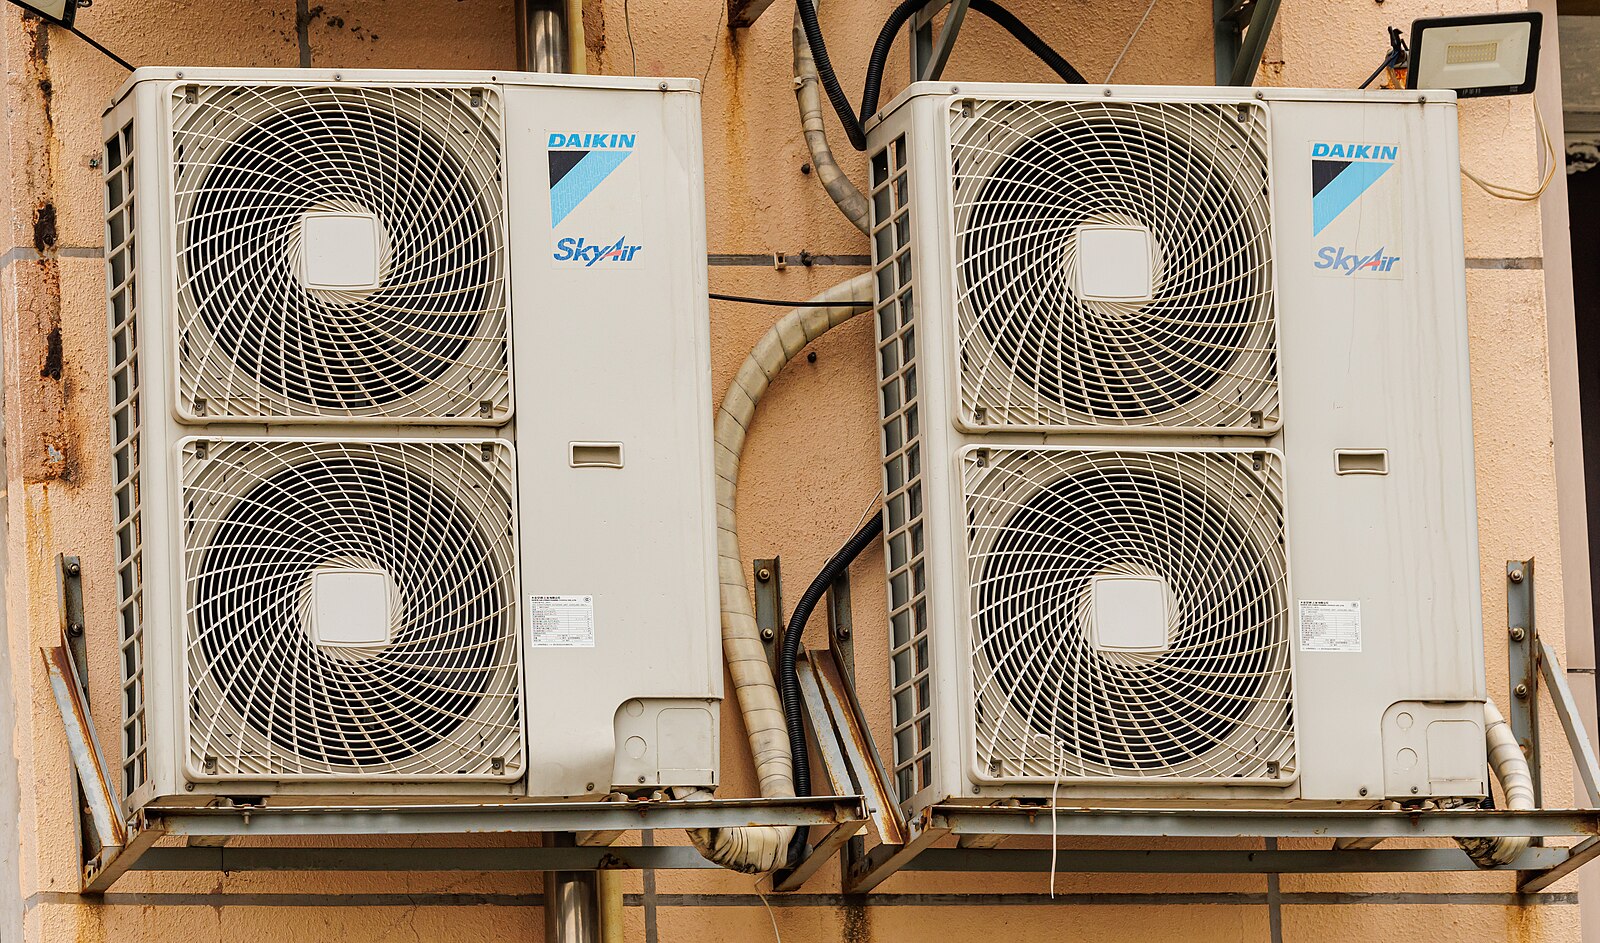
 Image source: Daikin Air Conditioner Outdoor by Dinkun Chen
- Remove the Protective Grill: Begin by removing the protective grill from the front of the indoor unit. This will provide access to the internal components.
- Disassemble the Unit: Carefully disassemble the unit by removing the outer shell. This will expose the blower wheel and other internal components.
- Locate the Blower Wheel: Identify the blower wheel, which is typically located at the base of the indoor unit, near the drain pan.
Cleaning the Blower Wheel
- Brush and Soap: Use a soft-bristle brush and mild soap or detergent to gently scrub the blower wheel. This will help remove any accumulated dust, dirt, or debris.
- Rinse and Dry: After scrubbing, use the garden pump sprayer to rinse the blower wheel thoroughly. Make sure to remove all traces of soap or detergent.
- Inspect for Damage: Carefully inspect the blower wheel for any signs of damage, such as cracks, bends, or imbalance. If any issues are found, consult a professional for further assistance.
Cleaning the Condenser
- Remove Debris: Use the garden pump sprayer to remove any built-up debris from the condenser coils. This will improve airflow and heat transfer, enhancing the unit’s efficiency.
- Coil Cleaner: Apply a coil cleaner, such as the Viper Coil Cleaner by Refrigeration Technologies, to the condenser coils. Follow the manufacturer’s instructions for proper application and dwell time.
- Rinse Thoroughly: Rinse the condenser coils thoroughly to remove all traces of the coil cleaner.
Cleaning the Coils and Drain Pan
- Mini Split Cleaning Kit: Use a mini split cleaning kit, such as the Turbo Tank by Nu-Calgon, to clean the indoor coils and drain pan. These specialized kits are designed to effectively remove built-up dirt, debris, and microbial growth.
- Follow Instructions: Carefully follow the instructions provided with the mini split cleaning kit to ensure proper application and dwell time.
- Rinse and Dry: Thoroughly rinse the coils and drain pan to remove all cleaning solutions. Allow the components to dry completely before reassembling the unit.
Reassembling the Unit
- Carefully Reassemble: Reassemble the unit, making sure all components are properly aligned and securely in place.
- Reconnect Wiring and Drain Hose: Reconnect any wiring and the drain hose that were disconnected during the disassembly process.
- Reinstall the Protective Grill: Reinstall the protective grill to the front of the indoor unit, ensuring a secure fit.
By following these detailed steps, you can effectively clean the blower wheel on your Daikin mini split, ensuring optimal airflow, energy efficiency, and prolonged system lifespan. Remember to consult the manufacturer’s instructions or a professional if you encounter any issues or have concerns during the cleaning process.
