
Maintaining the cleanliness of your LG mini split’s blower wheel is crucial for ensuring optimal performance, energy efficiency, and indoor air quality. This comprehensive guide will walk you through the step-by-step process of cleaning the blower wheel on your LG mini split, providing you with expert-level technical details and a hands-on approach to ensure a thorough and effective cleaning.
Preparing for the Cleaning Process
Before you begin, it’s essential to ensure that the mini split is turned off and unplugged from the power source. This safety precaution will prevent any accidents or electrical hazards during the cleaning process.
Next, you’ll need to gather the necessary tools and materials, including:
- Phillips-head screwdriver
- Flathead screwdriver
- Pliers
- Mild, safe cleaner (such as Refrigeration Technologies Viper EVAP+)
- Hose or spray bottle
- Microfiber cloth
- Gloves (optional)
Accessing the Blower Wheel
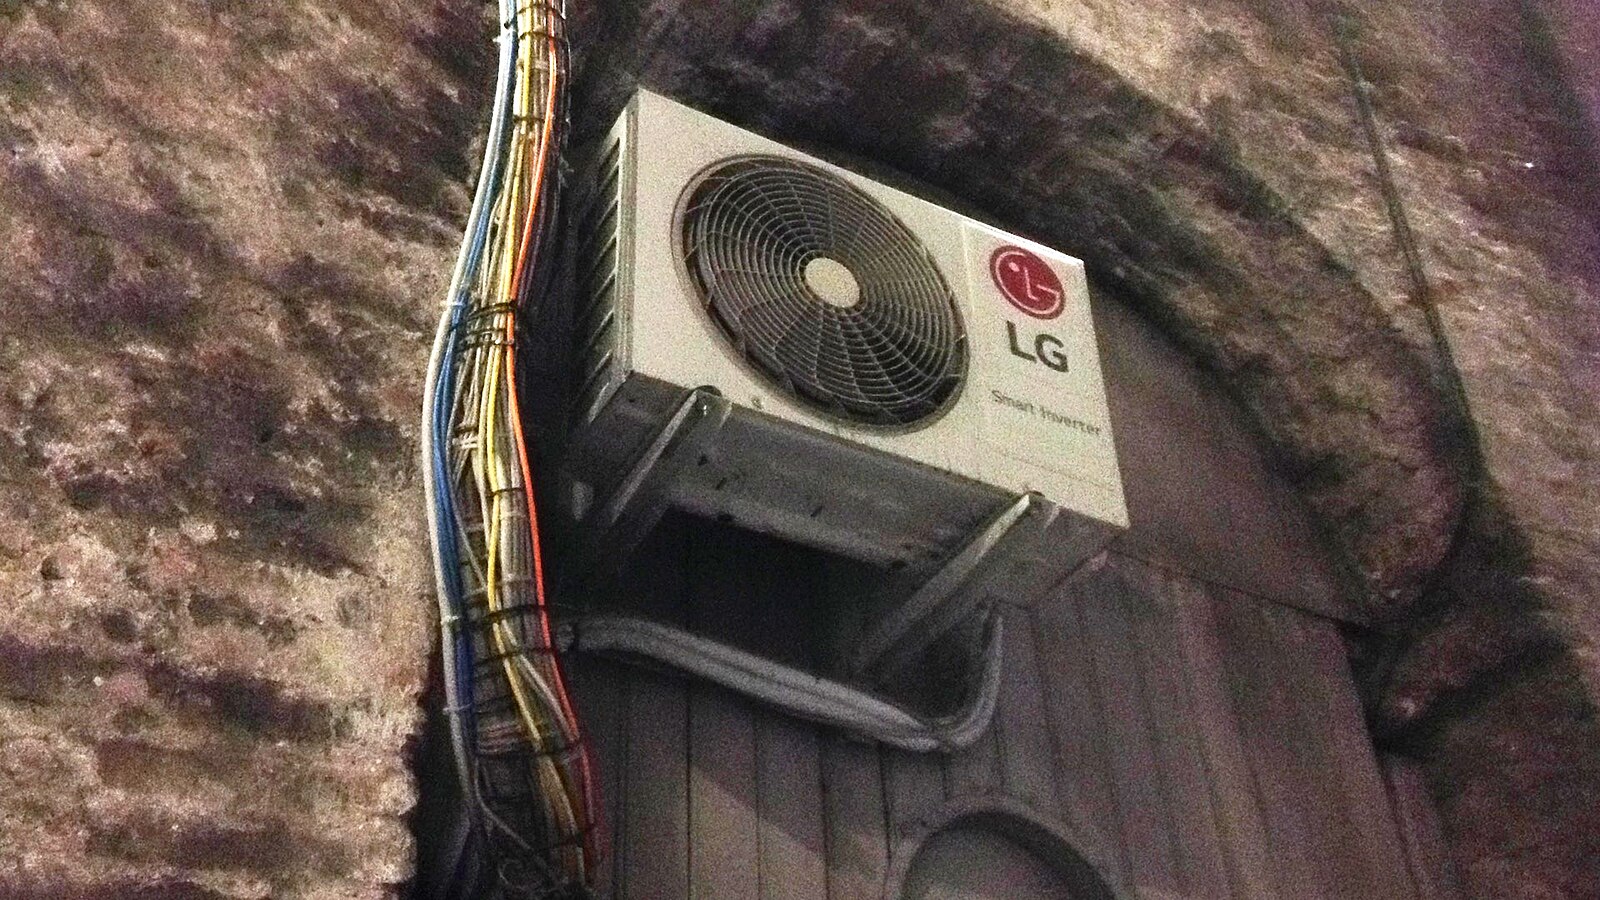 Image source: LG Ac By Air fans
-
Remove the Front Cover: Begin by unscrewing the screws that hold the front cover of the mini split in place. Carefully remove the cover to expose the internal components.
-
Slide Out the Horizontal Vanes: Gently slide out the horizontal vanes, which are typically located behind the front cover.
-
Remove the Face of the Unit: If necessary, remove the face of the unit by unclipping the plastic clips on the bottom and exposing the Phillips-head screws. Remove the screws and slide the face out.
Releasing the Drain Pan
-
Drain the Drain Pan: Before releasing the drain pan, ensure that any water or condensation in the pan is removed.
-
Lower and Angle the Drain Pan: Carefully lower the drain pan and angle it downward to expose the blower wheel.
Removing the Blower Wheel
-
Remove the Set Screw: Using a Phillips-head screwdriver, remove the set screw that secures the blower wheel in place.
-
Remove the Screws: Next, remove the screws along the side of the unit to move the coil out of the way, providing better access to the blower wheel.
-
Pull Out the Blower Wheel: Gently pull the blower wheel out of the unit, taking care not to damage any surrounding components.
Cleaning the Blower Wheel
-
Inspect the Blower Wheel: Closely examine the blower wheel for any signs of dust, debris, or mold buildup.
-
Use a Mild Cleaner: Apply a small amount of the mild, safe cleaner (such as Refrigeration Technologies Viper EVAP+) to the blower wheel, ensuring even coverage.
-
Scrub the Blower Wheel: Using a soft-bristled brush or a microfiber cloth, gently scrub the blower wheel to remove any accumulated dirt, dust, or mold.
-
Rinse the Blower Wheel: Thoroughly rinse the blower wheel with a hose or spray bottle, ensuring that all the cleaner is removed.
-
Dry the Blower Wheel: Allow the blower wheel to fully dry before reassembling the unit.
Reassembling the Unit
-
Insert the Blower Wheel: Carefully insert the clean and dry blower wheel back into the unit, ensuring that it is properly aligned and secured.
-
Reattach the Coil: Replace the screws along the side of the unit to secure the coil back in place.
-
Reinstall the Set Screw: Reinsert the set screw to secure the blower wheel.
-
Reposition the Drain Pan: Carefully reposition the drain pan and ensure that it is properly aligned and secured.
-
Reinstall the Face and Horizontal Vanes: Slide the face of the unit back into place and secure it with the Phillips-head screws. Reinsert the horizontal vanes.
-
Secure the Front Cover: Finally, replace the front cover and secure it with the screws.
By following these detailed steps, you can effectively clean the blower wheel on your LG mini split, ensuring optimal performance, energy efficiency, and indoor air quality. Remember to perform this maintenance task regularly to maintain the long-term health and functionality of your mini split system.