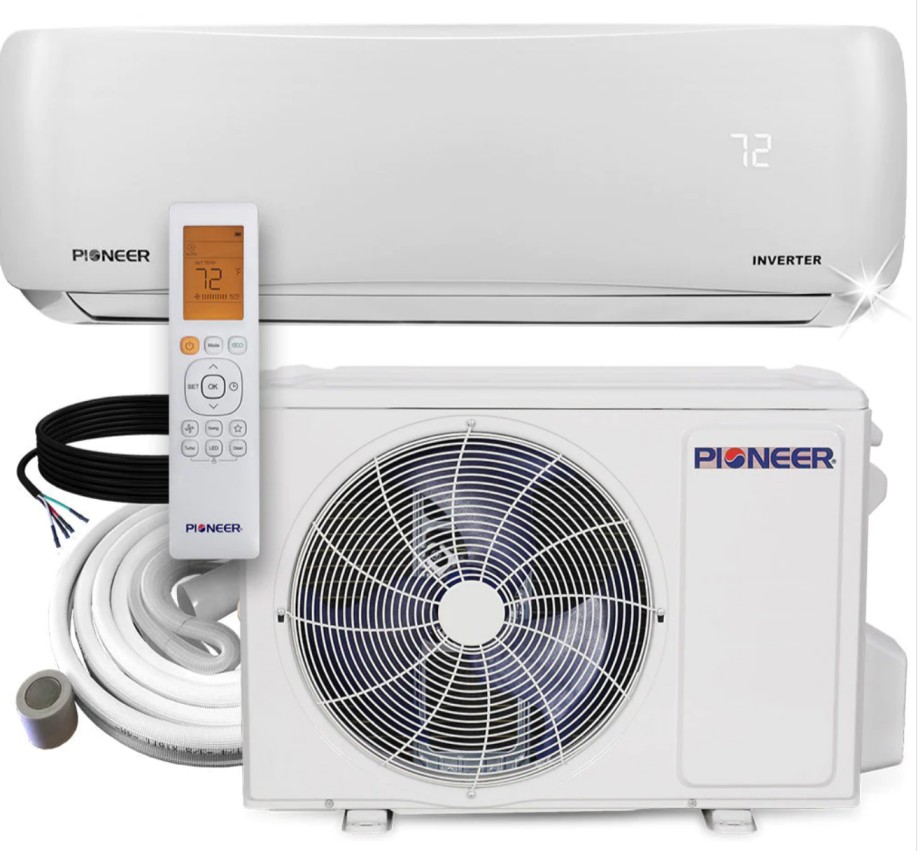
Maintaining the cleanliness of your Pioneer mini-split system is crucial for its efficient and long-lasting performance. One of the critical components that require regular cleaning is the blower wheel. This comprehensive guide will walk you through the step-by-step process of cleaning the blower wheel on your Pioneer mini-split, ensuring optimal airflow and system performance.
Preparation: Gather the Necessary Supplies
Before you begin the cleaning process, make sure you have the following supplies on hand:
- Clean, damp cloth
- Clean, dry cloth
- Household cleaners (such as mild detergent or coil cleaner)
- Water hose
- Vacuum with a brush nozzle attachment
- Coil cleaning tool
- Cleaning brush
- Spray bottle
- Condensate drain pump treatment
- Condensate drain cleaner
Cleaning the Indoor Unit
-
Wipe Down the Exterior: Start by wiping down the exterior surface of the indoor unit with a damp cloth, followed by a dry cloth to remove any dirt or dust.
-
Clean the Filter: Locate and remove the mini-split filter. Clean the filter with a mild detergent and water, then allow it to air-dry completely before placing it back into the system.
-
Access the Evaporator Coil: Remove the unit’s cabinet to gain access to the evaporator coil. Use a clean, dry cloth or a cloth with a small amount of coil cleaner to remove any dirt, mold, or other particles that have accumulated on the coils.
-
Clean the Condensate Pan and Drain: Inspect the condensate pan and drain for any mold growth or debris accumulation. If necessary, clean the pan and drain with soapy water or a diluted bleach solution.
Cleaning the Outdoor Unit
-
Remove Debris: Begin by removing any twigs, leaves, or grass that have accumulated in, on, or around the outdoor unit.
-
Spray Down the Exterior: Use a garden hose or a coil cleaning tool to spray down the exterior of the outdoor unit. Then, use a clean cloth to wipe away any dirt or grime that has built up on the unit’s housing.
Cleaning the Blower Wheel
-
Access the Blower Wheel: To access the blower wheel, you will need to remove the set screw, remove the screws along the side to move the coil out of the way, and then pull the blower wheel out.
-
Clean the Blower Wheel: Clean the blower wheel outside the unit using a hose. For stubborn dirt or debris, you can use a mild, safe cleaner like Refrigeration Technologies Viper EVAP+. Make sure to allow the blower wheel to dry fully before reinstalling it.
-
Reassemble the Unit: Once the blower wheel is clean and dry, carefully reinstall it, making sure to replace the set screw and the screws along the side to secure the coil back in place.
By following these steps, you can effectively clean the blower wheel on your Pioneer mini-split, ensuring optimal airflow and system performance. Remember to refer to the manufacturer’s instructions and safety guidelines when performing any maintenance or cleaning tasks.

