
Table of Contents
Understanding the Importance of Clean Furnace Vents
When was the last time you had your furnace vents cleaned? Many don’t prioritize it, but it’s essential for clean air. Dirty ducts can lead to dust, debris and contaminants in the air supply, causing breathing and allergy problems. Cleaning your air ducts regularly keeps fresh air flowing in your home. Neglecting them could make your system use more energy.
Cleaning furnace vents requires removing the covers. Use a vacuum cleaner with rod attachments to clean the supply and return ducts. Specialized cleaning equipment such as brushes can help with tough dirt and grime. Wipe around each vent with paper towels, microfiber cloth or tissue to remove pet hair. Check the filter in case it needs replacing.
Professional maintenance reduces allergens in the system and in the living area. Clogged units mess with airflow, reducing heat in some areas and increasing it in others. Don’t wait until your air’s contaminated, get a service provider today. Improve IAQ without too much effort. Keep yourself healthy, safe and comfortable and save time. Get ready to clean your ducts, it’s cleaning day.
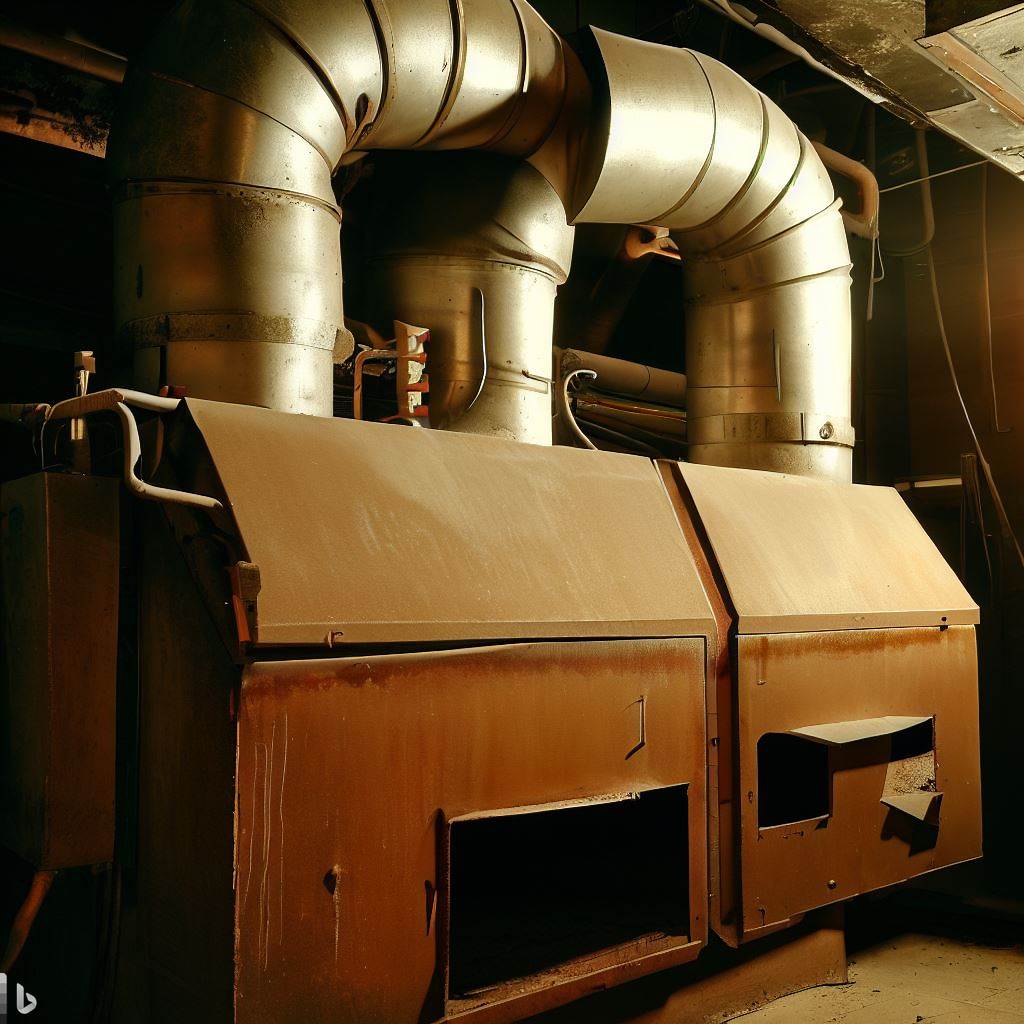
Image of furnace vents attached to a furnace
Preparing furnace vents for the Cleaning Process
To prepare for the cleaning process for your air ducts, you need to gather the necessary equipment and tools. You also need to turn off your HVAC system to avoid contamination and dusting while cleaning. In this section of the article ‘How to Clean Furnace Vents’, we will explore the crucial steps to take before starting the cleaning process.
Gathering Equipment and Tools
Preparing for a cleaning session? The key is to gather the right tools and equipment.
Here are six must-haves:
- Cleaning products – pick ones that suit your specific needs.
- Gloves – rubber gloves will protect your hands from chemicals.
- Mops and brooms – use for sweeping and cleaning floors, walls, and ceilings.
- Microfiber cloths – dusting, wiping, and polishing mirrors and glass.
- Sponges and scrub brushes – countertops, sinks, tubs and showers.
- Vacuum cleaner – vacuuming will remove lots of dirt, dust, mud, etc.
To ensure a streamlined cleaning process, remember to:
- Make an inventory of your equipment.
- Keep everything organized in one place.
- Read labels on cleaning products.
- Measure cleaner amounts into spray bottles or containers.
- Try hypoallergenic cleaners or natural cleaning alternatives.
Gather the equipment, organize it, and follow the tips. Now it’s time to crank up the heat and get cleaning.
Turning off the HVAC System
When you’re ready to clean, turning off the HVAC system is a must. It’s great for keeping the room at a bearable temperature, but it can be a pain while cleaning.
Here’s how to switch it off:
- Find the fuse box or circuit breaker and shut off the power.
- Adjust the thermostat to “Off.”
- Take out any filters on ducts and vents.
- Vacuum any dirt, dust, or debris from filters.
- Put the filters back after cleaning.
- Put the thermostat back to its original setting and turn the power back on.
Don’t forget that switching off your HVAC system saves energy, cash, and time. Plus, it boosts air quality while you clean.
And when you’re about to start cleaning, make sure you unplug any electronics near the HVAC unit.
These simple steps will make cleaning easier and safer. Plus, you’ll get an awesome upper-body workout from yanking out all those filters.
DIY Vent Cleaning Process
To clean your furnace vents yourself, you need to follow a detailed DIY vent cleaning process as a solution. In this section, we will explore three sub-sections that will help you accomplish this task.
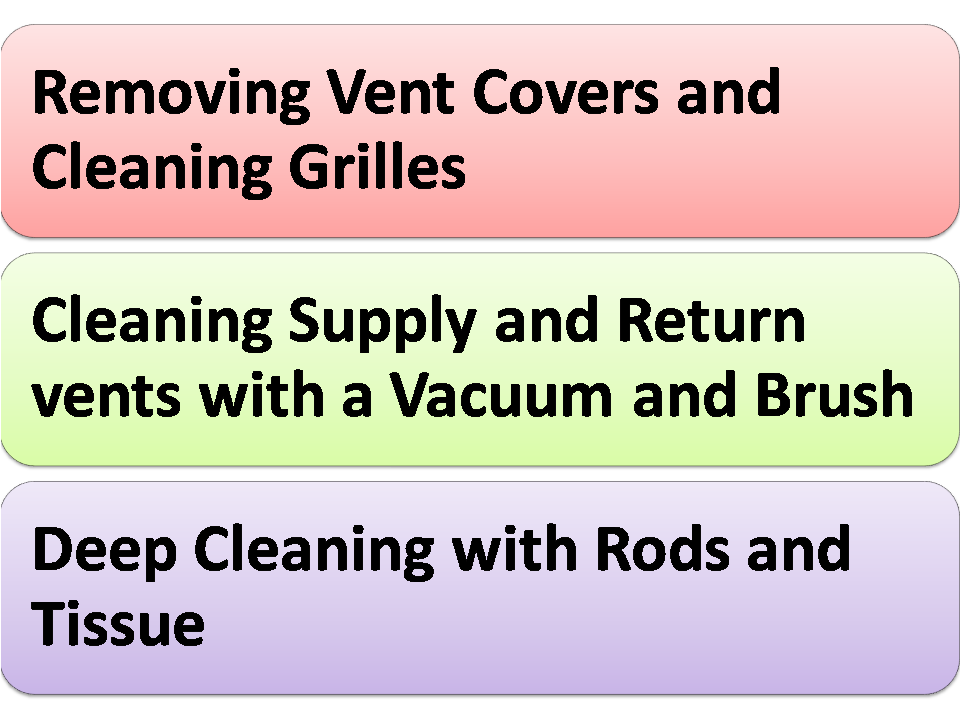
Removing Vent Covers and Cleaning Grilles
Remember to sanitize vent covers and grilles for better air quality. Use a sanitizer spray and let it dry before replacing them.
It’s important to keep up with cleaning vents and grilles for proper airflow in your home. Your health depends on clean indoor air.
Forget about a personal trainer, get a full upper-body workout by cleaning your air vents with a vacuum and brush.
Cleaning Supply and Return vents with a Vacuum and Brush
Cleaning air vents is essential for high air quality and reducing health risks.
Here are the steps to do it with a vacuum and brush:
- Turn off the HVAC system from the main power source.
- Loosen screws on the wall or ceiling registers, then lift them off.
- Use a brush designed for duct cleaning, starting from the furthest register and going towards the air handler unit. Be careful not to damage wiring or fixtures.
- Attach a long hose vacuum cleaner to suck up dust particles. A high-powered machine is better at extracting smaller particles.
- Wipe down each register with a damp cloth before reinstalling.
It’s important to replace air filters every two months. If you see visible mold or suspect rodents, it’s best to hire a professional.
Poor indoor air quality affects allergies, breathing difficulties, and energy efficiency. Vent cleaning goes back to Roman times with ash residues removed manually. Save money and get a good workout with DIY duct cleaning using rods and tissues.
Deep Cleaning with Rods and Tissue
When it comes to duct cleaning, rods and tissue are essential.
Here’s a 4-step plan you can use:
- Turn off the HVAC and close all vents.
- Attach the rod to a drill and put it in the ductwork.
- Start at the furthest point from the air handler and run the rod through each vent. Clean debris with tissue paper.
- Replace the air filters and turn on the HVAC system.
Remember to take safety precautions. Also, remember that using tissue traps dust and dirt without making a mess. I tried it without tissue once, it was a disaster. Make sure you have enough tissue when you deep clean with rods.
Professional Furnace Vent Cleaning Service
To keep your supply and return air ducts completely free of contaminants, duct cleaning may be one of the best investments. Professional duct cleaning for HVAC systems can lead to cleaner indoor air and increased energy efficiency.
In this part, we will go over a few reasons why professional maintenance could benefit you, as well as a few characteristics to look for as you select a service provider.
Benefits of Professional Maintenance
Professional duct cleaning offers many benefits. With rising allergies and breathing problems, it’s necessary to hire professionals. These services keep indoor air quality high and increase HVAC system efficiency.
- Energy Bills: Duct cleaning can reduce energy bills by 20% by removing dust and debris.
- Air Quality: Cleaning ducts eliminates bacteria, pollen, and germs for a cleaner indoor environment.
- System Lifespan: It removes clogs, reducing pressure on the motor, fan, and other parts.
- Saves Money: Investing in regular cleaning avoids costly repairs.
Plus, it minimizes fire risks and damaging molds. It provides proper airflow too.
The EPA says we spend 90% of our time indoors, where air pollution is 2-5x higher. Uncleaned ducts can retain pests leaving toxins. WHO says this leads to 4 million premature deaths annually.
To conclude, professional duct cleaning ensures healthy living for you and your family while lengthening your HVAC system’s life. Finding the right service provider is like looking for a needle in a haystack, except the needle is covered in dust and the haystack is your ducts.
Choosing a Service Provider
Choosing a product cleaner? Ask yourself these questions:
- Check their experience. Do they know what they’re doing and have the right gear?
- Check reviews and ratings. Are they good at quality and being professional?
- Inquire about their cleaning process. Can they explain it well and make you feel confident?
- Double-check their licenses and certifications. Make sure you’re investing in the right hands.
- See if they offer insurance or a warranty. Get coverage against any damage.
Plus, pick a service provider that prioritizes customer satisfaction and provides 24/7 support. To save time, go for a local duct cleaner.
Pro Tip: Keep your HVAC system clean to stay away from dusty vents.
Tips for Maintaining Clean Vents and HVAC System
To maintain clean vents and an efficient HVAC system by replacing furnace filters regularly, dusting and cleaning air boot and return air boot, checking supply registers for contamination and buildup, and regularly inspecting thermostat and blower compartment.
In this section of the article, we’ll explore the importance of each of these sub-sections to ensure that you maintain healthy indoor air quality, reduce allergens and harmful contaminants, and increase your system’s lifespan.
Replacing Furnace Filters Regularly
It’s key to maintaining a clean and effective HVAC system. Replacing Furnace Filters Regularly is an essential task. Change them every 3 months at least. If you have pets or allergies, do it every month.
Put in the right size and type for your furnace. Dirty filters will reduce airflow and damage your system. Replacing them often will improve air quality and lengthen your HVAC system’s life.
It’s critical to get the right type of filter. Different ones capture different particles and pollutants. Read the manufacturer’s advice before you buy. Forgetting to replace filters leads to bad air, high energy bills and breakdowns. Follow these guidelines for Replacing Furnace Filters Regularly and your HVAC system will run efficiently for years.
Norman Wesley Larsen created the first disposable filter in 1945. His idea was to make a filter that could catch dust and allergens easily. Ever since then, regularly replacing furnace filters has become the standard. Superhero or not, I can still clean vents like a pro with these tips for dusting and cleaning air boots and return air boots.
Dusting and Cleaning Air Boot and Return Air Boot
Keeping the HVAC system clean is key for fresh air.
Here’s a guide for dusting and cleaning Air Boot and Return Air Boot.
- Turn off the HVAC and cut power supply to avoid any accidents.
- Take out the grille. Then, use a vacuum to remove dust.
- Use a brush or cloth with an appropriate cleaning solution to wipe the vent interior.
- Frequently clean or change filters. This prevents dirt from entering components like fans and coils.
- Record your cleaning schedule. This’ll help you stay on top of maintenance.
Also, don’t let furniture or curtains obstruct airflow.
Once, I had allergies until I got my vents cleaned. So much dirt was stuck inside. I learned that cleaning vents not only improves air quality but also prevents illnesses.
Warning: Checking supply registers may lead to discovering things that make you wish you never had aircon.
Checking Supply Registers for Contamination and Buildup
Supply registers can get clogged up with contamination. This can reduce the effectiveness of your HVAC system.
Here’s what you should do:
- Turn off the HVAC system to stay safe.
- Remove the covers from each room and check if there is dirt or dust. Use a flashlight for a better view.
- If there’s a buildup or debris, use a vacuum cleaner with a brush attachment or a damp cloth to clean it carefully.
- Put the covers back and make sure there are no air leaks.
Remember to replace air filters every 3 months and get professional duct cleaning every 2 years. Clean registers will help with energy efficiency and indoor air quality. So, don’t delay, check your registers regularly.
Regularly Inspecting Thermostat and Blower Compartment
Regular maintenance of household vents and HVAC systems is key for proper functioning. An important step is to inspect the thermostat and blower compartment. This may not only optimize performance but also prolong the life of the HVAC system.
Here are three easy steps to follow when inspecting:
- Safety first: Turn off the power switch or circuit breaker supplying electricity to your HVAC system.
- Thermostat check-up: Take off the cover and give it a thorough clean. Check programming accuracy, battery life, and wiring connections. Get rid of visible dust, as it can hamper efficient performance.
- Blower cleaning: Unscrew and remove the cover panel from the blower compartment. Inspect carefully for dirt, debris, or moisture buildup. Clean these components regularly, as clogging reduces optimal airflow.
Remember to check the other parts such as filtration.
By following these simple steps, you can prevent unexpected breakdowns, extend the lifespan of your HVAC system, and improve air quality.
Don’t wait, take action before minor issues turn into bigger ones. Enjoying clean air at home is like a breath of fresh air.
Ensuring Clean Air and Improving Indoor Air Quality By Vent Cleaning
To ensure you have a steady source of clean air and maintain good indoor air quality, you need to have a thorough understanding of the common allergens and contaminants that may be present in your duct system.
Identifying these contaminants is necessary to address them effectively while improving airflow and preventing contamination.
Identifying and Addressing Allergens and Contaminants in the Duct System
The duct system is an essential part of your home’s HVAC. It distributes conditioned air all around. But, it can be a breeding ground for allergens and contaminants that harm indoor air quality.
You need to clean and maintain your vents regularly.
Here’s a guide to help:
- Identify the source of contamination – Dust, dirt, pollen, mold spores, bacteria?
- Clean the ducts – Use brushes, vacuums or blowers to remove debris.
- Install air purification system – Protect against harmful particles in the ducts.
Replace air filters too. Doing this can help indoor air quality and improve health outcomes.
Many households don’t realize poor indoor air quality until it’s too late. These impurities can be dangerous, especially for those with allergies or asthma. It’s time to prioritize clean air and healthy environments. So, don’t turn your home into a biohazard zone.
Improving Airflow and Preventing Contamination
For clean air & better indoor air quality, follow these four steps:
- Clean & replace filters as per the manufacturer’s instructions. Dirty filters limit airflow & increase risk of contamination.
- Invest in a high-quality air purifier to remove pollutants from the air.
- Proper ventilation helps fresh air circulate, reducing stagnant air & pollutants. Open windows or use an exhaust fan.
- Identify & eliminate sources of pollution like smoking or chemical cleaners.
Remember, pets can bring in contaminants too. So clean after them.
Pro Tip: Check carbon monoxide detectors regularly to prevent deadly gas leaks. Also, use a microfiber cloth & soapy water for cleaning as it is healthier than inhaling chemicals.
Using Microfiber Cloth and Soapy Water for Cleaning
Clean air and improved indoor air quality? Microfiber cloth and soapy water will do the job.
Follow our three-step guide for optimal results:
- Dampen the cloth with warm water and add a bit of soap.
- Scrub surfaces back and forth, doorknobs, light switches, countertops.
- Rinse the cloth and wipe down surfaces again to remove any excess soap.
Plus, using cloth has environmental benefits. It generates less waste than disposable wipes or paper towels and is reusable after washing. Did you know that fabric for cleaning dates back to ancient Egypt? Today, we have access to high-quality materials like microfiber cloth, making cleaning easier and more efficient. So, don’t forget to clean, it is important for your health.
Conclusion
Keeping air ducts in proper condition is important for quality air and successful HVAC performance. To achieve this, cleaning air ducts, vents and filters regularly is a must. You must clean all parts of the HVAC system, such as supply ducts, return ducts, supply registers, return air boots and grilles. Professional maintenance services are best for deep cleaning due to their knowledge and tools. DIY techniques like a vacuum cleaner or brush with long rods can be used to take out dirt build-up around vents. Before starting, remember to cover return air grilles with something temporarily while vacuuming.