
Summary
Controlling a Carrier air conditioner (AC) without a remote can be a straightforward process, but it requires a bit of technical know-how. This comprehensive guide will walk you through the various methods you can use to control your Carrier AC without the original remote, including locating the manual control button, using the service hatch, employing a universal remote, and leveraging a smart plug. With detailed instructions and expert-level insights, you’ll be able to take full control of your Carrier AC and ensure optimal comfort in your home or office.
Locate the Manual Control Button
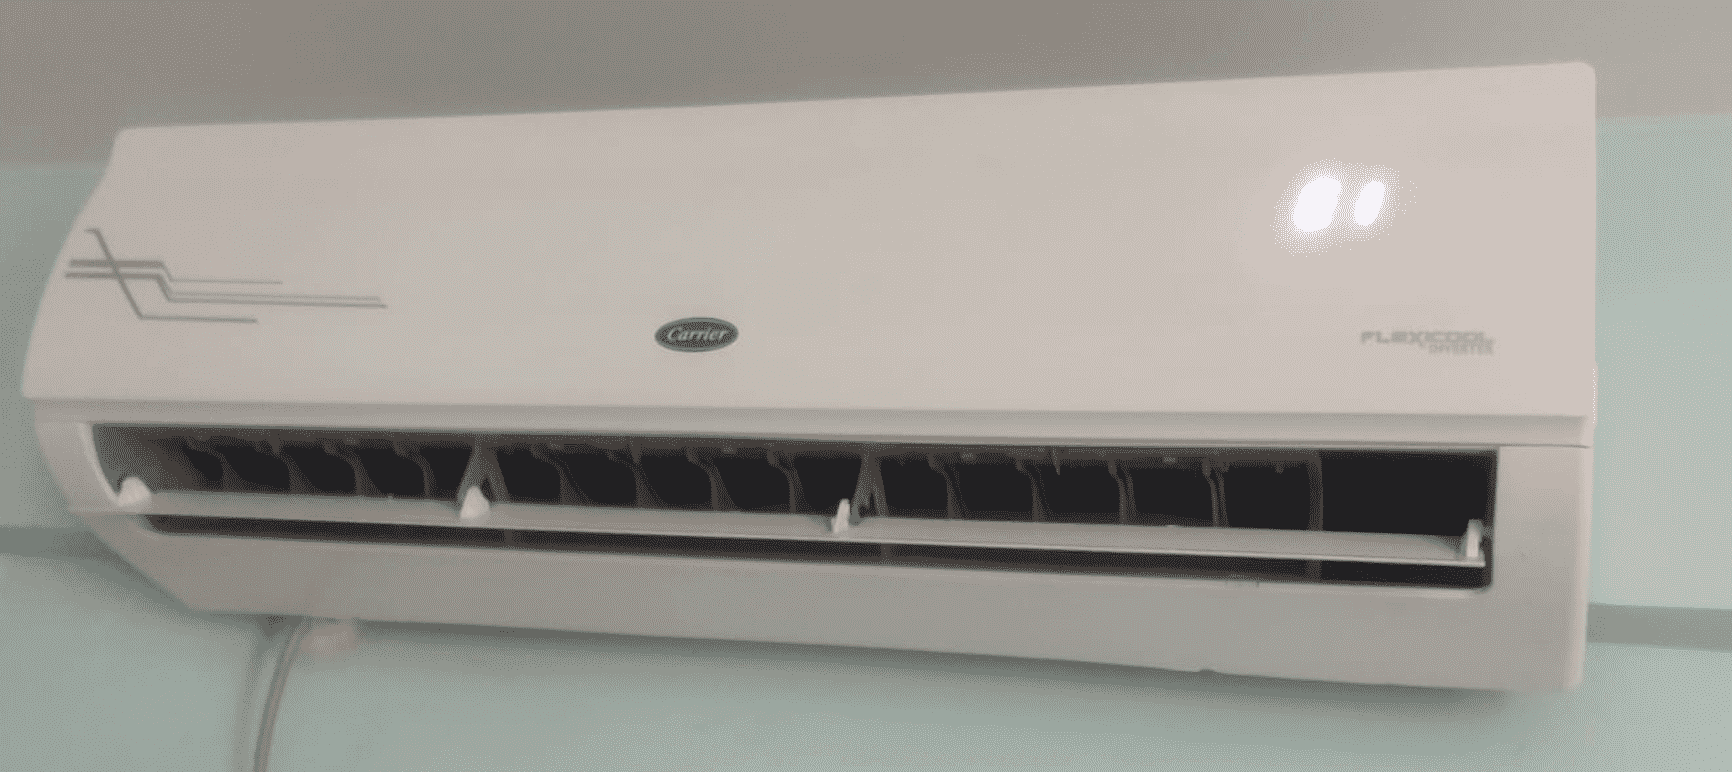
The first step in controlling your Carrier AC without a remote is to locate the “MANUAL CONTROL” button on the indoor unit. This button is typically situated on the right-hand side of the unit, near the bottom. To access it, you’ll need to open the front panel of the indoor unit.
Once you’ve located the “MANUAL CONTROL” button, you can press it to adjust the settings of your Carrier AC. This will allow you to change the temperature, fan speed, and mode of the unit, just as you would with the remote control.
It’s important to note that the location and appearance of the “MANUAL CONTROL” button may vary slightly depending on the specific model of your Carrier AC. Consult your unit’s user manual or manufacturer’s website for more detailed information on the button’s placement and functionality.
Utilize the Service Hatch
If you’re unable to find the “MANUAL CONTROL” button on the indoor unit, you can access the control panel through the service hatch. The service hatch is typically located at the bottom or back of the unit and provides direct access to the control buttons.
To use the service hatch, follow these steps:
- Locate the service hatch on your Carrier AC unit. It may be secured with screws or a snap-on cover.
- Carefully remove the hatch cover to reveal the control panel.
- Identify the buttons for temperature, fan speed, and mode adjustment.
- Press the appropriate buttons to change the settings of your Carrier AC.
Keep in mind that the specific layout and button functions of the control panel may vary depending on your Carrier AC model. Refer to your unit’s user manual or contact the manufacturer for more detailed instructions on using the service hatch.
Employ a Universal Remote
If you’ve lost or misplaced the original remote for your Carrier AC, you can purchase a universal remote that is compatible with your unit. Universal remotes are widely available in electronics stores and online marketplaces.
When selecting a universal remote, make sure to choose one that is specifically designed to work with Carrier ACs. This will ensure that the remote can communicate with your unit and provide full control over the temperature, fan speed, and mode settings.
To program the universal remote to your Carrier AC, follow the instructions provided with the remote. This typically involves entering a specific code or using a learning function to capture the signals from your original remote. Once the universal remote is properly configured, you’ll be able to control your Carrier AC just as you would with the original remote.
Leverage a Smart Plug
For an even more convenient way to control your Carrier AC without a remote, consider using a smart plug. Smart plugs are devices that you can plug your AC unit into, allowing you to control it remotely using a smartphone app.
To use a smart plug with your Carrier AC, follow these steps:
- Identify a smart plug that is compatible with your Carrier AC’s power requirements and your home’s Wi-Fi network.
- Plug the Carrier AC unit into the smart plug.
- Connect the smart plug to your Wi-Fi network using the manufacturer’s mobile app.
- Download the app and use it to control your Carrier AC, including adjusting the temperature, fan speed, and mode.
Smart plugs offer the convenience of remote control, allowing you to adjust your Carrier AC settings from anywhere with an internet connection. This can be particularly useful if you’re away from home and want to ensure your living or work space is comfortable upon your return.
Technical Specifications and Expert Insights
Manual Control Button Placement and Functionality
The “MANUAL CONTROL” button on Carrier AC units is typically located on the right-hand side of the indoor unit, near the bottom. This button is designed to provide direct access to the unit’s control panel, allowing you to adjust the temperature, fan speed, and mode without the use of a remote.
The button itself is usually a small, recessed button that may be labeled with the text “MANUAL CONTROL” or a similar designation. When pressed, the button will activate the control panel, enabling you to make the desired adjustments using the buttons or dials located next to the “MANUAL CONTROL” button.
It’s important to note that the specific placement and appearance of the “MANUAL CONTROL” button may vary slightly between different Carrier AC models. Some units may have the button located in a different position, or it may be labeled with a different term, such as “MANUAL” or “CONTROL.” Consult your Carrier AC’s user manual or the manufacturer’s website for more detailed information on the location and functionality of the manual control button.
Service Hatch Access and Control Panel Layout
The service hatch on Carrier AC units is typically located at the bottom or back of the indoor unit, providing direct access to the control panel. This hatch is designed to allow technicians and homeowners to access the internal components of the AC unit for maintenance, repair, or manual control purposes.
When accessing the service hatch, you’ll find a control panel with various buttons and/or dials that allow you to adjust the temperature, fan speed, and mode of the Carrier AC. The specific layout and functionality of the control panel may vary depending on the model, but it’s generally organized in a straightforward manner, with clearly labeled buttons for each setting.
Some common control panel elements you may encounter include:
- Temperature adjustment buttons or dial
- Fan speed selection buttons (e.g., low, medium, high)
- Mode selection buttons (e.g., cool, heat, auto, fan)
- Power on/off button
It’s important to handle the service hatch and control panel with care, as improper adjustments or tampering could potentially damage the AC unit or affect its performance. If you’re unsure about the specific functionality of the control panel, refer to your Carrier AC’s user manual or contact the manufacturer for guidance.
Universal Remote Compatibility and Programming
When selecting a universal remote to control your Carrier AC, it’s crucial to choose a model that is specifically designed to work with Carrier air conditioning systems. This will ensure that the remote can communicate effectively with your unit and provide full control over the available settings.
Universal remotes for Carrier ACs are widely available from various manufacturers, such as Gree, Midea, and Haier. These remotes typically come with a pre-programmed code library that includes the necessary codes for Carrier AC models, making the setup process relatively straightforward.
To program a universal remote to your Carrier AC, follow these general steps:
- Locate the code for your specific Carrier AC model in the remote’s instruction manual or online database.
- Enter the code into the universal remote, following the manufacturer’s instructions.
- Test the remote’s functionality by pointing it at your Carrier AC unit and verifying that the unit responds to the remote’s commands.
If the pre-programmed code doesn’t work, the universal remote may have a learning function that allows it to capture the signals from your original Carrier AC remote. This process typically involves holding the universal remote close to the original remote and pressing the appropriate buttons to “learn” the necessary commands.
It’s important to note that the programming process may vary slightly depending on the universal remote model and the specific Carrier AC you’re using. Refer to the universal remote’s instruction manual or the manufacturer’s website for detailed, model-specific programming instructions.
Smart Plug Compatibility and Setup
Integrating a smart plug with your Carrier AC can provide a convenient way to control the unit remotely using a smartphone or tablet. When selecting a smart plug for your Carrier AC, it’s crucial to ensure that the plug is compatible with your unit’s power requirements and your home’s Wi-Fi network.
Most smart plugs designed for air conditioning units are compatible with a wide range of voltages, typically ranging from 110V to 240V. This ensures that the smart plug can safely and effectively power your Carrier AC. Additionally, the smart plug should be able to connect to your home’s Wi-Fi network, allowing you to control the AC unit through a dedicated mobile app.
To set up a smart plug with your Carrier AC, follow these steps:
- Identify a smart plug that is compatible with your Carrier AC’s power requirements and your home’s Wi-Fi network.
- Plug the Carrier AC unit into the smart plug.
- Connect the smart plug to your Wi-Fi network using the manufacturer’s mobile app. This may involve scanning a QR code, entering your Wi-Fi credentials, or using a Wi-Fi pairing button on the smart plug.
- Download the mobile app provided by the smart plug manufacturer and log in to your account.
- Within the app, locate your Carrier AC unit and begin controlling its settings, such as temperature, fan speed, and mode.
Some advanced smart plugs may also offer additional features, such as scheduling, remote access, and integration with smart home ecosystems like Amazon Alexa or Google Assistant. Be sure to review the smart plug’s specifications and mobile app functionality to ensure it meets your needs and preferences.