
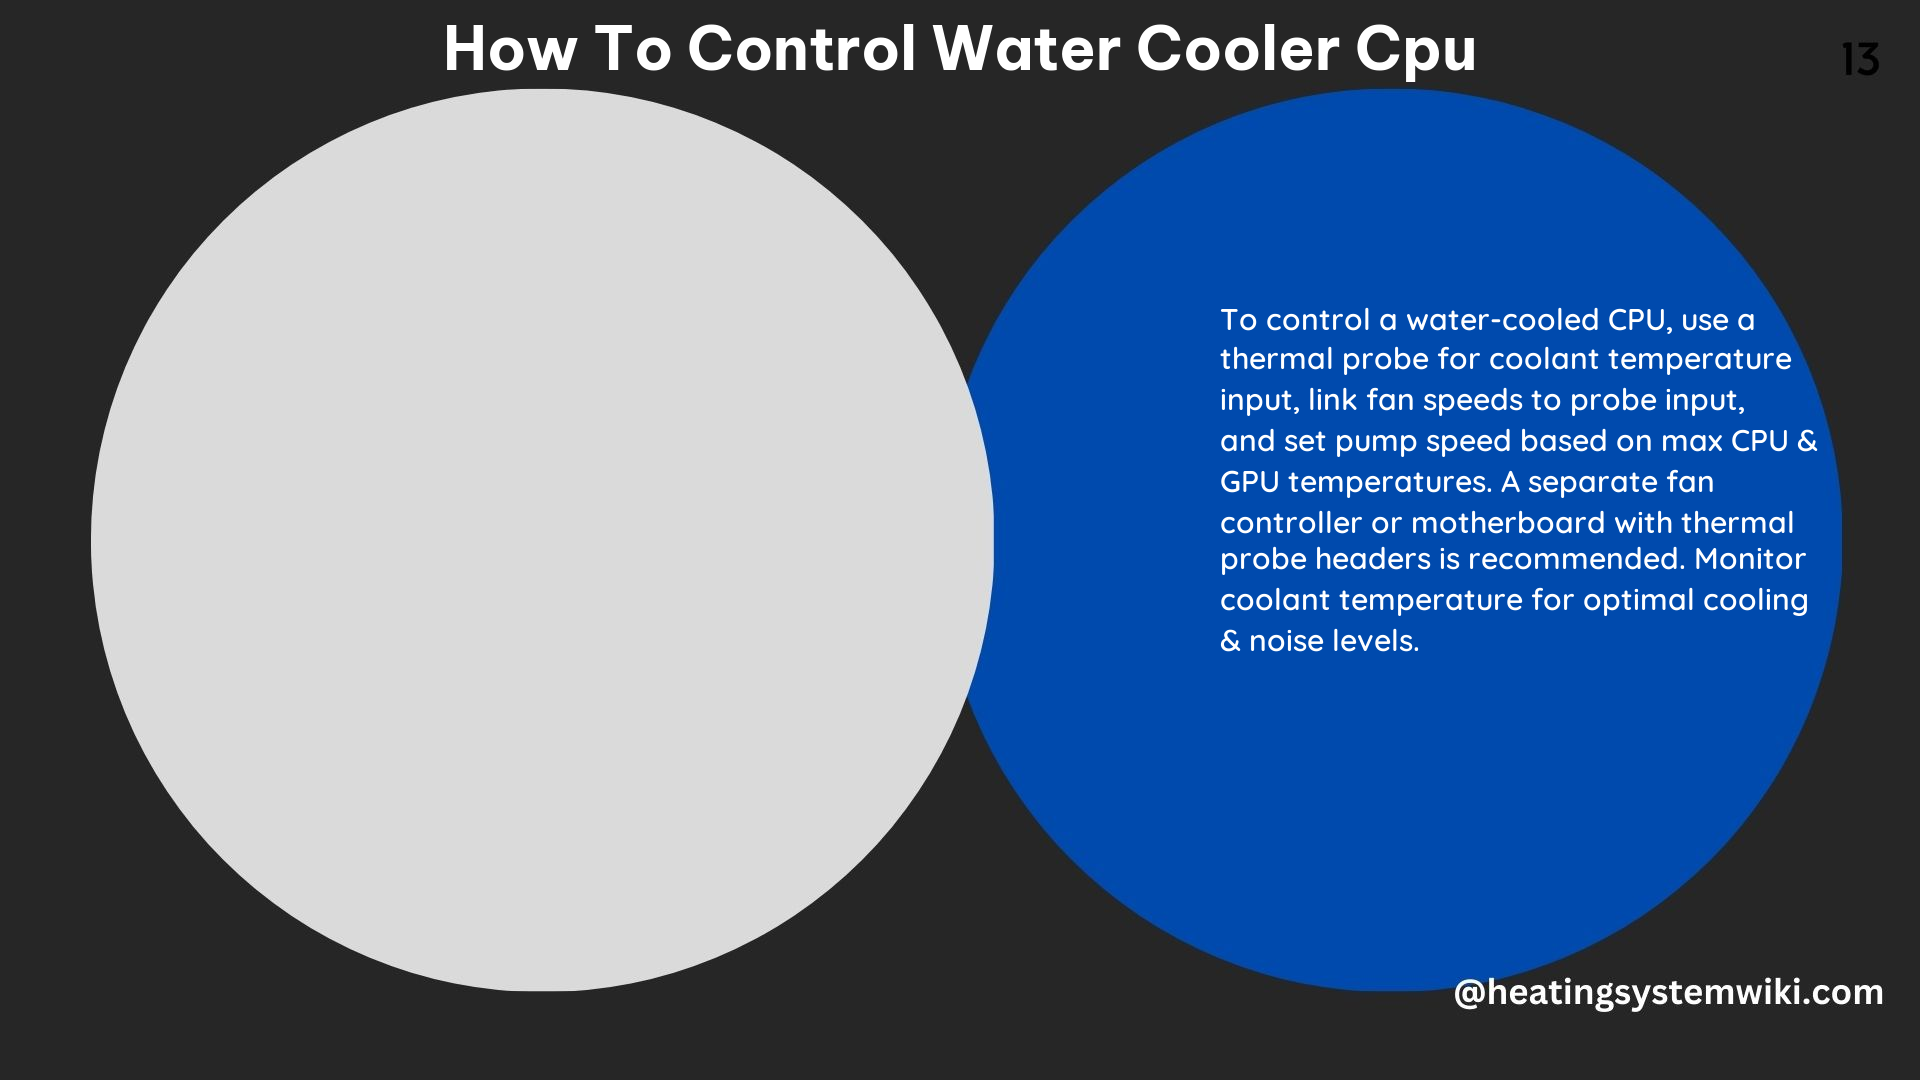
Controlling the water cooler CPU in a PC is crucial for maintaining optimal system performance and preventing overheating. By setting up your system to respond to coolant temperature rather than CPU temperature, you can ensure a more stable and accurate control of the overall system temperature, especially in a water-cooled setup where the coolant can absorb a significant amount of heat. This comprehensive guide will walk you through the step-by-step process of controlling your water cooler CPU effectively.
Selecting the Thermal Probe
The first step in controlling your water cooler CPU is to choose the right type of thermal probe. There are two main types of thermal probes:
- Pass-through Probes: These probes screw directly into G1/4-inch ports and have female threads on top, allowing for easy installation.
- Physical Probes: These probes use long, hidden physical probes to delve deeper into components, providing more accurate temperature readings.
When selecting a probe, consider the available clearance behind the port thread, as the required clearance can be up to 2 cm. It’s generally better to use a port on a reservoir rather than a waterblock, as the reservoir provides more space for the probe.
Installing the Thermal Probe
Once you’ve identified a suitable location for the thermal probe, screw it into the thread and ensure the rubber O-ring makes good contact. Positioning the probe in a location where it will make contact with the moving coolant, rather than a recessed area of the reservoir, is crucial for accurate temperature readings.
Connecting the Thermal Probe to the Motherboard
The next step is to locate the thermal probe headers on your motherboard. These are small 2-pin features that allow you to connect the thermal probe. Consult your motherboard’s manual or specifications to identify the available thermal probe headers, which may be located on the motherboard itself or on a daughterboard.
Configuring the UEFI/BIOS
Not all motherboards offer thermal probe inputs, and even among those that do, not all of them allow the fan speed to be linked to the thermal probe input. Dive into your motherboard’s UEFI/BIOS settings to check if you can link the control of fan speeds with the thermal probe inputs.
Using a Third-Party Controller
If your motherboard lacks thermal probe headers or the ability to link probes with fan speeds, you can consider using a third-party fan controller. These controllers, such as the Aquacomputer Aquaero, often require a 5.25-inch bay but can be mounted anywhere in your case, providing a flexible solution for controlling your water cooler CPU.
Connecting Fans to the Motherboard
When connecting your radiator fans, it’s best to use a splitter cable or hub to connect them all to a single fan header, which you can then link to the thermal probe. This ensures that the fan speed is controlled based on the coolant temperature. Avoid using the CPU fan header, as it often cannot switch to other temperature inputs; instead, use the CPU OPT or chassis fan headers.
Switching the Temperature Input
To switch from the CPU temperature being the input for fan speed control, navigate to the temperature input option in your UEFI/BIOS settings. On some motherboards, the CPU OPT and chassis fan header controls allow you to select the thermal probe as the temperature input.
Stress Testing and Fan Tuning
After setting up your system, it’s important to stress test it and determine the upper and lower limits of the coolant temperature and how it impacts the CPU temperature. Run a stress test, such as Prime95, for at least 20 minutes to observe the fan and coolant temperature behavior.
Additionally, allow your motherboard’s fan-tuning software or UEFI/BIOS features to identify and assess your fans, so you can optimize the PWM or voltage settings to achieve the desired fan speeds.
Advanced Tips and Tricks
- Dual-Loop Configuration: If you have a combined CPU-GPU loop, you can set the fan speeds to be controlled by the water temperature as it exits the pump/reservoir combo, and the pump speed controlled by the maximum of the CPU’s and the GPU’s temperatures.
- PWM Hub: Utilize a PWM hub to control multiple fans and pumps in your system, simplifying the wiring and providing centralized control.
- Coolant Temp/Flow Sensor: Install a coolant temperature and flow sensor to monitor the flow rate and temperature of the coolant in your system, providing additional data points for fine-tuning your water cooling setup.
By following these steps and incorporating the advanced tips, you can effectively control your water cooler CPU, ensuring optimal system performance, reduced noise levels, and extended component lifespan.