
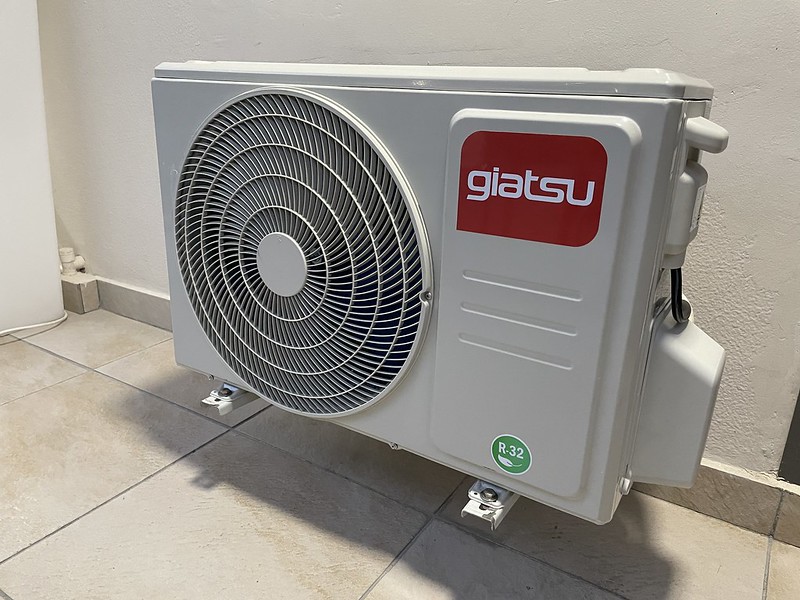
When it comes to installing a mini split air conditioning system, the proper placement and elevation of the outdoor condensing unit is crucial for optimal performance and longevity. Elevating the unit using a stone platform is a popular and effective solution, providing a stable and durable foundation. In this comprehensive guide, we’ll delve into the step-by-step process of elevating a mini split condensing unit using stone, covering all the technical details and expert-level insights to ensure a successful DIY project.
Choosing the Right Stone
The foundation of your mini split condensing unit’s elevation is the stone platform. It’s essential to select the right type of stone that can withstand the weight of the unit and provide a stable, level surface. Some of the best options for this task include:
-
Flagstone: A natural, flat stone that offers excellent durability and a visually appealing finish. Flagstone is a popular choice for its ability to support heavy loads and its resistance to weathering.
-
Bluestone: A dense, hard-wearing natural stone that is known for its exceptional strength and longevity. Bluestone is an excellent choice for supporting the weight of a mini split condensing unit.
-
Concrete Pavers: Precast concrete pavers are a versatile and cost-effective option. They are available in various shapes, sizes, and finishes, making them a flexible choice for your mini split platform.
When selecting the stones, consider the following factors:
- Thickness: The stones should be at least 2-3 inches thick to provide sufficient support and stability.
- Flatness: Choose stones that are relatively flat and level to ensure a stable foundation for the mini split unit.
- Compressive Strength: The stones should have a high compressive strength to handle the weight of the mini split unit, which can range from 50 to 150 pounds.
Preparing the Base
Before laying the stone platform, it’s crucial to properly prepare the base. Follow these steps:
-
Clear the Area: Remove any vegetation, debris, or uneven ground from the area where the mini split unit will be placed.
-
Level the Ground: Use a hand tamper or a small plate compactor to level and compact the ground, ensuring a stable and even surface.
-
Drainage Layer: Spread a 2-4 inch layer of gravel or crushed stone over the leveled ground. This drainage layer will help prevent water accumulation and improve the stability of the platform.
-
Compact the Drainage Layer: Use the hand tamper or plate compactor to compact the drainage layer, creating a solid and level base for the stone platform.
Laying the Stone Platform
With the base prepared, it’s time to lay the stone platform. Follow these steps:
-
Arrange the Stones: Carefully arrange the selected stones in a square or rectangular shape, leaving enough space for the mini split unit. Ensure that the stones are level and tightly fitted together.
-
Secure the Stones: If necessary, use a construction adhesive or mortar to secure the stones together, creating a stable and unified platform.
-
Final Leveling: Use a level to check the platform’s flatness and make any necessary adjustments by adding or removing stones to achieve a perfectly level surface.
-
Dimensions: The stone platform should be at least 12-24 inches above the ground to provide adequate clearance and prevent snow buildup. The platform’s dimensions should be slightly larger than the mini split unit’s footprint, allowing for easy access and maintenance.
Installing the Mini Split Unit
With the stone platform ready, it’s time to install the mini split condensing unit. Follow these steps:
-
Position the Unit: Carefully place the mini split unit on the center of the stone platform, ensuring it is level and stable.
-
Secure the Unit: Use brackets, straps, or other appropriate hardware to securely fasten the mini split unit to the stone platform, preventing any movement or vibrations.
-
Clearance Verification: Ensure that there is sufficient clearance around the mini split unit, typically 12-24 inches, to allow for proper airflow and easy maintenance access.
-
Electrical and Refrigerant Connections: Once the unit is in place, connect the electrical and refrigerant lines according to the manufacturer’s instructions. This step may require the assistance of a licensed HVAC technician.
Maintaining the Stone Platform
To ensure the longevity and optimal performance of your mini split system, it’s essential to maintain the stone platform regularly. Here are some tips:
-
Inspect for Cracks or Damage: Periodically check the stone platform for any cracks, chips, or signs of deterioration and address them promptly.
-
Clean the Platform: Keep the stone platform free of debris, leaves, and other obstructions that could impede airflow or cause water accumulation.
-
Monitor Stability: Ensure that the platform remains level and stable over time. If any settling or shifting occurs, make the necessary adjustments to maintain the platform’s integrity.
-
Reseal or Regrout: If the stones were secured with mortar or construction adhesive, periodically inspect and reseal or regrout as needed to maintain the platform’s structural integrity.
By following these comprehensive steps and technical details, you can successfully elevate your mini split condensing unit using a durable and reliable stone platform. This approach not only provides a stable foundation but also enhances the overall appearance and functionality of your mini split system.