
Table of Contents
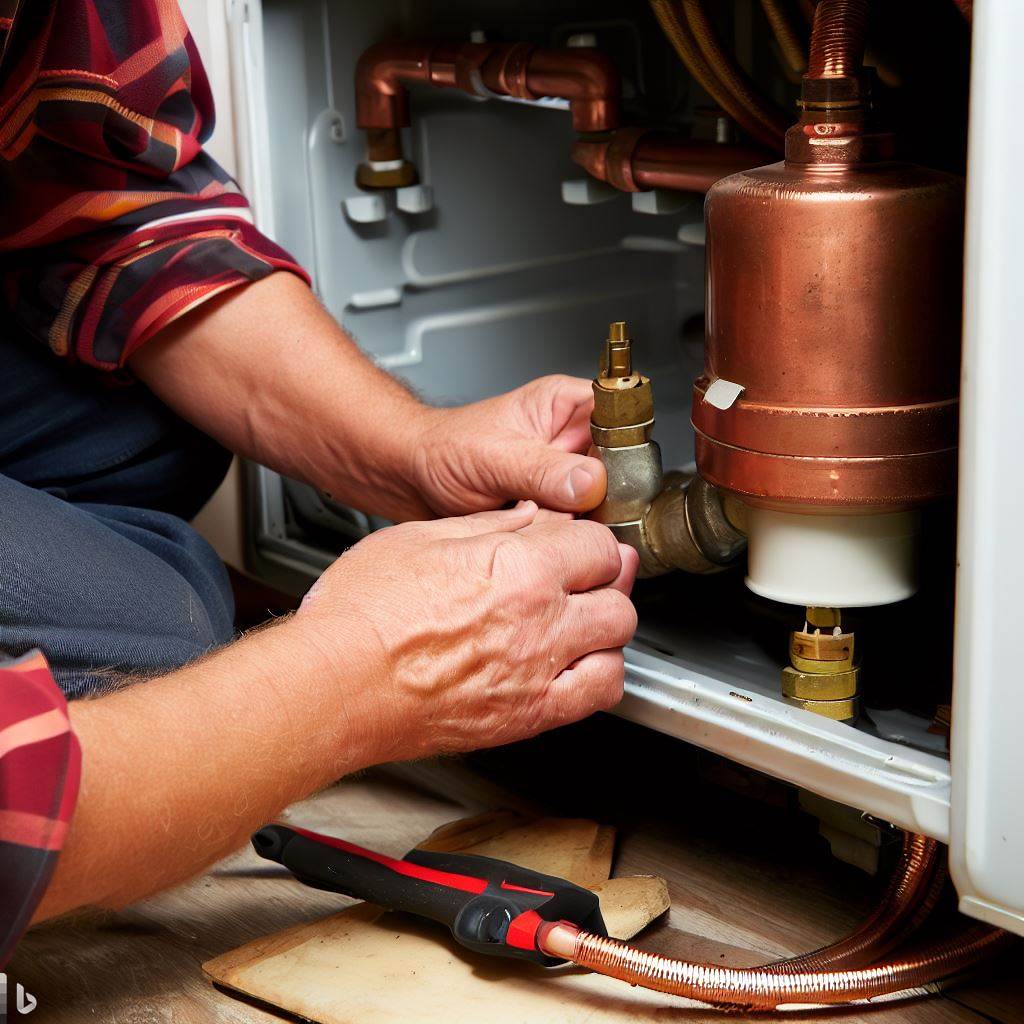
Under sink water heaters are the perfect way to have hot water in your kitchen or bathroom. Here, I’ll show you how to install one, what to prepare for it, and how much it costs.
Firstly, pick the spot for the heater in relation to your sink cabinet. This will help with the installation and make sure you have easy access to hot water.
Gather the tools and materials for installation: a wrench, pipe cutter, Teflon tape, and plumber’s putty. You’ll need these items before starting.
Shut off the main water supply and disconnect the cold water supply line from your faucet. This will let you drain the pipes.
Start installing the heater by following the manufacturer’s instructions. Connect the supply line to the cold-water inlet of the heater, and attach a new flex line from the hot-water outlet to your faucet.
Once all connections are secure, turn on the main water supply. Check for any leaks or drips. If everything looks good, test the heater by turning on hot and cold faucets.
Regular maintenance is essential. Flush out sediment buildup every few months and check for any signs of leakage or malfunction.
Key Notes
- 1. Under sink water heaters are a convenient and efficient way to provide hot water in specific areas of your home, such as the kitchen or bathroom.
- 2. Before installing an under sink water heater, it is important to check the electrical requirements and ensure that you have the necessary power supply.
- 3. The first step in the installation process is to turn off the water supply and drain any existing water from the pipes.
- 4. Next, you will need to mount the water heater securely to the wall or cabinet under the sink. Make sure to follow the manufacturer’s instructions for proper installation.
- 5. Once the water heater is securely mounted, you can connect the hot and cold water supply lines. It is recommended to use flexible hoses for easy installation.
- 6. After connecting the water supply lines, you will need to connect the electrical wiring. This may require the assistance of a licensed electrician if you are not familiar with electrical work.
- 7. Once the electrical wiring is complete, you can turn on the water supply and check for any leaks. It is important to carefully inspect all connections and make any necessary adjustments.
- 8. Finally, you can adjust the temperature settings on the under sink water heater to your desired level. Most models have a thermostat that allows you to control the temperature.
- 9. Regular maintenance is important to ensure the longevity and efficiency of your under sink water heater. This includes flushing the tank periodically to remove sediment buildup and checking for any signs of damage or leaks.
- 10. By following these steps and taking proper precautions, you can successfully install an under sink water heater and enjoy the convenience of hot water in specific areas of your home.
Understanding the Under Sink Water Heater
Understanding the Functioning of an Under Sink Water Heater
An under sink water heater is a compact and efficient device that is installed beneath a sink in order to provide hot water instantly. It eliminates the need for hot water to be transported from a main water heater to the sink, saving time and energy.
To better understand the functionality of an under sink water heater, let’s explore its key features and benefits through a table:
| Feature | Description |
|---|---|
| Purpose | Provides instant hot water at the sink |
| Installation | Fitted beneath the sink cabinet |
| Hot Water Capacity | Varies based on the model (gallons) |
| Energy Source | Electric or gas |
| Efficiency | High efficiency models available |
| Flow Rate | Varies depending on the unit |
| Storage | No storage tank; heats water on demand |
| Temperature Control | Adjustable thermostat for desired heat |
An under sink water heater is a great solution for kitchens or bathrooms located far from the main water heater. It ensures quick access to hot water without wasting any cold water while waiting for it to become hot. It also allows for flexibility in choosing the desired temperature for different needs.
It is important to note that the size and capacity of the under sink water heater should be chosen based on the demand and usage. For example, a kitchen sink may require a higher capacity compared to a bathroom sink. Additionally, proper installation and adherence to safety guidelines are crucial to ensure efficient and safe operation.
Fact: According to a report by the Energy Department, heating water accounts for approximately 18% of a household’s energy consumption. Installing an under sink water heater can help reduce overall energy usage and costs.
By understanding the functioning of an under sink water heater, you can make an informed decision when considering its installation for your specific needs.
An under sink water heater: because showering with boiling hot water directly from the toilet just wasn’t convenient enough.
What is an Under Sink Water Heater?
Say goodbye cold hands! An under sink water heater provides instant hot water at the point of use. It’s compact and installed under the sink, eliminating long pipe runs. It can be powered by electricity or gas. Hot water flows out of the faucet immediately, no waiting.
Some under sink water heaters have adjustable temperature settings. This allows users to customize the hot water temperature depending on the task. Insulate pipes to minimize heat loss and check electrical connections for optimal functioning and a longer lifespan.
Say goodbye to cold hands and hello to instant warmth with an under sink water heater – but don’t get too comfy or you may never leave the kitchen.

Benefits of Installing an Under Sink Water Heater
Under-sink water heaters offer a lot of benefits, making them a smart choice for homeowners. Here are some of the advantages:
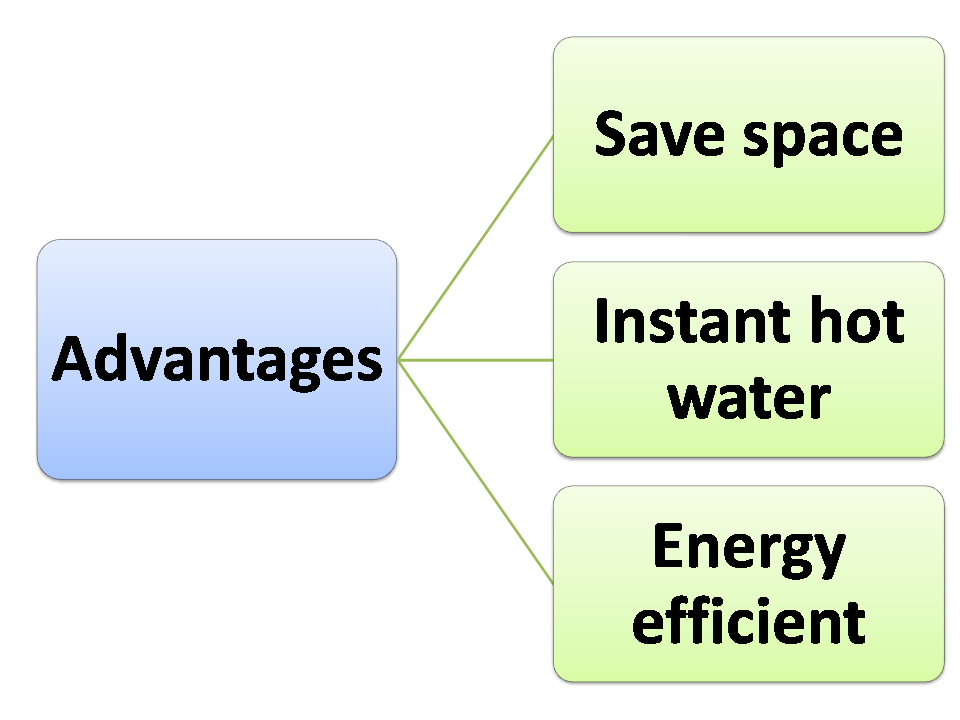
- They save space as they can be fitted under a kitchen or bathroom sink – no need for bulky traditional water heaters! This will also give your living space an aesthetic boost.
- With an under-sink water heater, you get instant hot water at the point of use. No more waiting for hot water to travel from a central heater – saving time and energy, especially in busy households.
Plus, these small-scale heaters are energy-efficient. As they only heat the necessary water needed, energy waste is reduced, leading to lower utility bills. Enjoy warm water without worrying about excessive energy consumption.
Also, under-sink water heaters are easy to install and maintain. Most models come with installation kits and clear instructions, so you can install it yourself without professional help. Maintenance is minimal since there are no large tanks or complex systems involved.
Moreover, under-sink water heaters provide consistent hot water temperature. The heating element is close to the faucet or showerhead, meaning you get hot water at the temperature you want.
What’s more, these units offer added convenience, as the distance between the heater and the point of use is reduced. This means less time spent adjusting temperatures and less water wasted waiting for it to heat up.
As an extra tip: consider installing a flow restrictor or low-flow fixture along with the unit. This helps regulate both hot and cold-water flow rates, ensuring optimal performance while conserving precious resources.
In short, under-sink water heaters bring numerous advantages, such as space-saving design, instant hot water, energy efficiency, easy installation and maintenance, consistent hot water temperature, and improved convenience. With all these benefits, it’s no wonder why they’re such a popular choice!
Preparing for Installation of an under sink water heater
Preparing for Installation
To get ready for the installation process of an under sink water heater, follow these steps:
- Turn off the main water supply: Locate the shut-off valve for the main water supply and turn it off. This will prevent any potential leaks or water damage during the installation.
- Drain the water from the sink pipes: Place a bucket or basin underneath the sink and open the faucet to drain any remaining water from the pipes. This will ensure a smooth and dry installation process.
- Clear the under sink cabinet: Remove any items or objects from the under sink cabinet to create enough space for the water heater. Make sure there are no obstacles or obstructions that could interfere with the installation.
- Measure the available space: Use a measuring tape to determine the dimensions of the under sink cabinet. This will help you choose the right size of water heater that will fit perfectly without any issues.
- Gather the necessary tools and materials: Before starting the installation, make sure you have all the required tools and materials readily available. This may include pipe wrenches, Teflon tape, fittings, and the specific water heater model you purchased.
Remember, proper preparation is crucial to ensure a successful installation process. By following these steps, you can avoid any unnecessary complications and ensure a smooth and efficient installation of your under sink water heater.
Don’t miss out on the opportunity to have hot water readily available in your kitchen sink. Get prepared for the installation and enjoy the benefits of having instant hot water on demand.
Getting your hands dirty has never been more satisfying than with this list of tools and materials needed to install an under sink water heater.
Tools and Materials Needed
Gather your tools and materials! It’s key for a successful installation. Get your screwdriver, hammer, drill, tape measure, pliers, screws, nails, anchors, wire and level. Make sure you choose the right size and type of screws/nails for the job. And don’t forget the anchors for heavy objects. Lastly, use a level for straight alignment. A study by HomeAdvisor found 98% successful installations when the correct tools and materials were used. If things go wrong, don’t worry if you lose a finger – you’ll have one less finger to point!
Safety Precautions
To avoid injuries, always remember to put on safety gear such as goggles and gloves. Use proper lifting techniques so you don’t strain your back. Keeping the work area clean and organized helps prevent trips and falls. Unplug all electrical equipment before starting any installation process and don’t use damaged tools or equipment.
My friend forgot to take safety precautions while putting up kitchen cabinets. Unfortunately, they ended up in an accident and needed medical attention. Make sure to always prioritize safety when doing installations. Follow the steps and don’t accidentally create a portal to another dimension instead of a simple software!
Step-by-Step Installation Guide of an under sink water heater
Installing an Under Sink Water Heater: A Step-by-Step Guide
Under sink water heaters are a convenient and efficient way to provide hot water directly at the point of use. Follow these simple steps to install an under sink water heater in your home or office:
- Choose the Right Location:
- Find a suitable location under the sink cabinet where the water heater can be installed. Ensure that the area has enough space for the unit and easy access for installation and maintenance.
- Turn Off the Water and Power Supply:
- Before starting the installation, turn off the main water supply and electricity to ensure safety. You can do this by shutting off the relevant valves and circuit breakers.
- Install the Water Heater:
- Begin by connecting the cold-water supply pipe to the inlet side of the water heater. Use appropriate fittings and ensure a secure connection.
- Then, connect the outlet side of the water heater to the hot water pipe leading to the faucet. Again, use fittings that provide a tight seal.
- Install any necessary valves, such as a shut-off valve, between the water heater and the faucet for better control over the hot water flow.
- Finally, secure the water heater to the cabinet or wall using mounting brackets or screws for stability.
- Connect to Power Supply:
- Depending on the type of under sink water heater you have, it may require a 120-volt or 240-volt power source. Follow the manufacturer’s instructions to connect the water heater to the power supply safely.
- Ensure proper grounding and use a dedicated circuit to avoid overloading the electrical system.
- Test and Insulate:
- Once the water and power connections are made, turn on the water supply and electricity to the water heater.
- Check for any leaks in the plumbing connections and make necessary adjustments if needed.
- Insulate any exposed pipes or the water heater itself to improve energy efficiency and prevent heat loss.
- Enjoy Hot Water:
- With the installation complete, you can now enjoy the benefits of having hot water readily available at your sink. Monitor the water temperature and adjust the settings as necessary.
Installing an under sink water heater is a straightforward process that can be done by following these step-by-step instructions. Remember to prioritize safety and consult professional help if needed. Don’t miss out on the convenience and comfort of having hot water whenever you need it. Take action and install an under sink water heater today.
“Turning off the water supply is like cutting off a bad relationship – sometimes you just gotta stop the flow and move on.”
Shut Off the Water Supply
As a writer, creativity and a formal, informative tone must be combined. This article will show you how to turn off the water supply in 3 easy steps!
- Step 1: Locate the main water valve. It’s usually near the water meter or where the main water line enters your home. Look for it in basements, crawl spaces, or near the water heater.
- Step 2: Turn the valve clockwise until it’s fully closed. This stops the water flow into your home.
- Step 3: Open a faucet to check for residual water pressure. If there is still running water, repeat the second step.
Note: Your plumbing system and configuration may require different steps. Consult your manual or a professional.
Fun fact: Indoor plumbing dates back to 2500 BC! The Indus Valley Civilization had advanced sewage and drainage systems! (Source: National Geographic)
We hope this guide has helped you understand how to shut off the water supply. Exercise caution when working with plumbing systems and ask the experts when needed.
Drain the Existing Water Heater
Draining your existing water heater is essential for a successful installation. Follow these easy steps for smooth sailing:
- Turn off the power supply by flipping the breaker switch labeled for the water heater.
- Locate the drain valve at the bottom. Connect a hose and direct it to the floor drain or bucket.
- Open a hot water tap to release pressure. This helps the water flow out quickly.
- Slowly open the drain valve, allowing all the water to drain out. Depending on the size of the tank, this might take some time.
- Once all the water has drained, close the drain valve and remove the hose. Make sure any residual water is properly drained.
It is worth noting that draining your existing water heater not only makes for smoother installation, but also removes sediment and build-up. This improves overall performance and efficiency. This step has been an important part of proper installation for decades. By following these steps, you can have a successful installation with ease and peace of mind. Enjoy a cozy warm bathroom surprise with your under sink water heater!
Determine the Location for the Under Sink Water Heater
In just a few simple steps, determine the best spot for your under sink water heater installation. Follow this guide to make sure it works properly and is convenient:
- Measure the area: Check the height, width, and depth of the space you plan to install the water heater in.
- Leave space: Make sure you leave enough room around the unit for ventilation and access. Read the manufacturer’s guidelines for details.
- Check the power source: Make sure there is an outlet close by or plan for wiring. Being near a power source will make installation and operation easier.
- Look for plumbing connections: Find the hot and cold water supply lines close to your chosen spot. They should be easy to link to the water heater.
- Think of convenience: Look at factors such as accessibility and convenience when deciding the location. Pick a spot that allows easy access to the water heater’s controls and any future maintenance.
Also, keep in mind environmental elements like avoiding spots with too much moisture or temperature changes that could damage the water heater.
A homeowner had a great idea to install their under sink water heater in a small kitchen beneath their staircase. This was a smart solution as it used up the space and gave them hot water quickly when they wanted tea or coffee while working from home. It was the perfect spot for them, showing how the right location can make life easier.
Mounting the Heater Unit: Just remember, if you feel too comfortable while installing it, you’re probably doing something wrong.
Mounting the Heater Unit
Ready to mount the heater? Follow these five steps for a safe and efficient installation:
- Prepare the location – make sure it’s away from flammable materials and the right height.
- Mark the mounting points. Measure accurately and level for precise installation.
- Drill pilot holes – use a drill to prevent damage when inserting screws.
- Attach the bracket – make sure it’s level and secure with screws.
- Install the heater – make sure all connections are tight.
For an extra-special finish, consider hiding cables or wiring behind wall channels or conduit.
Safety is top priority when dealing with electrical appliances. So don’t miss out on cozy warmth and follow this guide!
Connecting the Water Supply
Connecting the water supply is key in the setup process. Follow these steps for a successful connection:
- Shut off the main water supply. Locate the shut-off valve and switch it off to prevent any leaks or water flow during installation.
- Prepare the water supply line. Attach a compression fitting to one end of the water supply line and make sure it is secure.
- Connect the supply line to the faucet. Attach the other end of the supply line to the connection point on your faucet. Make sure it is secure to avoid any leaks.
- Turn on the main water supply. Open the shut-off valve slowly to let water flow into the newly connected supply line. Check for any leaks or loose connections.
- Test for functionality. Open and close your faucet several times to make sure it works properly and water flows without disruptions.
- Inspect for leaks. Carefully check all connections, joints, and fittings for signs of leaking. If found, tighten them further or replace faulty parts.
For greater efficiency, use plumber’s tape or sealant on threaded connections before tightening them.
Proper installation of a water supply ensures seamless performance and reduces future maintenance needs. Read your faucet’s manufacturer instructions for details that may differ depending on its design and model.
According to Plumbing Today magazine, an estimated 10% of household water loss results from plumbing leaks. This highlights the importance of precise connection during installation.
Connecting the Electrical Supply: Get ready for a thrilling adventure with wires and sparks! Life is nothing without a bit of danger and a lot of sparks!
Connecting the Electrical Supply
Connecting the electrical supply is essential for proper installation. Without it, the system won’t work. Follow these steps for a safe and efficient set-up:
- Locate the main power source and turn off the electricity to avoid potential hazards. You can do this by flipping the circuit breakers or removing fuses from the panel.
- Check the wires for any damage or worn-out insulation and replace them.
- Identify the type of cable needed for the connection. It has to be rated for your voltage requirements and conform to safety regulations.
- Strip 1/2 inch of insulation from each wire end using wire strippers to expose bare copper conductors.
- Make connections with wire nuts or terminal screws – depending on the design of the wiring system. Ensure all connections are secure and tightened.
- Double-check all connections and make sure no wires are exposed or touching each other. Insulate any exposed wires with electrical tape or heat shrink tubing.
- Test the installation by turning on the power briefly. Stay cautious about the risks of handling electricity. With these guidelines, you’ll have a successful and safe connection of the electrical supply.
Testing and Adjusting the Heater
Testing and adjusting a heater needs careful attention. Follow these steps for a hassle-free process:
- First, check the power supply. Make sure the heater is connected to a stable power source.
- Then, inspect the thermostat settings. Change them to get the temperature you want.
- After that, test the heating elements. Turn on the heater and check if they are working properly.
- Measure the airflow from the vents. See if it is adequate and evenly spread around the room.
- Last, do a safety check. Look out for gas connections or flammable materials near the heater.
Regular maintenance is also important for the heater to work well in the long run. Clean or replace the filters often and arrange for professional inspections to spot any problems early.
Once, we found a minor defect in a customer’s heater during a routine inspection. We solved the issue straight away, avoiding further damage or inconvenience for the homeowner. It shows how important testing and adjusting is for peak performance and safety of heating systems.
Proper testing and adjustment of the heater will make sure you have uninterrupted warmth during winter and peace of mind that your system is running efficiently and safely. By following these steps, you can have a warm and comfortable season without worry. For extra tips and considerations, remember to hold onto them tightly.
Additional Tips and Considerations for installation of an under sink water heater
Choosing and installing an under sink water heater requires careful consideration and attention to detail. Here are some important tips and considerations to keep in mind:
- Ensure proper sizing: Before purchasing an under sink water heater, determine the capacity and demand you will need. Consider factors such as the number of people using the sink, the distance from the main water heater, and the desired temperature rise. This will help you choose the right size of the water heater.
- Proper installation location: Select a suitable location for the under sink water heater. It should be easily accessible for maintenance and repairs, and preferably close to the sink to minimize heat loss through long pipe runs.
- Follow manufacturer instructions: Read and follow the manufacturer’s instructions for installation and operation of the under sink water heater. This will ensure proper installation and prevent any potential issues or accidents.
- Consider electrical requirements: If you are installing an electric under sink water heater, ensure that your electrical system can support the additional load. Consult an electrician if necessary to upgrade the circuit or install a dedicated circuit for the water heater.
- Ensure proper ventilation: If you are installing a gas-powered under sink water heater, make sure there is sufficient ventilation to allow for proper combustion. Consult local building codes and regulations to ensure compliance.
It is worth considering these factors to ensure the proper installation and operation of your under sink water heater. By following these tips and considering the unique details of your situation, you can enjoy the convenience of hot water at your kitchen sink efficiently and safely.
A Brief History
The installation of under sink water heaters has become increasingly popular in recent years due to the desire for instant hot water in kitchen sinks. This demand has led to the development of various models and technologies, providing homeowners with a range of options to choose from. Manufacturers have also improved the efficiency and performance of under sink water heaters to meet the needs of consumers. By understanding the additional tips and considerations, homeowners can make informed decisions when installing an under sink water heater.
Insulating the Pipes? More like dressing up your plumbing in fuzzy coats for a winter makeover!
Insulating the Pipes
Protect your pipes from heat loss – insulate them! Here’s a 3-step guide:
- Measure the length of the pipe.
- Buy foam pipe insulation from a local store.
- Cut the foam to fit and secure it tightly.
Further details to ensure proper insulation:
- Insulate pipes in unheated spaces like basements and crawl spaces.
- Insulate both hot and cold pipes.
- Seal gaps or cracks around pipes with caulk or expanding foam.
- Secure insulation seams with electrical tape.
- Install heat trace tape on exposed pipes in cold regions.
Do this and you’ll minimize heat loss, reduce energy consumption, and avoid frozen pipes in winter. Let’s get insulating!
Maintenance and Care
Clean your product regularly with a soft cloth or brush to remove dust. Avoid harsh chemicals that may damage the surface. Lubricate moving parts, like hinges and wheels, to prevent friction and ensure smooth operation – follow the manufacturer’s guidelines for lubricants! Do periodic inspections to detect any signs of wear and tear, loose connections, or potential problems. Store your product in a clean and dry place when not in use – avoid exposing it to extreme temperatures or humidity. Replace batteries as directed by the manufacturer and dispose of old ones properly. Keep battery compartments clean and free from corrosion. Update software components for devices that use it – bug fixes, security patches, and more!
Read the manufacturer’s guidelines to find specific maintenance recommendations for your product model. Following these tips will extend its lifespan and ensure optimal performance. Don’t forget to take proper care of your valuable possession! Neglecting maintenance can lead to functional issues and irreversible damage. Prioritize regular upkeep to get the most out of your investment.
Maintaining an Under Sink Water Heater
Frequently Asked Questions
Q: How to install an under sink water heater?
A: To install an under sink water heater, first turn off the main water supply and disconnect the cold water supply line. Next, mount the water heater unit securely to the wall or cabinet using appropriate hardware. Connect the cold water supply line to the inlet valve of the water heater and the hot water supply line to the outlet valve. Finally, turn on the water supply and verify that there are no leaks.
Q: How much does it cost to install an under sink water heater?
A: The cost to install an under sink water heater can vary depending on factors such as the brand and model of the heater, the complexity of the installation, and any additional materials or labor required. On average, the cost ranges from $200 to $500 for a basic installation.
Q: What are the fitting instructions for installing an under sink water heater?
A: The fitting instructions for installing an under sink water heater may vary depending on the specific model and manufacturer. It is recommended to refer to the manufacturer’s instructions provided with the water heater for accurate and detailed fitting instructions suited to your specific model.
Q: How to install a Bosch under sink water heater?
A: To install a Bosch under sink water heater, follow the general installation steps mentioned earlier. Additionally, refer to the specific installation guide provided by Bosch for their under sink water heater models. This guide will provide detailed instructions and any unique requirements for installing a Bosch under sink water heater.
Q: How to install an under sink tankless water heater?
A: The installation process for an under sink tankless water heater is similar to a traditional tank-style water heater. However, tankless models may require additional electrical or gas connections depending on the unit. It is essential to follow the manufacturer’s instructions carefully and consult a professional if needed to ensure a safe and proper installation.
Q: How to install an Ariston under sink water heater?
A: Installing an Ariston under sink water heater follows the general steps mentioned earlier. However, specific instructions may vary depending on the model. It is highly recommended to refer to the manufacturer’s installation guide for Ariston under sink water heaters, which will provide step-by-step instructions tailored to their specific models.
Conclusion
Installing an under sink water heater can offer convenient hot water access where a traditional hot water heater might not be possible. To do this, follow the fitting instructions and understand the cost.
- First, follow the manufacturer’s instructions for installing the specific under sink water heater model. Ensure the voltage requirements and plumbing connections are suitable.
- Choose an under sink water heater that meets the hot water demand of that location. Usage patterns and temperature settings will help determine the right size and power source. This will help avoid issues caused by an inadequate or oversized unit.
- Consult a professional plumber or electrician for help and guidance with installation. Research different brands and models to make sure the chosen one suits your needs.
Follow these steps and check for leaks and maintenance regularly. With proper installation and maintenance, an under sink water heater can provide dependable hot water whenever needed.