
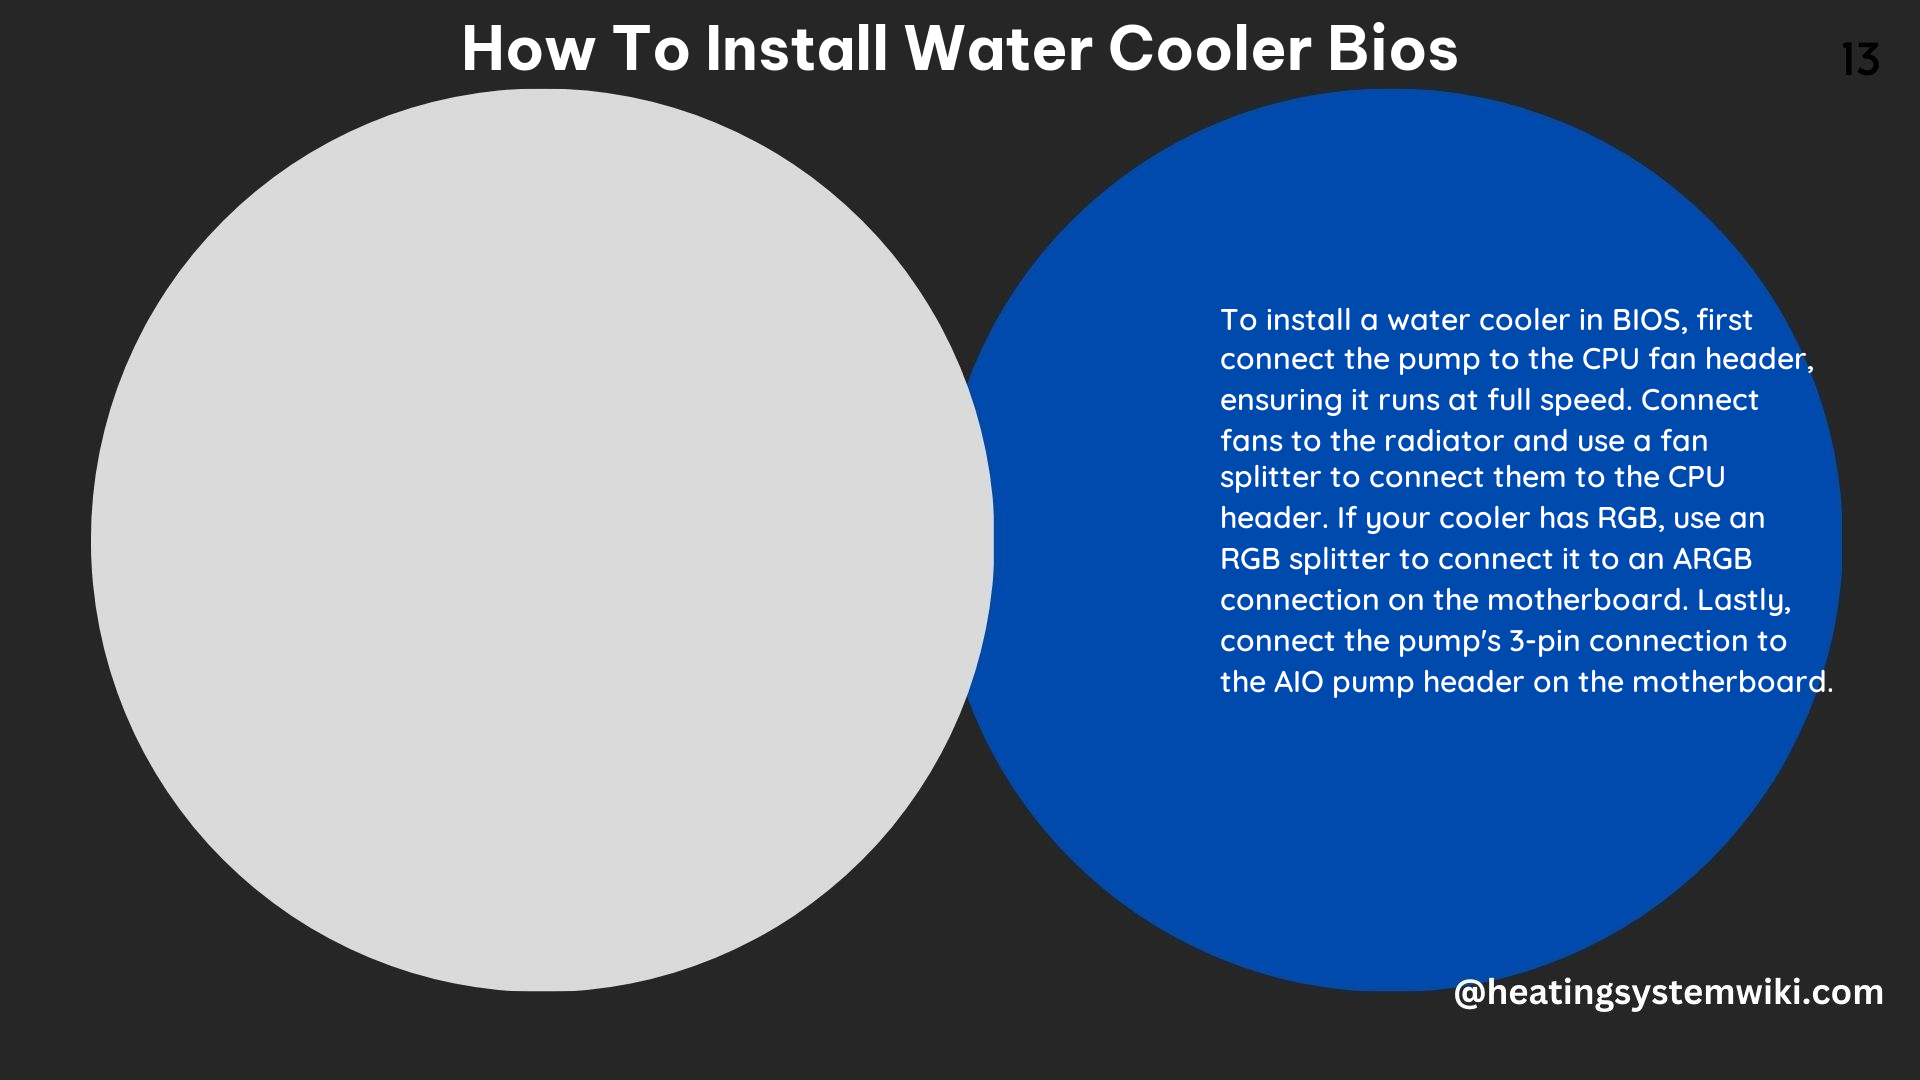
Installing a water cooler BIOS can be a crucial step in optimizing your computer’s performance and ensuring the longevity of your cooling system. This comprehensive guide will walk you through the process of configuring your BIOS settings for a water cooler, providing you with the technical details and expert advice you need to get the job done right.
Accessing the BIOS Settings
The first step in installing a water cooler BIOS is to access your computer’s BIOS settings. This is typically done by restarting your computer and pressing a specific key during the boot process, such as F2, F10, F12, or DEL. The exact key will depend on your motherboard manufacturer, so it’s a good idea to consult your motherboard’s documentation or perform a quick online search to determine the appropriate key for your system.
Once you’ve accessed the BIOS, you’ll need to navigate to the fan control settings, which are often located under the “Advanced” or “Monitor” tab. This is where you’ll be able to configure the settings for your water cooler.
Configuring the Water Cooler Header
If your motherboard has a dedicated water cooler header, you’ll need to set this in the BIOS. This may involve selecting the “AIO Pump” or “Water Cooling” option and configuring the settings accordingly. The specific steps will vary depending on your motherboard, but you’ll typically need to ensure that the header is enabled and that the appropriate fan curve or control mode is selected.
It’s worth noting that some motherboards may automatically detect the presence of a water cooler and configure the settings accordingly, while others may require manual configuration. If you’re unsure about the specific steps for your motherboard, consult the manufacturer’s documentation or reach out to their technical support team for assistance.
Setting Fan Speed Based on CPU Temperature
One of the most important aspects of configuring a water cooler BIOS is setting the fan speed based on the CPU temperature. This can help ensure that your system stays cool while also reducing noise levels.
When configuring the fan speed, it’s generally recommended to use a form of hysteresis, where the fan speed increases gradually as the CPU temperature rises, rather than abruptly switching to full speed. This can help prevent the fan from constantly cycling between different speeds, which can be both noisy and inefficient.
To configure the fan speed based on CPU temperature, you’ll typically need to set a series of temperature thresholds and corresponding fan speeds. For example, you might set the fan to run at 30% speed when the CPU temperature is below 50°C, 50% speed when the temperature is between 50°C and 60°C, and 100% speed when the temperature exceeds 70°C.
The specific temperature thresholds and fan speeds you choose will depend on your system’s cooling requirements and your personal preferences. It’s a good idea to experiment with different settings to find the optimal balance between cooling performance and noise levels.
Saving and Exiting the BIOS
Once you’ve configured the water cooler BIOS settings to your satisfaction, it’s important to save your changes and exit the BIOS. This will ensure that your new settings are applied the next time you boot up your computer.
Depending on your motherboard, you may need to select a specific option to save and exit the BIOS, such as “Save and Exit” or “Exit and Save Changes.” Be sure to follow the on-screen instructions carefully to ensure that your changes are properly saved.
Troubleshooting and Compatibility Considerations
It’s worth noting that the specific steps for installing a water cooler BIOS may vary depending on your hardware and software. Some motherboards may have different terminology or options in the BIOS, while some water coolers may require additional software or drivers to be installed in order to function properly.
If you encounter any issues during the installation process, it’s important to troubleshoot the problem thoroughly. This may involve resetting the BIOS to its default settings, checking for compatibility issues between your water cooler and motherboard, or seeking assistance from the manufacturer’s technical support team.
In some cases, users have reported issues with their system not booting up properly after installing a new water cooler. This may be due to a misconfiguration in the BIOS settings or a compatibility issue between the water cooler and the motherboard. If you encounter a similar issue, it’s important to carefully review your BIOS settings and ensure that they are configured correctly for your specific hardware.
Conclusion
Installing a water cooler BIOS is a critical step in optimizing the performance and longevity of your computer’s cooling system. By following the steps outlined in this comprehensive guide, you can ensure that your water cooler is properly configured and that your system is running at its best.
Remember to always consult your motherboard’s documentation and manufacturer’s recommendations when configuring your BIOS settings, and don’t hesitate to seek assistance from technical support if you encounter any issues. With the right approach and attention to detail, you can ensure that your water cooler BIOS is installed and configured to perfection.