
Installing a water cooler radiator in an NZXT case requires careful planning and attention to detail. This comprehensive guide will walk you through the step-by-step process, ensuring a seamless installation and optimal performance for your system.
Prepare the Cooler
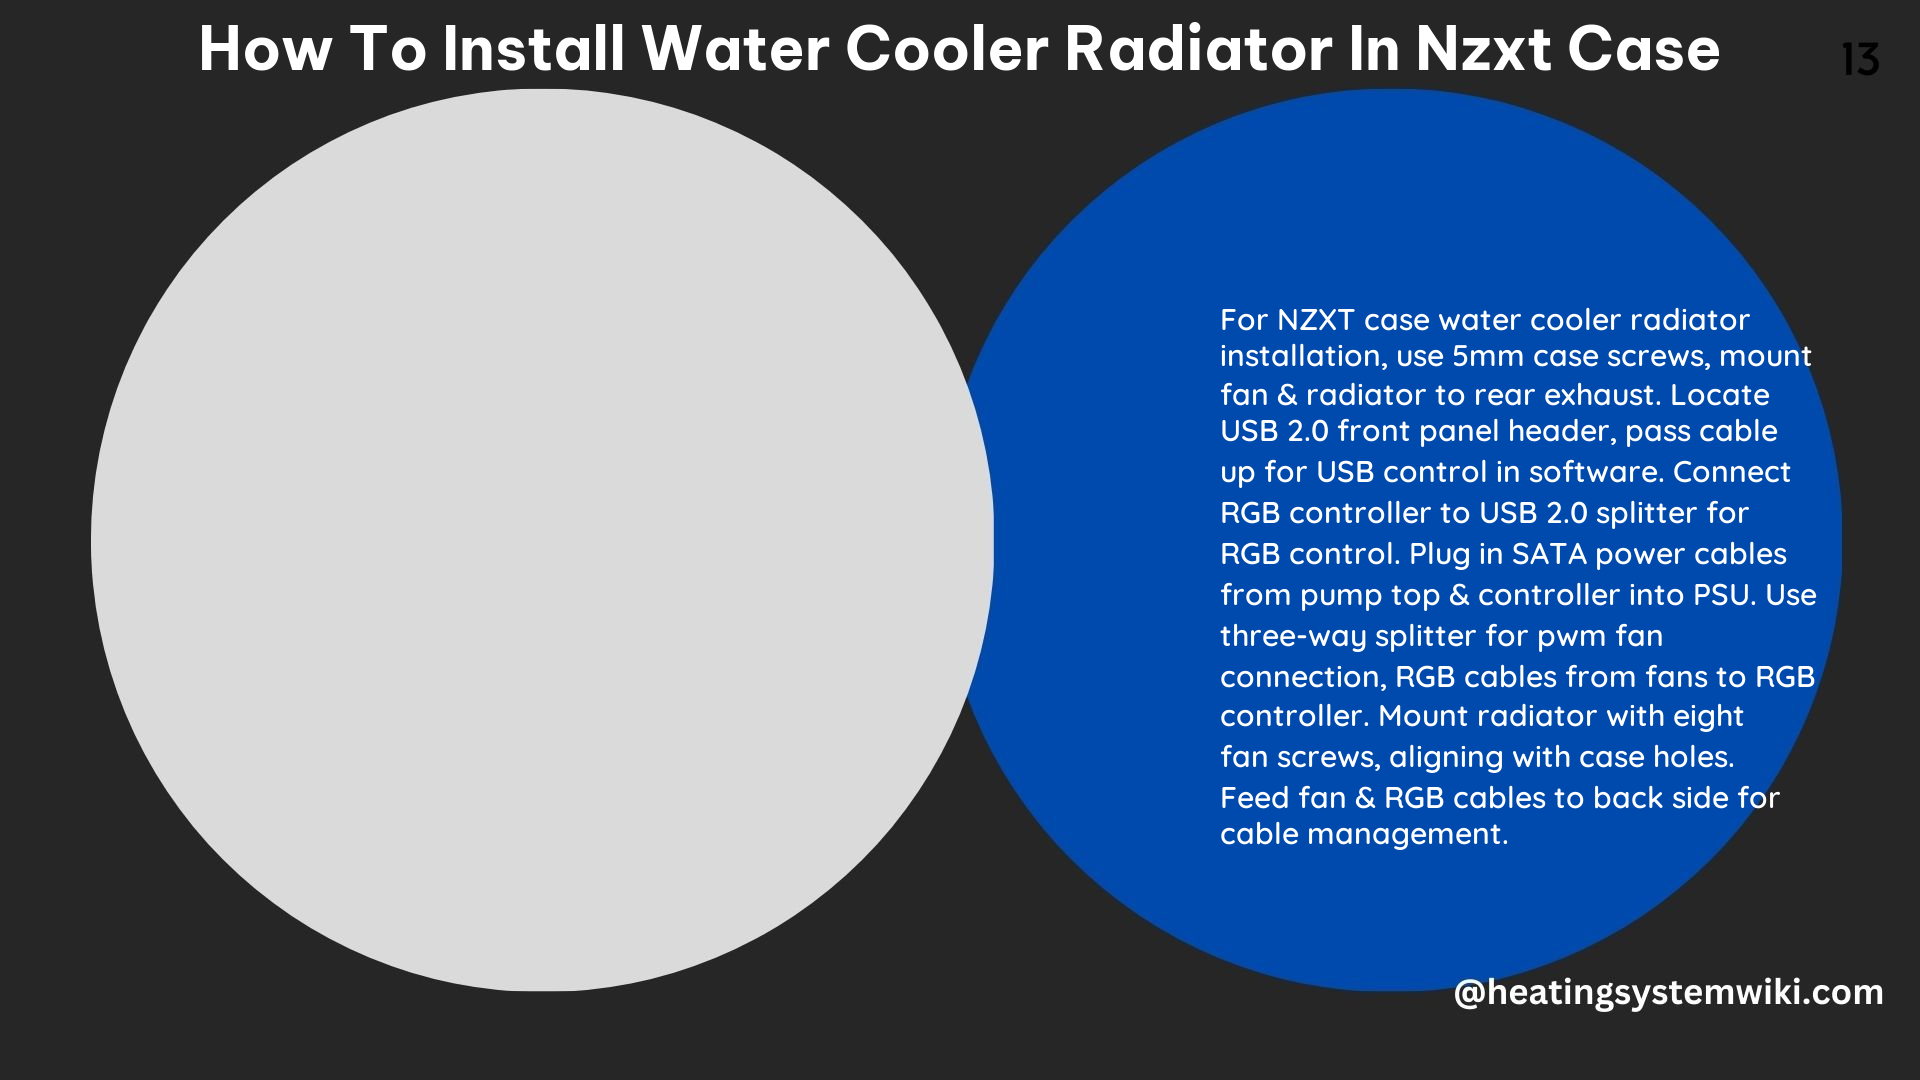
Before you begin, it’s essential to prepare the water cooler radiator. Start by removing and replacing the mounting brackets to accommodate your specific AMD or Intel socket. Ensure that you select the correct bracket for your CPU socket type. This step is crucial for a secure and compatible installation.
Mount the Fans
Carefully mount the fans onto the radiator, taking your time to plan the installation and avoid any potential issues. For the NZXT H510 case, it is recommended to mount the fans on the top of the case with the power cables facing the back. This orientation will keep the cables out of sight, resulting in a clean and organized build.
Install the Back Plate
Next, install the back plate onto the backside of the motherboard. Make sure to set the mounts to the correct position for your specific socket. For Intel 115x sockets, the mounts should be set to the innermost position.
Thread the Standoffs
Thread the four standoffs onto the back plate, connecting the water block to the CPU using a set of four thumb screws. Ensure that you tighten these screws evenly to apply even pressure and help spread the thermal paste effectively.
Mount the Radiator
Carefully mount the radiator into the case, making sure that the cold plate, which will come into contact with the CPU, has thermal paste pre-applied. If you have installed the cooler before, you may need to apply your own thermal paste.
Connect the Cables
Connect all the cables, including the single connector that plugs into the block and the SATA power connector for the pump speed. Ensure that all connections are secure and properly routed for a clean and organized appearance.
Install the PWM Fan Connection
Locate the three-way splitter that comes off the pump top and plug in the PWM fan cables from the fans. This will allow for precise fan speed control, ensuring optimal cooling performance.
Install the RGB Connectors
Identify the two RGB connectors from the fans and plug them into the RGB controller. This step will enable you to control the RGB lighting of the fans through the NZXT CAM software.
Configure the Software
Use the NZXT CAM software to configure the new NZXT Kraken Elite cooler. This software is specifically designed for NZXT coolers that are installed with the tubes facing downward.
For the NZXT H510 case, it is recommended to install the radiator on the front of the case with the lines at the top of the radiator. This orientation will allow any air bubbles to collect at the top of the radiator, preventing them from entering the pump and potentially causing damage.
Technical Specifications
- The NZXT Kraken X73 liquid CPU cooler has a 360mm radiator and is compatible with both AMD and Intel sockets.
- The cooler comes with a back plate that fits onto the backside of the motherboard, providing a secure mounting solution.
- The cooler includes movable mounts to support different sockets for Intel 115x, and can also be used on the new Intel 1700 socket with a separate mounting bracket.
- The cooler includes a three-way splitter for PWM fan cables, allowing for precise fan speed control.
- The cooler includes two RGB connectors for the fans, enabling RGB control through the NZXT CAM software.
By following these detailed steps and leveraging the technical specifications, you can successfully install a water cooler radiator in your NZXT case, ensuring optimal cooling performance and a visually appealing build.