
An indoor swamp cooler is a cost-effective and energy-efficient way to beat the heat without relying on traditional air conditioning. By harnessing the principles of evaporative cooling, this DIY project can provide a refreshing breeze and lower the temperature in your living space. Whether you’re looking to save on utility bills or create a more sustainable cooling solution, this guide will walk you through the step-by-step process of constructing your own indoor swamp cooler.
Choosing the Right Materials
The foundation of a successful indoor swamp cooler lies in the selection of the right materials. Let’s dive into the essential components and their specifications:
Styrofoam Cooler
- Opt for a larger cooler, typically ranging from 48 to 100 quarts in capacity, to ensure sufficient cooling power.
- Ensure the cooler has a tight-fitting lid to minimize air leaks and maximize the efficiency of the cooling process.
- Consider the insulation properties of the cooler, as higher-quality Styrofoam will better retain the cool air.
PVC Pipe and Elbow
- Select a PVC pipe with a diameter of 4 to 6 inches, as this size will provide optimal airflow.
- The elbow attachment should match the diameter of the PVC pipe to ensure a secure and airtight connection.
Battery-Powered Fan
- Choose a fan with a high cubic feet per minute (CFM) rating, typically between 300 to 500 CFM, to maximize air circulation.
- Opt for a battery-powered fan to ensure mobility and independence from electrical outlets.
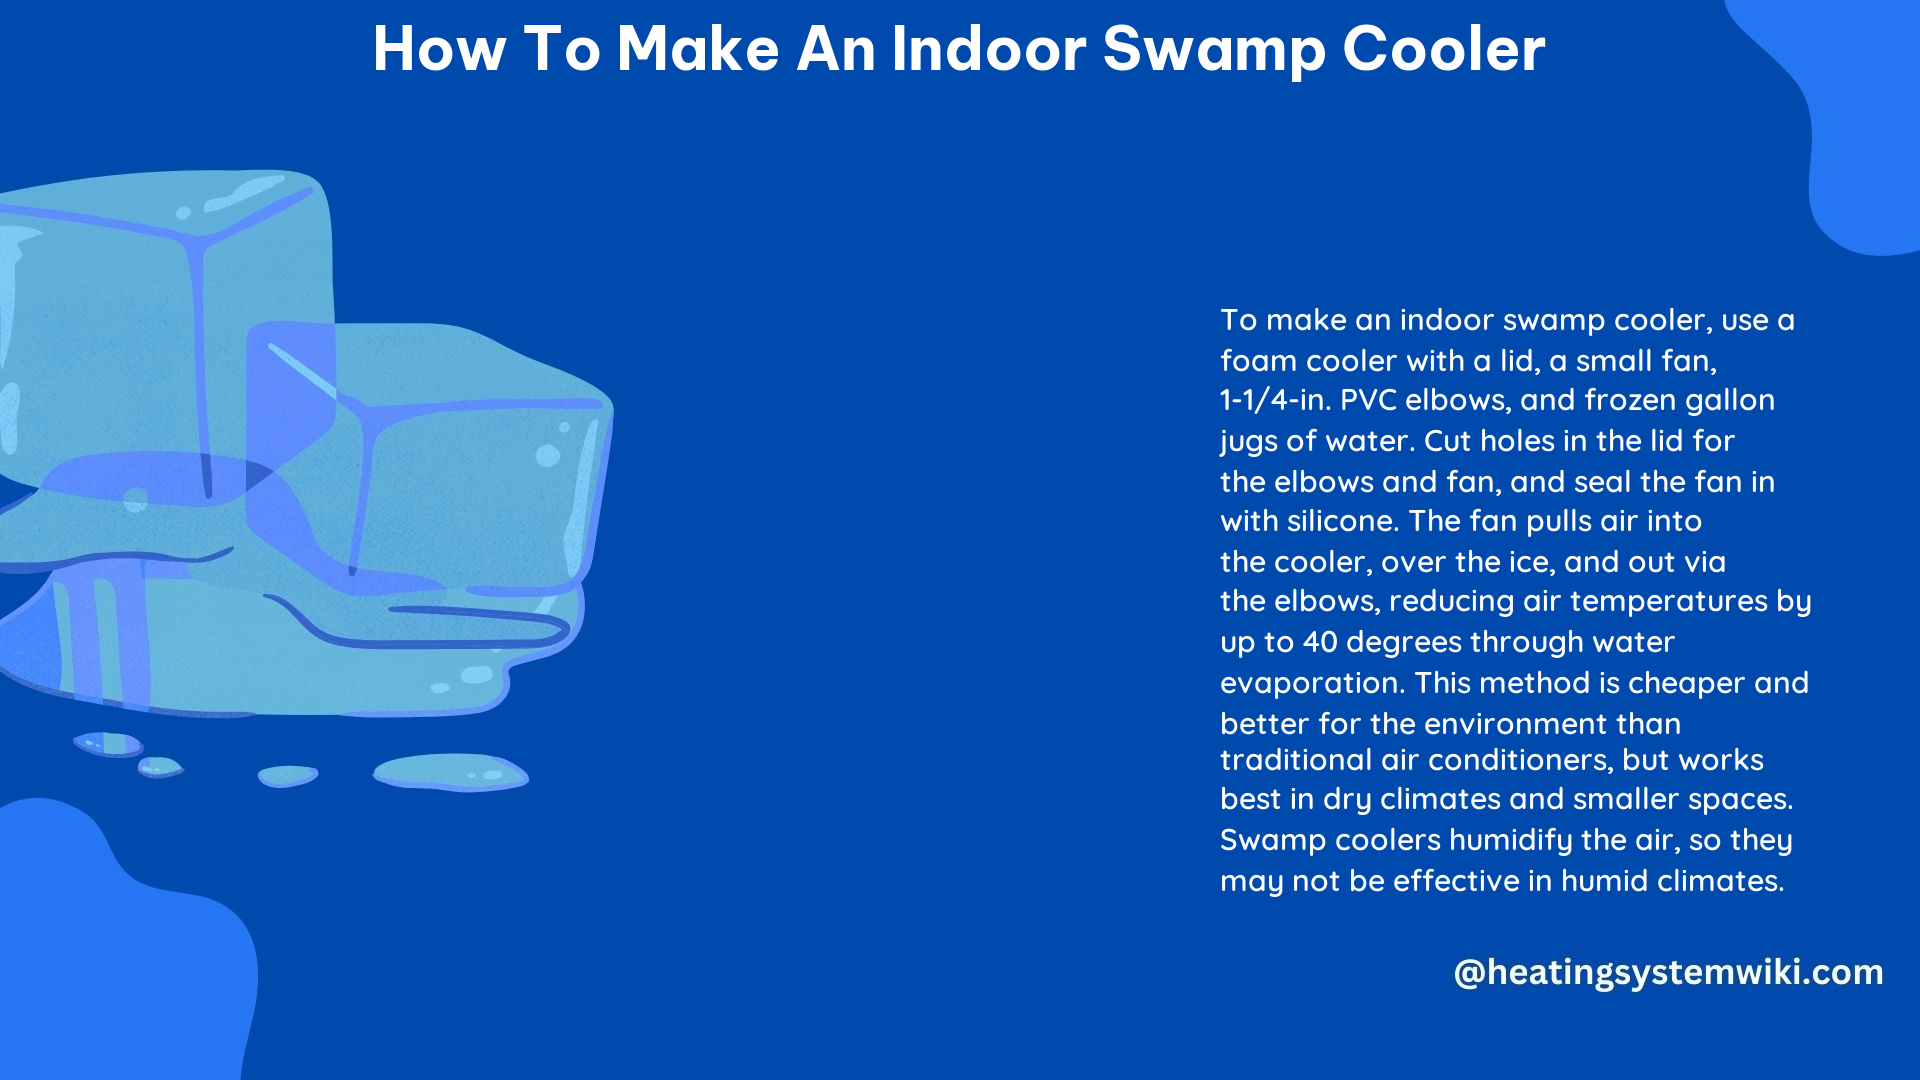
Ice
- Block ice or frozen gallon jugs of water are preferred over loose ice, as they melt more slowly and provide a longer cooling duration.
- Calculate the amount of ice needed based on the size of your cooler and the desired cooling duration.
Additional Tools and Supplies
- Exacto knife or drill for cutting the necessary holes in the cooler
- Measuring tape to ensure precise measurements
- Silicone or glue (optional) to seal the fan and PVC pipe for a tighter fit
Constructing the Indoor Swamp Cooler
With the materials in hand, let’s dive into the step-by-step process of building your indoor swamp cooler:
-
Measure and Cut the Holes: Using your measuring tape, mark the locations for the fan and PVC pipe on the top of the Styrofoam cooler. Carefully cut the holes using an exacto knife or drill, ensuring a snug fit for the fan and pipe.
-
Install the Fan: Place the battery-powered fan in the hole you’ve cut, making sure it fits securely. Test the fan to ensure it’s functioning properly.
-
Attach the PVC Pipe: Insert the PVC pipe with the elbow attachment into the corresponding hole, creating an opening for the cool air to be directed into the room.
-
Seal the Connections: If desired, use silicone or glue to seal the fan and PVC pipe in place, preventing air leaks and maximizing the efficiency of the cooling process.
-
Add the Ice: Fill the Styrofoam cooler with your preferred ice, whether it’s block ice or frozen gallon jugs. Ensure the ice is evenly distributed to optimize the cooling effect.
-
Secure the Lid: Place the lid back on the cooler, making sure it fits tightly to keep the cool air inside.
-
Turn on the Fan: Switch on the battery-powered fan, and your indoor swamp cooler is ready to provide a refreshing breeze.
Optimizing the Cooling Performance
To ensure your indoor swamp cooler operates at its peak efficiency, consider the following tips:
- Airflow Optimization: Experiment with the positioning of the PVC pipe and fan to find the optimal airflow direction, ensuring the cool air is directed towards the desired area.
- Ice Management: Regularly replace the melted ice with fresh blocks or frozen jugs to maintain the cooling effect throughout the day.
- Humidity Monitoring: Keep an eye on the humidity levels in your space, as swamp coolers can increase the moisture content in the air. Adjust the usage accordingly if the humidity becomes uncomfortable.
- Insulation Enhancements: Consider adding additional insulation around the Styrofoam cooler to further improve the retention of the cool air.
- Supplementary Cooling: For larger spaces or particularly hot days, you may need to use multiple swamp coolers or combine it with other cooling methods, such as ceiling fans or portable air conditioners.
Conclusion
Constructing an indoor swamp cooler is a practical and cost-effective way to beat the heat without relying on energy-intensive air conditioning. By following the detailed steps outlined in this guide, you can create a personalized cooling solution that not only saves you money on utility bills but also contributes to a more sustainable living environment. Embrace the power of evaporative cooling and enjoy the refreshing breeze of your homemade indoor swamp cooler.