Opening a Daikin AC remote can be a bit tricky, but with the right approach, it’s a straightforward process. This comprehensive guide will walk you through the step-by-step instructions, providing detailed technical information and expert-level insights to ensure you can confidently open your Daikin AC remote and replace the batteries.
Identifying the Battery Compartment
The first step in opening a Daikin AC remote is to locate the battery compartment. On the back of the remote, you’ll find a battery logo, typically located at the bottom, with an arrow pointing downwards. This indicates that you need to slide the cover down to access the battery compartment.
It’s important to note that the battery compartment is not immediately visible, as it is hidden behind a cover that needs to be carefully removed. This design feature is intentional, as it helps to protect the battery compartment from dust, moisture, and other environmental factors that could potentially interfere with the remote’s functionality.
Removing the Battery Cover
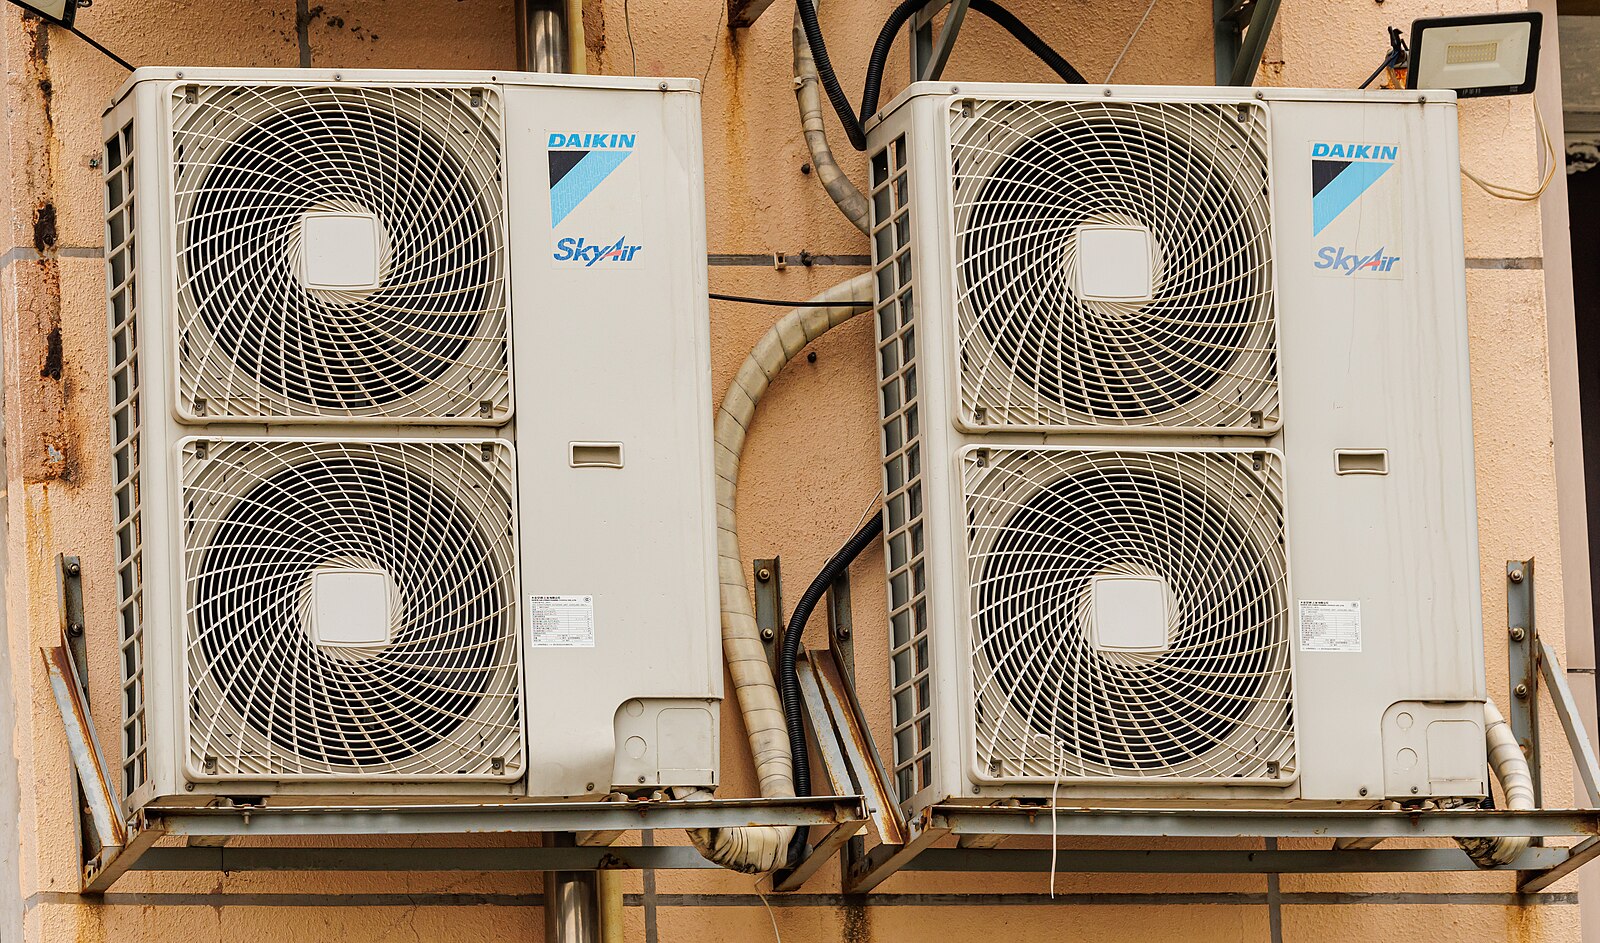
 Image source: Daikin Air Conditioner Outdoor by Dinkun Chen
To remove the battery cover, you’ll need to apply a firm but gentle downward pressure. The cover may require some force to slide down, so be cautious and avoid using excessive pressure, as this could potentially damage the remote.
When sliding the cover down, be sure to do so slowly and carefully, keeping an eye out for any potential obstructions or resistance. If you encounter any difficulties, refrain from using excessive force, as this could lead to the cover becoming stuck or even breaking.
Accessing the Battery Compartment
Once the battery cover is removed, you’ll be able to see the battery compartment. This is where the old batteries will be located, and where you’ll need to insert the new batteries.
It’s important to note that the battery compartment may be designed with specific polarity markings, indicating the correct orientation for the batteries. Ensure that you insert the new batteries in the correct orientation, as inserting them incorrectly could potentially damage the remote or prevent it from functioning properly.
Replacing the Batteries
When replacing the batteries in your Daikin AC remote, it’s crucial to use the correct type of batteries. Daikin recommends using AAA batteries, as these are the standard size and voltage required for their remote controls.
Before inserting the new batteries, take a moment to inspect the battery compartment for any signs of corrosion or damage. If you notice any issues, it’s best to address them before proceeding with the battery replacement.
When inserting the new batteries, be sure to align them with the polarity markings in the battery compartment. Gently press the batteries into place, ensuring that they are securely seated and making proper contact with the terminals.
Reassembling the Remote
After replacing the batteries, it’s time to reassemble the Daikin AC remote. Carefully slide the battery cover back into place, ensuring that it clicks securely into position. Apply gentle pressure to the cover to ensure that it is properly seated and will not come loose during use.
It’s important to note that the battery cover may require some force to slide back into place, as it is designed to provide a tight seal and protect the battery compartment from environmental factors. However, be cautious not to apply excessive pressure, as this could potentially damage the remote.
Verifying Functionality
Once the battery cover is in place, you can test the remote’s functionality by pressing the power button or other buttons to ensure that the remote is responding as expected. If the remote does not appear to be working correctly, double-check the battery orientation and ensure that the cover is properly seated.
If you continue to experience issues with the remote, it’s recommended to consult the Daikin user manual or contact the manufacturer for further assistance.
Conclusion
Opening a Daikin AC remote may seem like a daunting task, but with the right approach and attention to detail, it’s a straightforward process. By following the step-by-step instructions outlined in this comprehensive guide, you can confidently replace the batteries in your Daikin AC remote and ensure its continued reliable operation.
Remember to always handle the remote with care, be mindful of the battery compartment design, and follow the manufacturer’s recommendations for battery type and orientation. With these best practices in mind, you’ll be able to keep your Daikin AC remote functioning at its best for years to come.
References
- How to Replace the Battery of Daikin AC Remote Control Instructions – YouTube
- Daikin AC Remote Battery Change – YouTube
- How to change/replace Daikin A/C remote control battery (subtitles) – YouTube
