
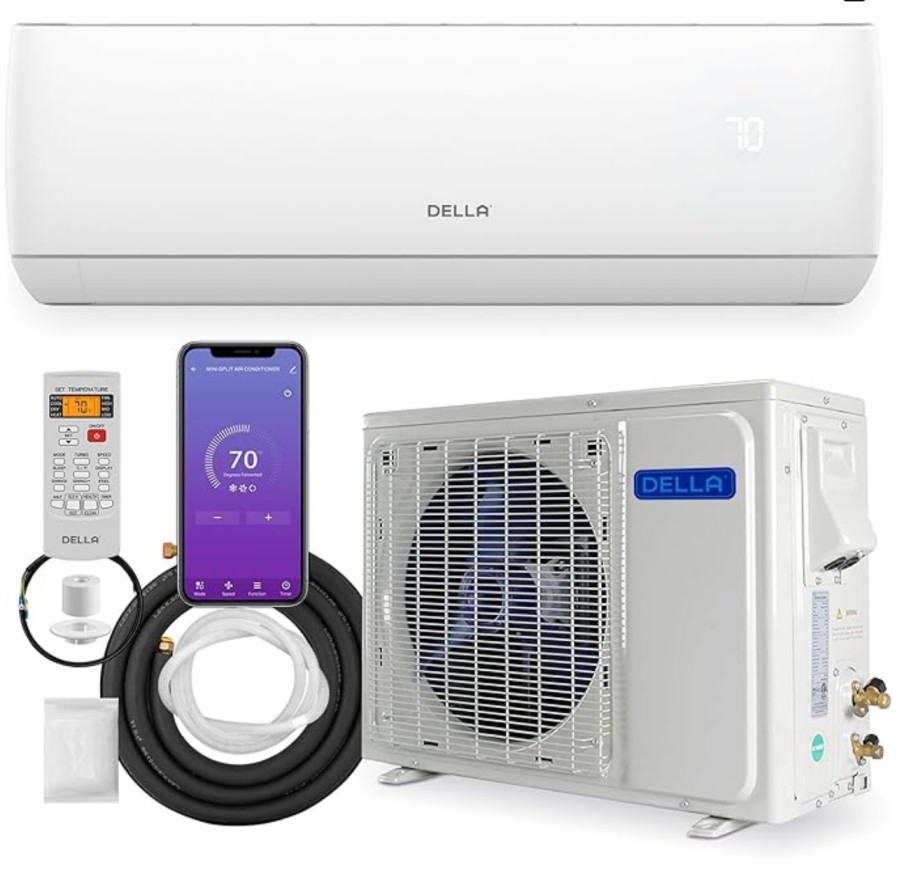
Removing the blower wheel from a DELLA mini split air conditioning unit can be a crucial maintenance task to ensure optimal performance and efficiency. This comprehensive guide will walk you through the step-by-step process, providing detailed technical information and expert insights to help you successfully complete this DIY project.
Preparing for Blower Wheel Removal
Before you begin, ensure that you have the necessary tools and equipment on hand, including:
- Screwdrivers (both flathead and Phillips head)
- Hex wrenches or Allen keys
- Pliers or needle-nose pliers
- Gloves and safety glasses
Additionally, make sure to turn off the power to the DELLA mini split unit and allow it to cool down completely before starting the removal process.
Step 1: Removing the Front Cover
- Locate the screws on the bottom of the DELLA mini split unit. These screws are typically hidden behind the front grille or panel.
- Using a screwdriver, remove the screws one by one, taking note of their positions for easier reassembly.
- Gently pull the front cover away from the unit, being careful not to damage any of the components.
Step 2: Lowering or Removing the Drain Pan
- Identify the drain pan, which is typically located at the bottom of the indoor unit.
- The drain pan is usually held in place by tabs or clips. Carefully release these tabs or clips to lower the drain pan, providing better access to the blower wheel and surrounding components.
- In some cases, you may need to completely remove the drain pan to gain full access to the blower wheel. If so, disconnect any drainage hoses or pipes connected to the pan.
Step 3: Loosening the Set Screw
- Locate the set screw that secures the blower wheel to the blower motor shaft.
- Using a screwdriver or hex wrench, slowly loosen the set screw, turning it counterclockwise.
- Continue loosening the set screw until the blower wheel can be easily removed from the shaft.
Step 4: Removing the Evaporator Coil Screws
- Identify the screws on the left side of the evaporator coil.
- Using a screwdriver, remove these screws one by one, taking note of their positions.
- Gently lift the evaporator coil out towards you, providing clear access to the blower wheel.
Step 5: Extracting the Blower Wheel
- With the evaporator coil removed, you should now have a clear view of the blower wheel.
- Carefully grasp the blower wheel and pull it straight out, ensuring that the bearing on the left side remains in place.
- If the blower wheel is stuck or difficult to remove, you may need to use pliers or a specialized tool to gently pry it off the shaft.
Cleaning and Reassembly
- Once the blower wheel is removed, clean it thoroughly using a soft-bristled brush and water. Avoid using any harsh chemicals or solvents, as they may damage the wheel or other components.
- Inspect the bearing on the left side of the blower wheel and ensure that it is in good condition. If the bearing is worn or damaged, it may need to be replaced.
- To reassemble the DELLA mini split unit, simply reverse the steps you took to remove the blower wheel, ensuring that all components are properly aligned and secured.
- Before turning the power back on, double-check that all screws and connections are tight and that the unit is properly reassembled.
Remember, always follow the manufacturer’s instructions and safety guidelines when working on your DELLA mini split unit. If you are unsure about any step or encounter any issues, it is recommended to consult a professional HVAC technician.
Reference:
- Highwall Ductless Blower Wheel Cleaning – YouTube: https://www.youtube.com/watch?v=Nh-Ej_Nh-Ej
- How to Remove the Blower Wheel (L) – YouTube: https://www.youtube.com/watch?v=Nh-Ej_Nh-Ej
- How to Remove a Mini Split Fan Wheel! – YouTube: https://www.youtube.com/watch?v=Nh-Ej_Nh-Ej