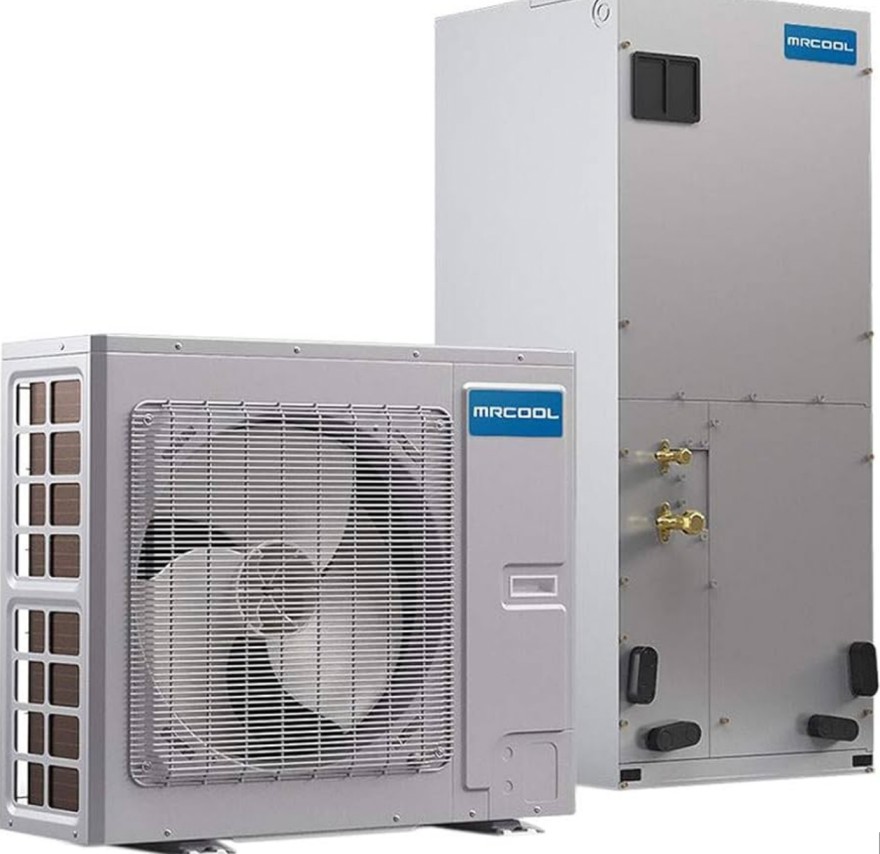
Removing the blower wheel from a MRCOOL mini split air conditioner can be a delicate task, but with the right approach and attention to detail, it can be accomplished successfully. This comprehensive guide will walk you through the step-by-step process, providing expert-level technical details and insights to ensure a smooth and efficient blower wheel removal.
Preparing for Blower Wheel Removal
Before you begin, it’s crucial to ensure that the mini split is disconnected from the power source to avoid any electrical hazards. Carefully unplug the unit from the wall outlet or circuit breaker, and double-check that the power is turned off.
Next, locate and remove the screws on the bottom of the unit to detach the front cover. This will provide you with better access to the internal components, including the blower wheel and its surrounding parts.
Lowering the Drain Pan
The drain pan, which is responsible for collecting condensation, is typically held in place by tabs. Gently lower the drain pan to gain better access to the blower wheel and its surrounding components. This step will allow you to work more efficiently and minimize the risk of damaging any parts during the removal process.
Loosening the Set Screw
Locate the set screw on the far right side of the blower wheel. This screw is responsible for securing the blower wheel in place. Using a screwdriver, carefully loosen the set screw until the blower wheel can be removed.
Removing the Evaporator Coil
The next step involves removing the evaporator coil. Locate the three screws on the left side of the evaporator coil and remove them. Gently lift the coil out towards you, taking care not to damage any of the delicate fins. Once the coil is out of the way, you can now access and remove the blower wheel.
Extracting the Blower Wheel
Grab the blower wheel and pull it out of the unit. Be mindful of the bearing located on the left side of the blower wheel, as it is essential to keep track of this component during the removal process.
Cleaning the Blower Wheel
When cleaning the blower wheel, it’s important to avoid using any harsh chemicals. Instead, stick to using water to gently clean the wheel and remove any accumulated dust or debris. This will help maintain the integrity of the blower wheel and ensure its proper functioning upon reassembly.
Reassembling the Mini Split
To reassemble the mini split, simply reverse the removal steps. Start by carefully inserting the blower wheel back into its designated position, ensuring that the bearing is properly aligned. Reattach the evaporator coil, secure the drain pan, and replace the front cover.
Advanced Tips for MRCOOL Mini Split Blower Wheel Removal
Use a Torque Wrench
When tightening the screws during the reassembly process, it’s recommended to use a torque wrench. This will ensure that the screws are tightened to the appropriate tension, preventing any damage to the unit’s components.
Mark Screw Positions
Before removing the screws, take the time to mark their positions. This will make the reassembly process much easier, as you’ll be able to replace the screws in their original locations.
Inspect Components
While the blower wheel is removed, take the opportunity to inspect the evaporator coil, drain pan, and other components for any signs of damage or wear. This proactive approach can help you identify and address any issues before they become more serious problems.
By following these detailed instructions and incorporating the advanced tips, you can successfully remove the blower wheel from your MRCOOL mini split air conditioner with confidence. Remember to always prioritize safety and take your time during the process to ensure a successful and efficient outcome.

