
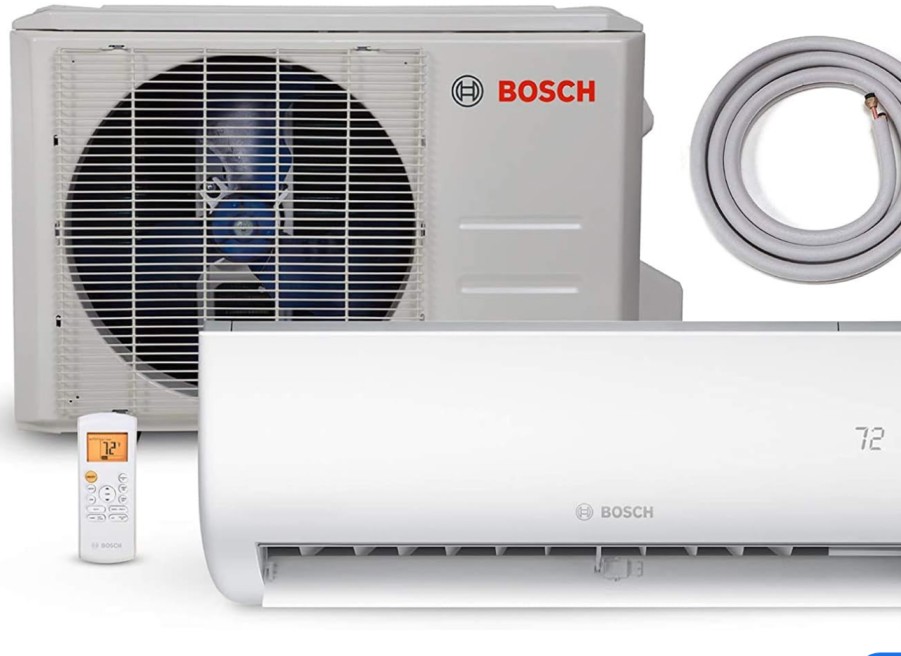
Removing the cover of a Bosch mini split system can be a straightforward task, but it’s essential to follow the proper steps to ensure the process is done safely and effectively. This comprehensive guide will walk you through the entire process, providing detailed instructions and expert-level insights to help you successfully remove the Bosch mini split cover.
Preparing for the Task
Before you begin, it’s crucial to ensure that the mini split system is turned off to avoid any electrical hazards. Locate the power switch or circuit breaker and switch it to the “off” position. This step is non-negotiable and should be the first thing you do before proceeding with the cover removal.
Identifying the Screws and Clips
The next step is to locate the screws that are holding the cover in place. These screws are typically found at the bottom of the unit, often hidden behind hinged hatches for a more aesthetically pleasing appearance. Use a Phillips head screwdriver to remove these screws, taking note of their exact positions for easy reassembly.
In addition to the screws, there are also clips on the face of the cover that connect it to the back of the unit. These clips need to be undone before you can pull the cover off. Carefully inspect the cover and identify the clip locations, which are usually at the top and along the face of the cover.
Disconnecting the Cover
With the screws removed and the clips undone, you can now gently pull the cover forward and then upwards to remove it. Be mindful of any wires that may be attached to the cover, such as the temperature sensor wire. If necessary, disconnect these wires, taking note of their positions for easy reconnection during the reassembly process.
Reassembling the Cover
To reinstall the cover, simply reverse the steps you followed to remove it. Start by reconnecting any wires that were disconnected, ensuring they are securely in place. Then, align the cover with the back of the unit and gently push it into place, making sure the clips are properly engaged. Finally, replace the screws, taking care to secure them in their original positions.
Advanced Considerations
When removing the Bosch mini split cover, there are a few advanced considerations to keep in mind:
- Screw Count Variation: The number of screws holding the cover in place may vary depending on the specific model of your Bosch mini split system. Some models may have as few as two screws, while others may have three or even none.
- Clip Locations: The clips that connect the cover to the back of the unit are typically located at the top and along the face of the cover. Ensure that you have identified and undone all of these clips before attempting to remove the cover.
- Wire Positioning: If you need to disconnect any wires attached to the cover, such as the temperature sensor wire, be sure to remember their exact positions for easy reassembly. This will help you avoid any confusion or potential issues during the reinstallation process.
By following these detailed instructions and keeping these advanced considerations in mind, you can successfully remove and reinstall the Bosch mini split cover with confidence.
Conclusion
Removing the Bosch mini split cover is a straightforward task, but it’s essential to approach it with caution and attention to detail. By following the steps outlined in this comprehensive guide, you can safely and effectively remove the cover, perform any necessary maintenance or repairs, and then reinstall it with ease. Remember to always prioritize safety and to take your time throughout the process to ensure a successful outcome.