Removing the drain pan on a Daikin air conditioning unit can be a straightforward task, but it requires attention to detail and a methodical approach. This comprehensive guide will walk you through the step-by-step process, providing technical insights and expert-level advice to ensure a successful drain pan removal.
Unfastening the Vertical Blade ASSYs
-
Identify the Vertical Blade ASSYs: The vertical blade assemblies (ASSYs) are connected to the drain pan ASSY. These blades are responsible for directing the airflow and must be removed before accessing the drain pan.
-
Unfasten the Hooks: Each vertical blade ASSY is secured to the drain pan ASSY using two hooks. Carefully locate and unfasten these hooks to detach the blades from the drain pan.
-
Ensure Proper Disconnection: Verify that all hooks have been successfully unfastened, and the vertical blade ASSYs are completely detached from the drain pan ASSY.
Removing the Vertical Blade ASSYs
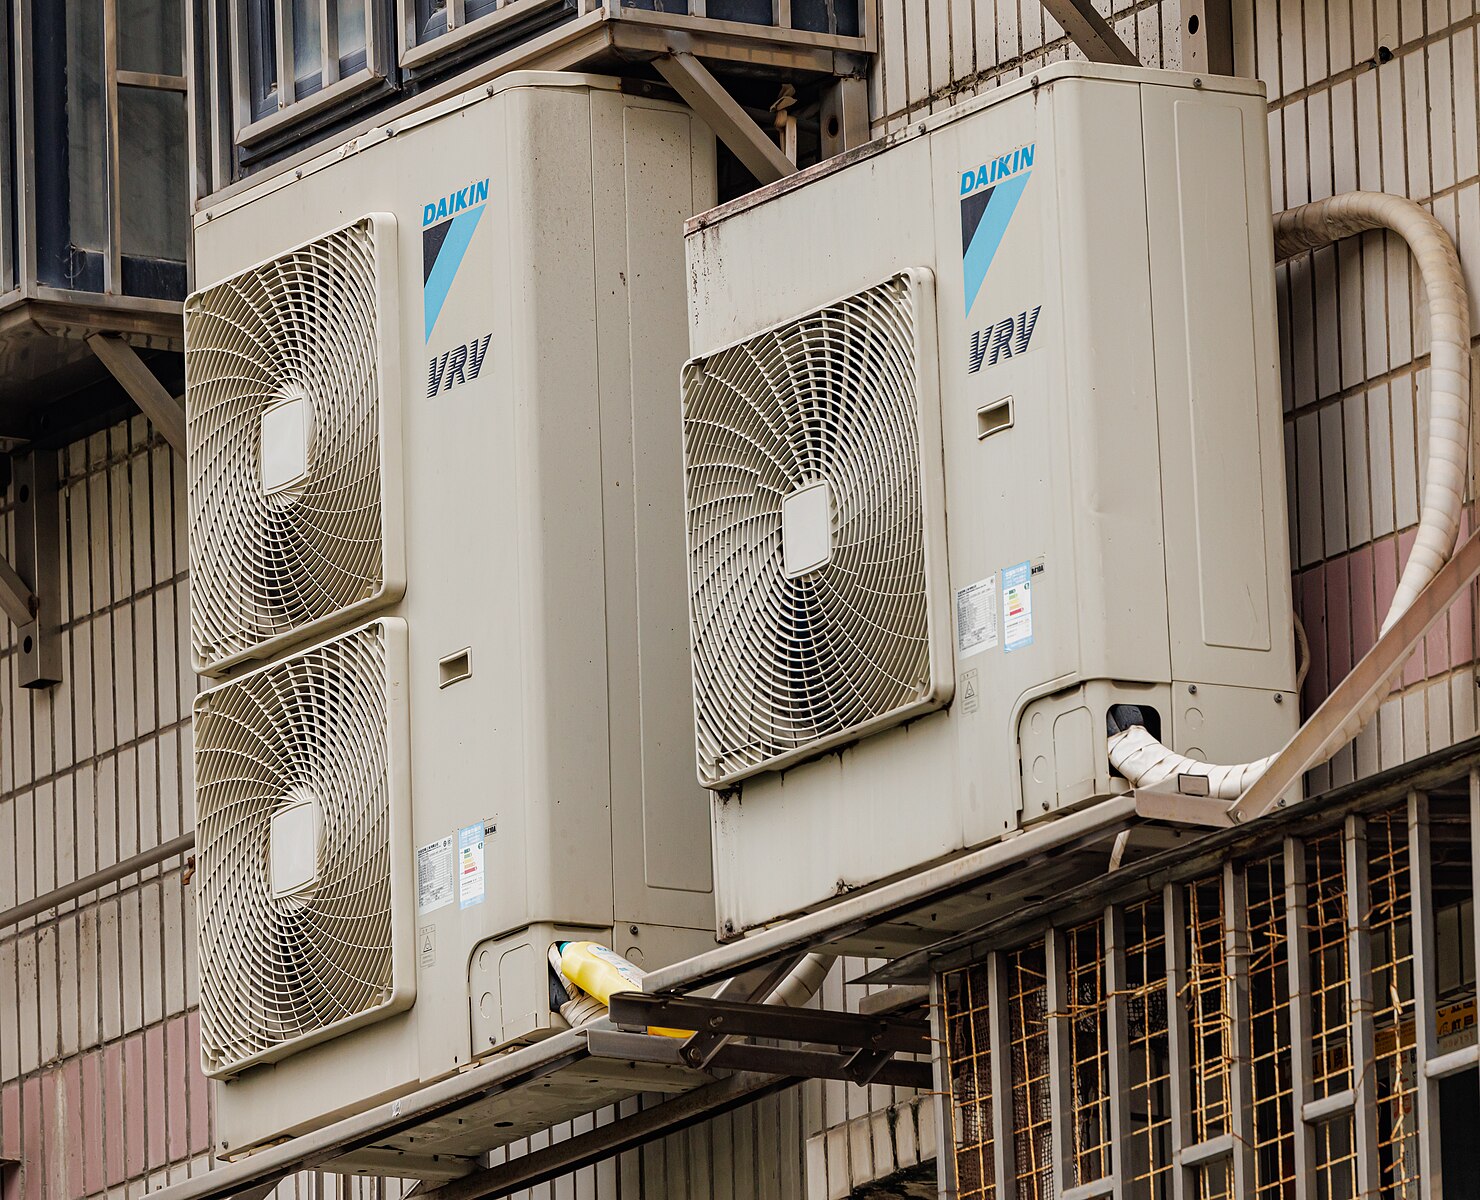
 Image source: Daikin Air Conditioner Outdoor by Dinkun Chen
-
Identify the Number of Vertical Blade ASSYs: Daikin air conditioning units typically have three vertical blade ASSYs that need to be removed.
-
Carefully Lift Out the Blades: After unfastening the hooks, gently lift out each of the three vertical blade ASSYs, taking care not to damage any components.
-
Inspect for Debris: Examine the areas where the vertical blade ASSYs were connected, and remove any accumulated dust, dirt, or debris that may have collected.
Preparing the Work Area
-
Place a Plastic Sheet: To prevent any remaining water or condensation from the drain pan from spilling onto the floor, place a plastic sheet or tarp underneath the drain pan ASSY.
-
Ensure a Clean Work Surface: Clear the surrounding area of any obstructions or tools that may interfere with the drain pan removal process.
Disconnecting the Drain Hose
-
Locate the Drain Hose: Identify the drain hose that is connected to the drain pan ASSY. This hose is responsible for channeling the condensate water out of the system.
-
Carefully Pull Out the Drain Hose: Gently pull the drain hose out of its connection point, taking care not to damage the hose or the surrounding components.
-
Inspect the Hose for Clogs: Examine the drain hose for any blockages or debris that may be causing issues with the drainage system.
Removing the Swing Motor Unit
-
Identify the Swing Motor Unit: The swing motor unit is responsible for the automatic movement of the air vanes. This component must be removed to access the drain pan ASSY.
-
Disconnect the Swing Motor Unit: Carefully disconnect the swing motor unit from its mounting point, ensuring that all electrical connections are properly severed.
-
Set Aside the Swing Motor Unit: Place the swing motor unit in a safe location, away from the work area, to prevent any damage or interference during the drain pan removal process.
Finalizing the Drain Pan Removal
-
Verify Power Disconnection: Before proceeding with the drain pan removal, ensure that all power supplies to the air conditioning unit have been turned off and that at least 10 minutes have passed to allow for the safe discharge of any residual electrical charge.
-
Carefully Lift Out the Drain Pan: Gently lift the drain pan ASSY out of its position, taking care not to spill any remaining water or condensation.
-
Inspect the Drain Pan: Examine the drain pan for any signs of damage, cracks, or buildup of debris. Clean the pan thoroughly before reinstallation.
By following these detailed steps, you can successfully remove the Daikin drain pan, allowing for proper maintenance, cleaning, or replacement of the component. Remember to always prioritize safety and consult the manufacturer’s instructions for any specific guidance or requirements.
