
Removing the Daikin mini split cover is a crucial step in accessing the internal components of the unit for cleaning, maintenance, or troubleshooting. This comprehensive guide will walk you through the advanced steps with hands-on details and technical specifications to ensure a successful and safe removal process.
Turn Off the Power and Allow for Cooling
Before starting the removal process, it is essential to ensure the unit is turned off and the system has had ample time to cool down. Disconnect the power supply to the mini split system and wait for at least 10 minutes to allow the internal components to reach a safe temperature. This step is crucial to prevent any potential electrical hazards or burns during the disassembly.
Locate and Remove the Screws
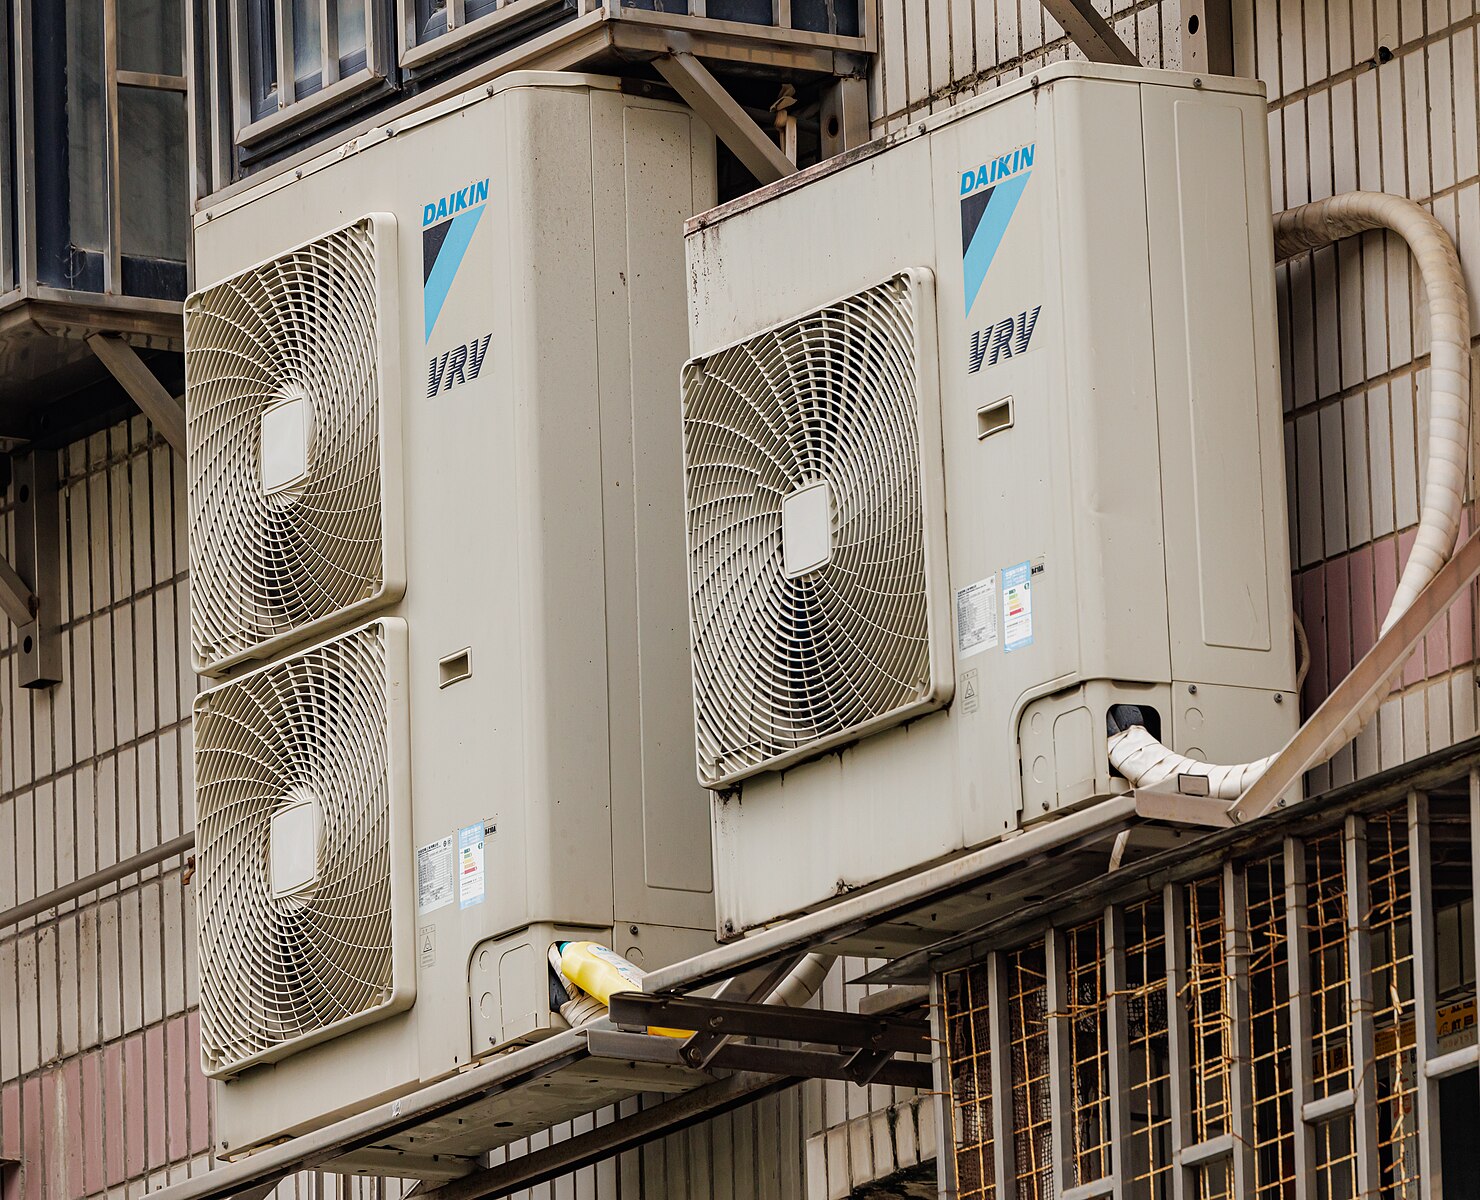 Image source: Daikin Air Conditioner Outdoor by Dinkun Chen
Identify the screws that are holding the cover in place. Typically, there will be screws located at the top, bottom, and sides of the unit. You may need a variety of screwdrivers, such as a Phillips head or a flathead, depending on the screw types used in your specific Daikin mini split model.
When removing the screws, be mindful of their positions and orientations, as this will be crucial for the reassembly process. It is recommended to take photographs or make notes to ensure you can properly reinstall the cover later.
Disconnect the Wiring
Once the screws have been removed, carefully disconnect any wiring that is connected to the cover. This may include power cables, control wiring, or sensor connections. Ensure that you label or mark the wires to avoid confusion during the reassembly.
When disconnecting the wiring, handle the connectors with care to prevent any damage to the terminals or the wires themselves. Gently pull the connectors apart, avoiding excessive force or twisting.
Disconnect the Drain Hose
If your Daikin mini split unit has a drain hose connected to the cover, you will need to disconnect it before removing the cover. Be prepared for some water to spill out during this process, so have a towel or container ready to catch any excess moisture.
Carefully detach the drain hose from the cover, ensuring that you do not damage the hose or the connection point. Make a note of the hose routing and orientation for proper reinstallation later.
Lower the Unit
After disconnecting the wiring and drain hose, you can now lower the lower half of the unit from beneath the coil. This lower section should be attached to the drain pan and contain the blower assembly.
Gently lower the unit, taking care not to strain or damage any of the remaining connections. Support the weight of the lower section to ensure a smooth and controlled descent.
Unscrew the Blower Assembly
To fully remove the cover, you will need to unscrew the blower assembly from the drain pan. Locate the screws securing the blower in place and remove them, again taking note of their positions and orientations.
Once the blower assembly is detached, you can now lift the cover away from the unit, providing full access to the internal components for cleaning, maintenance, or troubleshooting.
Remember to take photographs or make detailed notes throughout the disassembly process to ensure a smooth and successful reassembly. Refer to the manufacturer’s instructions or technical manuals for any specific guidance or requirements for your Daikin mini split model.
By following these advanced steps with hands-on details and technical specifications, you can safely and effectively remove the Daikin mini split cover and access the internal components as needed.