Removing the fan blade on a Daikin mini split air conditioner can be a straightforward task, but it requires attention to detail and proper safety precautions. This comprehensive guide will walk you through the step-by-step process of removing the fan blade, cleaning it, and reinstalling it, ensuring your Daikin mini split continues to operate efficiently.
Preparing for the Task
Before you begin, it’s crucial to ensure that the power to the unit is turned off at the circuit breaker. This step is essential for your safety, as working on an active electrical system can be hazardous. Additionally, it’s recommended to wear gloves and safety glasses to protect yourself from any potential debris or sharp edges.
Accessing the Fan Blade
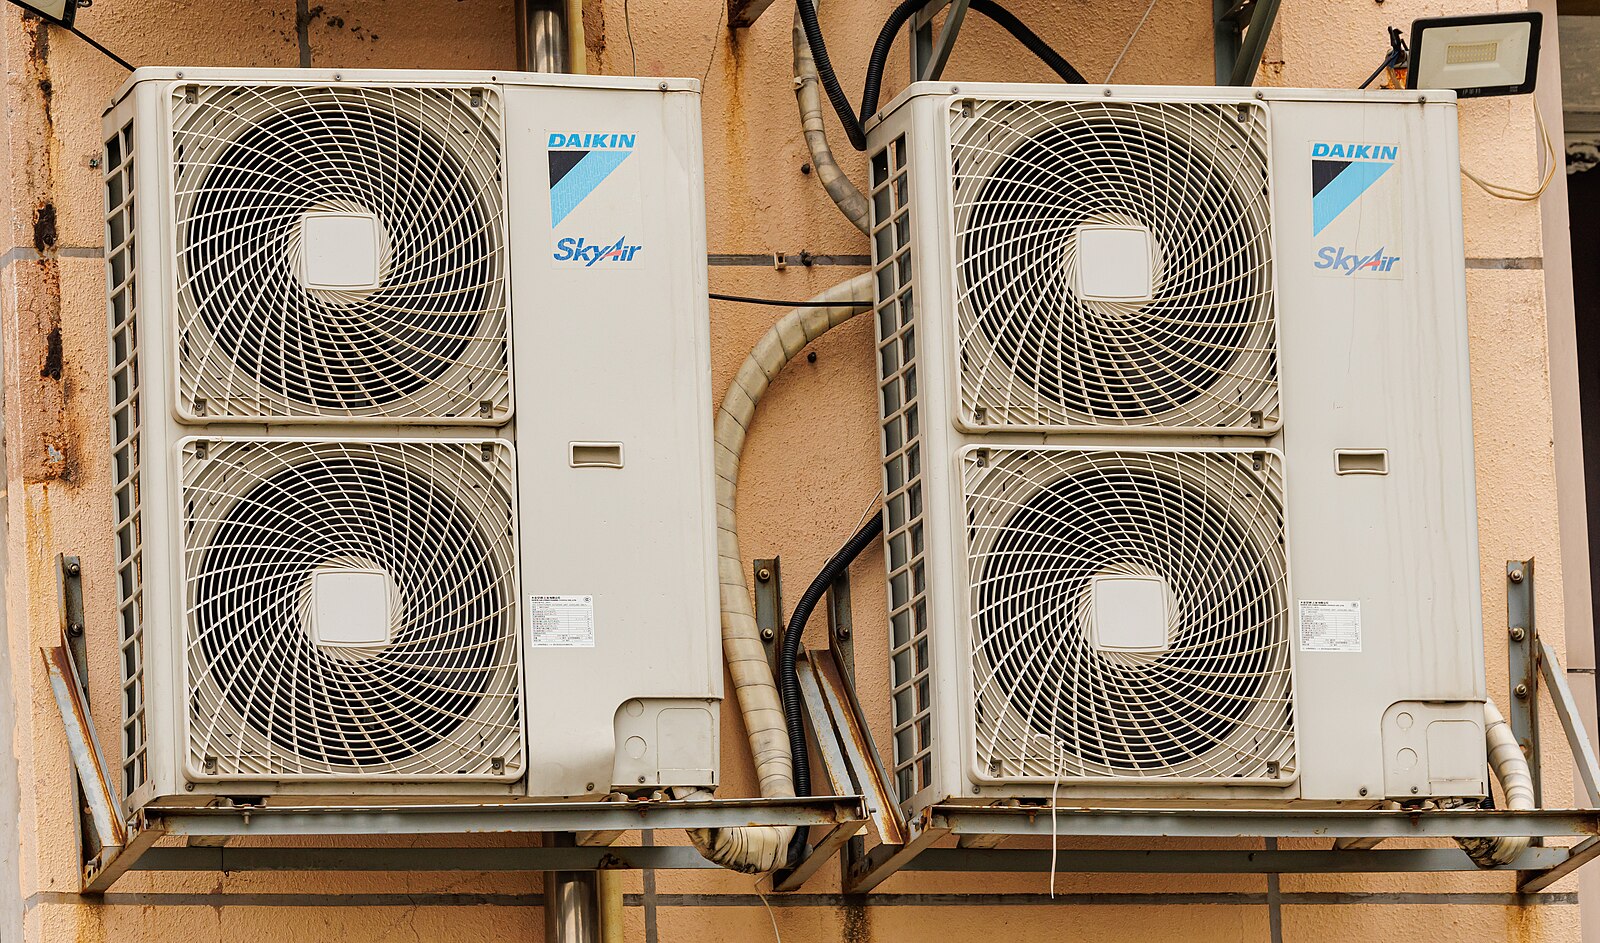
 Image source: Daikin Air Conditioner Outdoor by Dinkun Chen
-
Removing the Protective Grill: The first step in accessing the fan blade is to remove the protective grill. This is typically done by unscrewing a few screws that hold the grill in place. Carefully remove the grill, taking note of how it is attached to the unit.
-
Locating the Fan Blade: Once the grill is removed, you should be able to clearly see the fan blade. Examine the blade’s attachment to the motor shaft, as this will be important for the reassembly process.
Removing the Fan Blade
-
Unscrewing the Fan Blade: To remove the fan blade, you will need to unscrew it from the motor shaft. Depending on the model, this may involve a single screw or a more complex attachment mechanism. Make sure to take note of the orientation and positioning of the fan blade, as this will be crucial for the reinstallation process.
-
Handling the Fan Blade: When removing the fan blade, be cautious and handle it with care. Avoid bending or damaging the blade, as this can affect the unit’s performance and balance.
Cleaning the Fan Blade
-
Preparing the Cleaning Solution: Mix a mild detergent or soap with warm water to create a cleaning solution. Avoid using harsh chemicals or abrasives, as they can damage the fan blade’s surface.
-
Cleaning the Blade: Gently wipe down the fan blade with a soft cloth or brush, using the cleaning solution. Pay attention to any built-up dirt, dust, or debris, and ensure the blade is thoroughly cleaned.
-
Drying the Blade: After cleaning, make sure the fan blade is completely dry before proceeding with the reinstallation process.
Reinstalling the Fan Blade
-
Aligning the Fan Blade: Carefully place the fan blade back onto the motor shaft, ensuring it is properly aligned and oriented in the same way as it was removed.
-
Securing the Fan Blade: Depending on the attachment method, either screw the fan blade back into place or use the appropriate fasteners to secure it firmly to the motor shaft.
-
Verifying the Blade’s Rotation: Once the fan blade is reinstalled, turn the power back on and observe the blade’s rotation. Ensure that it is spinning freely and without any obstructions.
-
Reinstalling the Protective Grill: Finally, replace the protective grill and secure it with the screws you removed earlier.
Additional Considerations
-
Cleaning the Coils: While you have the unit disassembled, it’s a good idea to clean the indoor and outdoor coils as well. This can help improve the overall efficiency and longevity of your Daikin mini split system.
-
Seeking Professional Assistance: If you encounter any difficulties or are unsure about the process, it’s always best to consult a qualified HVAC technician. They have the expertise and tools to ensure the job is done safely and correctly.
By following this comprehensive guide, you can successfully remove, clean, and reinstall the fan blade on your Daikin mini split air conditioner, ensuring its continued efficient operation.
