Summary
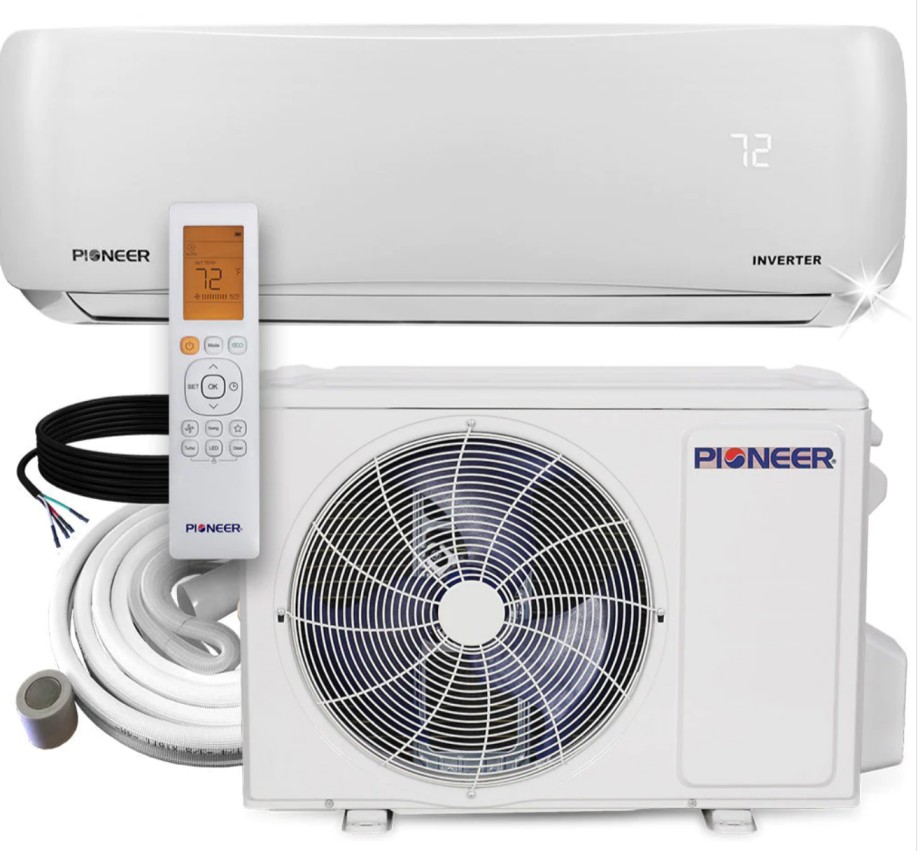
Removing the fan blade on a Pioneer mini split can be a delicate and intricate process, but with the right guidance, it can be accomplished successfully. This comprehensive guide will walk you through the step-by-step process of disassembling the indoor unit and safely removing the fan motor and fan blade, providing detailed technical information and expert-level insights to ensure a smooth and efficient DIY experience.
Disassembling the Indoor Unit
Removing the Front Panel
- Start by locating the front panel of the indoor unit. Identify the tabs on both sides of the panel and gently hold them while lifting the panel upwards to remove it.
- Examine the panel closely and take note of any clips, screws, or other fasteners that may need to be disconnected or unscrewed before the panel can be fully detached.
- Carefully set the front panel aside, ensuring that you do not damage any of the components or wiring connected to it.
Accessing the Air Filter
- Locate the air filter, which is typically situated behind the front panel.
- Gently push up on the bottom of the air filter to release it, then pull the filter out downwards.
- Inspect the filter for any debris or damage and clean or replace it as necessary.
Removing the Horizontal Louver
- Identify the horizontal louver, which is responsible for directing the airflow from the indoor unit.
- Locate the hook that secures the louver in place and push it towards the left to open the louver.
- Carefully bend the horizontal louver by hand to loosen the hooks, then remove the louver completely.
Disconnecting the Electrical Components
- Locate the electrical cover, which is typically secured with a screw or clip.
- Use a screwdriver to pry open the electrical cover, then rotate it towards the left to access the internal components.
- Identify the connector for the display board and carefully disconnect it, taking note of its orientation for proper reconnection later.
Removing the Front Panel Frame
- Locate the screws that secure the front panel frame to the indoor unit.
- Use a screwdriver to remove the 3 screws, then slide the front panel side to side to release each axis.
- Open the screw cap and remove the remaining screws to fully detach the front panel frame.
- Gently release the hooks by hand and pull out the panel frame, being careful not to damage any components or wiring.
Removing the Fan Motor and Fan Blade
Accessing the Fan Motor
- With the indoor unit disassembled, locate the fan motor and fan blade assembly.
- Remove the two screws that secure the fixing board of the fan motor.
- Carefully remove the bearing sleeve, taking note of its orientation for proper reassembly.
Removing the Fan Blade
- Identify the fixing screw that secures the fan blade to the fan motor shaft.
- Use the appropriate tool, such as a hex wrench or screwdriver, to remove the fixing screw.
- Gently pull the fan motor and fan blade assembly out from the side of the indoor unit.
Inspecting and Cleaning the Components
- Thoroughly inspect the fan blade for any signs of damage, such as cracks, bends, or imbalances.
- Clean the fan blade and fan motor using a soft cloth or brush, removing any dust or debris that may have accumulated.
- Carefully examine the bearings and other moving parts for any signs of wear or damage, and replace them if necessary.
Reassembly and Reinstallation
- Reverse the disassembly process to reinstall the fan motor and fan blade.
- Ensure that all screws and fasteners are properly tightened and that the fan blade is securely attached to the motor shaft.
- Reconnect the electrical components, including the display board connector, and replace the front panel frame, horizontal louver, and air filter.
- Test the operation of the indoor unit to ensure that the fan is functioning correctly and that there are no unusual noises or vibrations.
Remember, the actual appearance and disassembly process may vary slightly depending on the specific model of your Pioneer mini split. Always refer to the manufacturer’s instructions or consult a professional if you are unsure about any of the steps.
References
- PDHVAC. (n.d.). Disassembly Guide for WYS Series Pioneer Mini Split Indoor Air Handler. Retrieved from https://www.pdhvac.com/site/downloads/manuals/WYS-Disassembly-Guide.pdf
- Service Tech Channel. (2024, February 10). How to Remove a Mini Split Fan Wheel! – YouTube. Retrieved from https://www.youtube.com/watch?v=io8ca5V79WY
- Airspool. (2023, November 5). How we remove the blower wheel and fan on the indoor unit of a mini-split. Retrieved from https://www.youtube.com/watch?v=CkSVQs5gePc

