
Removing the MRCOOL drain pan can be a straightforward task, but it requires attention to detail and a thorough understanding of the process. This comprehensive guide will walk you through the advanced, hands-on steps to safely and effectively remove the drain pan from your MRCOOL unit, ensuring a successful DIY project.
Preparing for Drain Pan Removal
-
Power Down the Unit: Before beginning, ensure that the MRCOOL unit is turned off at the circuit breaker to eliminate any electrical hazards. This is a crucial safety precaution.
-
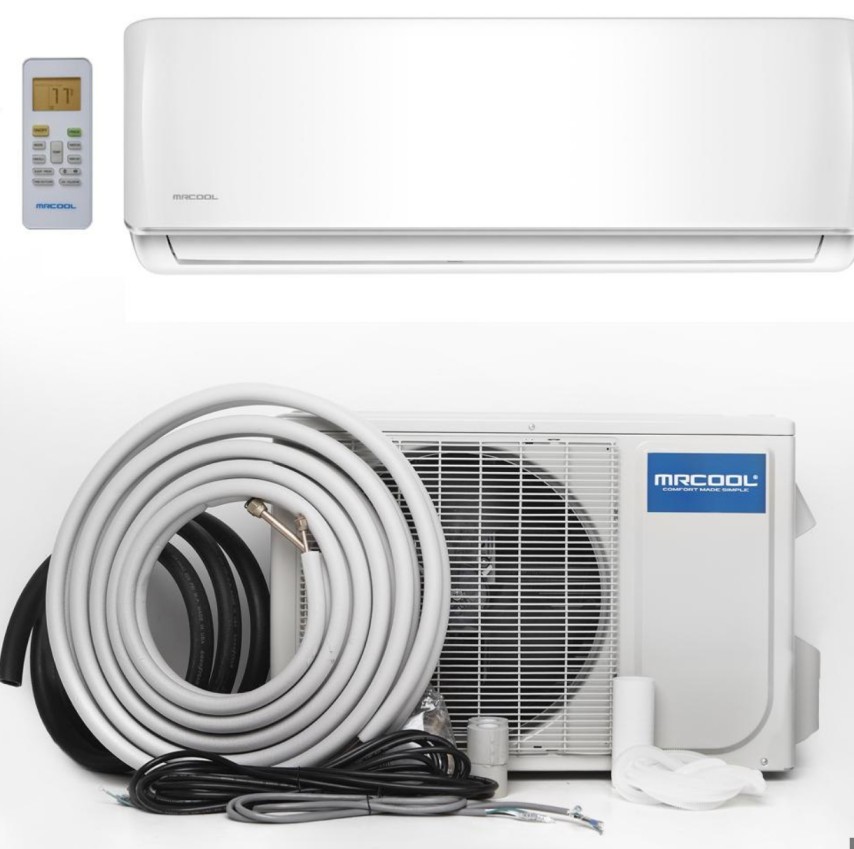
Locate the Drain Pan: The drain pan is typically situated at the bottom of the indoor unit. You may need to remove the front cover by unscrewing it from the unit to access the drain pan.
-
Identify the Drain Hole: The drain hole is the point where the water exits the unit. It is usually located at the lowest point of the drain pan.
-
Gather Necessary Tools: Prepare a container or bucket to catch any water that may spill out during the removal process. Additionally, have a Phillips head screwdriver and a pair of pliers or drain hose clamp removal tool on hand.
Disconnecting the Drain Pan
-
Disconnect the Drain Hose: Locate the drain hose connected to the drain pan. There may be clips or screws holding the hose in place. Carefully remove these fasteners to disconnect the drain hose from the pan.
-
Lift Out the Drain Pan: Once the drain hose is disconnected, you should be able to gently lift the drain pan out of the unit. Exercise caution, as the pan may contain residual water.
Inspecting and Cleaning the Drain Pan
-
Inspect the Drain Pan: Carefully examine the drain pan for any cracks, damage, or signs of wear. If you find any issues, you may need to replace the pan or consider repairing it using a suitable epoxy.
-
Clean the Drain Pan: Before reinstalling the drain pan, clean it thoroughly using a mild detergent and warm water. Rinse the pan well and allow it to dry completely.
Reinstalling the Drain Pan
-
Reattach the Drain Hose: Once the drain pan is clean and dry, reattach the drain hose and secure it in place using the clips or screws.
-
Insert the Drain Pan: Carefully place the drain pan back into the unit, ensuring it is properly seated and aligned.
-
Secure the Front Cover: If you had to remove the front cover to access the drain pan, screw it back into place.
Testing and Verifying the Installation
-
Restore Power: Turn the power back on at the circuit breaker to restore power to the MRCOOL unit.
-
Test the Unit: Run the MRCOOL unit and check for any leaks around the drain pan and hose. Ensure the unit is functioning correctly.
-
Monitor for Issues: Keep an eye on the drain pan and hose for any signs of leaks or other issues in the days following the installation. If you notice any problems, address them promptly.
By following these advanced, hands-on steps with critical details and technical specifications, you can successfully remove the MRCOOL drain pan and maintain your unit’s optimal performance. Remember to always prioritize safety and consult the manufacturer’s instructions if you have any doubts or questions.