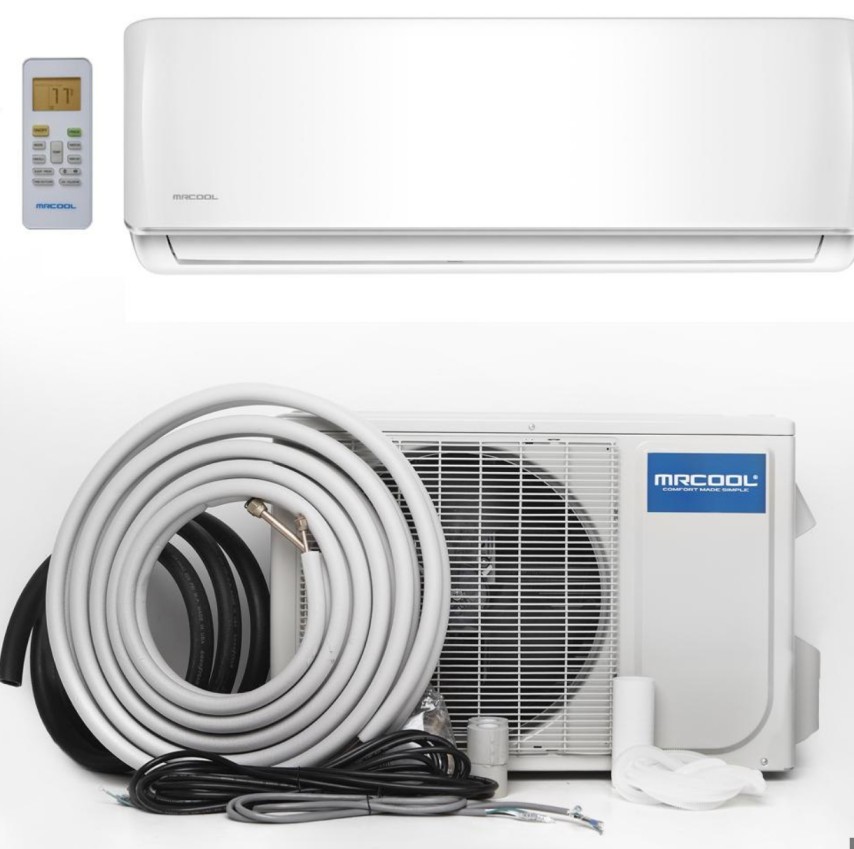
Removing the MRCOOL mini split cover can be a straightforward task, but it’s essential to follow the right steps to ensure a successful and safe removal process. This comprehensive guide will walk you through the step-by-step instructions, providing detailed technical information and expert-level insights to help you navigate the process with confidence.
Prepare the Work Area
Before you begin, ensure that the work area is clean, well-lit, and free from any obstructions. Gather the necessary tools, including a Phillips head screwdriver, a flat-head screwdriver, and a pair of pliers. Additionally, have a clean, soft surface nearby to place the removed components to prevent any damage.
Disconnect the Front Faceplate
-
Identify the Wires: The front faceplate is connected to the unit by two wires, a gray wire and a black wire. Carefully examine the wires and their connections to understand their purpose.
-
Disconnect the Wires: Gently disconnect the gray and black wires from the faceplate. The gray wire has a plug on the end with five pins (A, B, C, D, and E), which is a test board for the system used for factory testing and troubleshooting.
-
Optional Thermostat Connection: Some MRCOOL mini split systems may have an optional wired thermostat that can be connected permanently to the wall. If your unit has this feature, make sure to disconnect the thermostat wiring as well.
Remove the Temperature Sensor
-
Locate the Temperature Sensor: The temperature sensor is typically located at the bottom of the indoor unit.
-
Disconnect the Sensor: Carefully remove the temperature sensor from its position and set it aside, ensuring that the sensor cable is not damaged during the process.
Unscrew the Front Screws
-
Identify the Screw Locations: Examine the front of the indoor unit to determine the number and location of the screws. Some models may have one screw, while others may have two or three.
-
Undo the Screws: Using a Phillips head screwdriver, carefully unscrew the front screws and keep them in a safe place for later reassembly.
Undo the Clips
-
Locate the Clips: There are clips on the front faceplate that are inserted into the back of the indoor unit. These clips need to be undone before attempting to remove the cover.
-
Disconnect the Clips: Gently grab the front cover and pull it forward. Then, lift the top of the cover, and the clips should come loose. Finally, lift the cover off in a downward motion.
Reassemble the MRCOOL Mini Split
-
Reverse the Removal Process: To reassemble the MRCOOL mini split, simply follow the steps in reverse order. Ensure that all the components are properly reconnected and secured in their respective positions.
-
Verify the Connections: Double-check all the wiring connections, the temperature sensor, and the front cover clips to ensure a secure and proper reassembly.
-
Test the System: Once the cover is reinstalled, turn on the MRCOOL mini split system and verify that it is functioning correctly.
Remember, while the general process of removing the MRCOOL mini split cover is similar across different models, there may be slight variations in the number of screws or the exact location of the clips. Always refer to the manufacturer’s instructions or consult with a professional if you encounter any difficulties during the removal or reassembly process.
Reference:
- DuctlessAire Removing Indoor Unit Cover – YouTube, https://www.youtube.com/watch?v=m0F5N3RtcH0
- Disconnecting and Removal of Mr. Cool 27k – DIY Ductless – YouTube, https://www.youtube.com/watch?v=xM0hsBC-fiI
- How to Replace a MRCOOL Ductless Mini Split Fan Motor – YouTube, https://www.youtube.com/watch?v=kAY6i8VpTBo
- Need quick help please. How do I remove a Mr. Cool mini split from … – Reddit, https://www.reddit.com/r/HomeImprovement/comments/i9f1zb/need_quick_help_please_how_do_i_remove_a_mr_cool/

