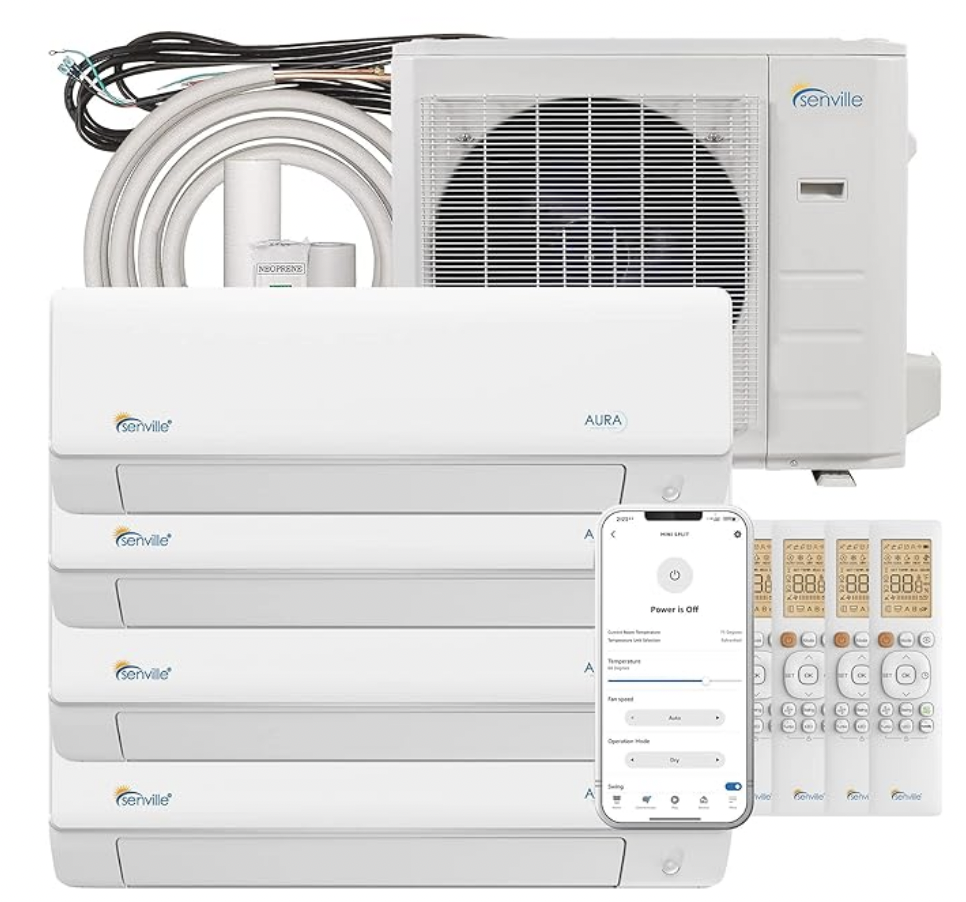
Removing the Senville mini split cover is a crucial step in maintaining and servicing your air conditioning unit. This comprehensive guide provides detailed, hands-on instructions and technical specifications to help you successfully remove the cover and access the internal components of your Senville mini split system.
Preparing for the Task
- Turn off the Air Conditioner and Power Breaker: Before beginning any work on your Senville mini split, it is essential to ensure the power is turned off. This includes turning off the air conditioner itself and the corresponding circuit breaker in your electrical panel. Failure to do so can result in serious injury or damage to the unit.
- Gather the Necessary Tools: You will need the following tools to remove the Senville mini split cover:
- Phillips head screwdriver set (sizes #0 to #2)
- Flathead screwdriver (for prying and disconnecting clips)
- Needle-nose pliers (for handling small components and wire connections)
- Flashlight (for improved visibility in tight spaces)
Removing the Senville Mini Split Cover

Step 1: Remove the Big Handle
- Locate the screws securing the big handle on the front of the unit.
- Using a Phillips head screwdriver, remove the single screw holding the big handle in place.
- Carefully pull the big handle away from the unit, providing access to the top cover screws.
Step 2: Remove the Top Cover
- Identify the three screws securing the top cover of the Senville mini split.
- Remove these three screws using the appropriate Phillips head screwdriver.
- Lift the top cover off the unit, exposing the front panel.
Step 3: Remove the Front Panel
- Locate the six screws securing the front panel of the Senville mini split.
- Using the Phillips head screwdriver, remove these six screws.
- Gently pull the front panel away from the unit, taking care not to damage any wiring or components.
Step 4: Remove the Water Collecting Cover (Optional)
- If you need to access the water collecting tray for cleaning or maintenance, locate the two screws securing the water collecting cover.
- Remove these two screws using the Phillips head screwdriver.
- Carefully lift the water collecting cover off the unit.
Step 5: Remove the Rear Net (Optional)
- Some Senville mini split models may have a rear net that can be removed for better access.
- Locate the two screws securing the rear net.
- Remove these two screws using the Phillips head screwdriver.
- Gently pull the rear net away from the unit.
Step 6: Remove the Right Panel
- Identify the six screws securing the right panel of the Senville mini split (see CJ_AA30_006 for reference).
- Using the Phillips head screwdriver, remove these six screws.
- Carefully lift the right panel off the unit, providing full access to the internal components.
Advanced Technical Details
Screw Sizes
The screws used in Senville mini split units are typically Phillips head screws, ranging from #0 to #2 in size. The length of the screws varies depending on the component, but is usually around 1/4 inch to 3/8 inch.
Torque Specifications
The torque specifications for the screws in Senville mini split units are not provided in the service manual. However, a general rule of thumb is to tighten the screws until they are snug, without overtightening, to avoid stripping the threads or damaging the components.
Wire Connections
When removing the cover, be mindful of the wire connections. Make sure to disconnect the connectors properly and remember the order of the wires for reassembly.
