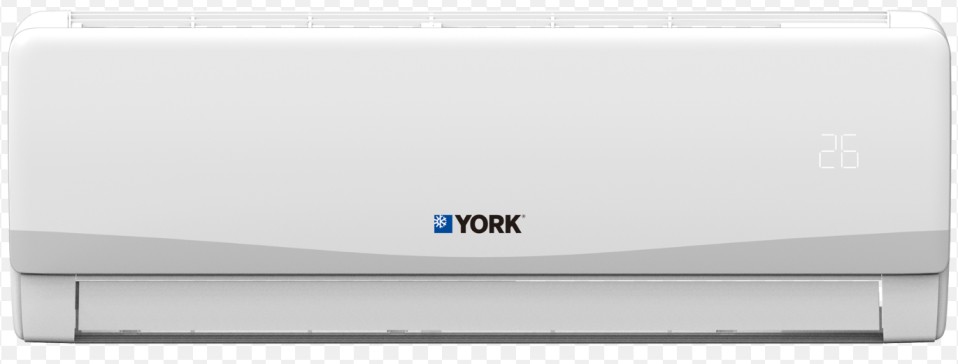
Removing a YORK drain pan can be a straightforward task, but it requires a methodical approach and attention to detail to ensure a successful and safe outcome. This comprehensive guide will walk you through the step-by-step process of removing a YORK drain pan, providing you with the necessary technical details and expert-level insights to tackle this project with confidence.
Preparing for the Task
Before you begin the drain pan removal process, it’s essential to gather the necessary tools and equipment. You’ll need the following items:
- Screwdrivers (both flathead and Phillips head)
- Pliers or a drain pan removal tool
- Gloves and safety glasses
- A clean, well-lit work area
Additionally, it’s crucial to ensure that the HVAC system is turned off and the power is disconnected to prevent any electrical hazards during the process.
Removing the Blower Assembly

- Locate the blower assembly, which is typically situated at the front or side of the HVAC unit.
- Identify the screws or fasteners that secure the blower assembly in place. These are usually two screws or bolts.
- Using the appropriate screwdriver, carefully remove the screws or fasteners, taking note of their positions for later reassembly.
- Gently pull the blower assembly out, being mindful of any wiring or connections that may be attached.
Removing the Panels
- With the blower assembly removed, you’ll now have access to the panels that cover the evaporator coil.
- Locate the screws or fasteners that secure the panels in place. These can be found along the edges or corners of the panels.
- Using the appropriate screwdrivers, remove the screws or fasteners, taking care to keep track of their positions.
- Carefully lift and remove the panels, exposing the evaporator coil and the drain pan.
Removing the Evaporator Coil Screws
- Examine the evaporator coil and identify the screws or fasteners that hold it in place.
- Typically, there are four to six screws, with two located on the front and two on the back of the coil.
- Using the appropriate screwdrivers, remove the screws or fasteners, taking note of their positions.
- Gently slide the evaporator coil forward, creating enough space to access the drain pan.
Lifting the Drain Pan
- With the evaporator coil partially removed, you should now have clear access to the drain pan.
- Locate the clips or fasteners that secure the drain pan in place. These are usually situated along the edges of the pan.
- Using pliers or a drain pan removal tool, carefully release the clips or fasteners, taking care not to damage the pan.
- Slowly lift the drain pan out from its position, being mindful of any remaining connections or attachments.
Replacing the Drain Pan
If the existing drain pan is cracked, damaged, or needs to be replaced, follow these steps:
- Ensure that the new drain pan is the correct size and compatible with your YORK HVAC system.
- Clean the area where the new drain pan will be installed, removing any debris or residue.
- Place the new drain pan in the correct position, ensuring that it is level and properly aligned.
- Secure the new drain pan in place using the appropriate clips or fasteners.
- Reconnect any drainage or overflow connections to the new drain pan.
Reassembling the HVAC Unit
- Carefully slide the evaporator coil back into its original position, ensuring that it is properly aligned.
- Reattach the evaporator coil screws or fasteners, tightening them securely.
- Replace the panels, aligning them correctly and securing them with the screws or fasteners.
- Reattach the blower assembly, ensuring that all connections are properly made.
- Restore power to the HVAC system and test the unit to ensure proper operation.
Remember, if you encounter any difficulties or are unsure about the process, it’s always best to consult a professional HVAC technician to ensure the safe and proper removal and replacement of the YORK drain pan.
Conclusion
Removing a YORK drain pan may seem like a daunting task, but with the right tools, knowledge, and attention to detail, it can be a manageable DIY project. By following the step-by-step instructions outlined in this comprehensive guide, you’ll be able to successfully remove and, if necessary, replace the drain pan in your YORK HVAC system. Remember to prioritize safety, take your time, and don’t hesitate to seek professional assistance if you encounter any challenges along the way.
References:
– How to Remove a HVAC Drain Pan
– Replacing a HVAC Drain Pan
– Cleaning a HVAC Drain Pan
