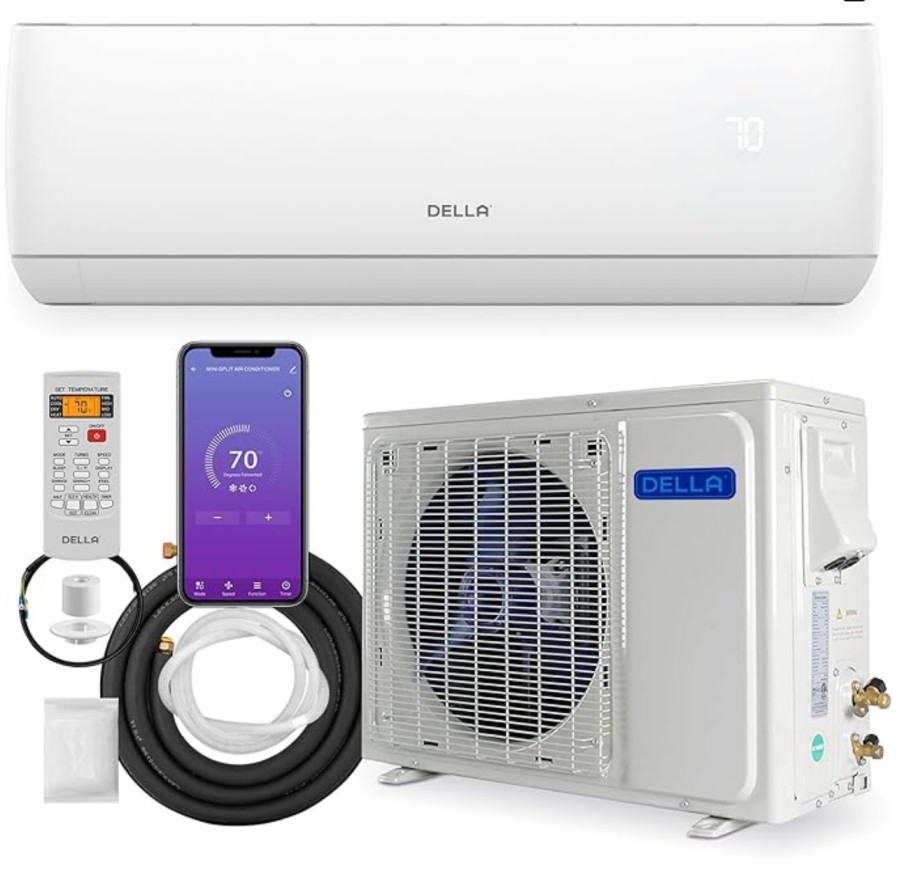
Repairing a DELLA AC remote can be a straightforward process, but it requires a methodical approach and a good understanding of the underlying components. This comprehensive guide will walk you through the step-by-step process of troubleshooting and repairing a DELLA AC remote, providing you with the technical details and expert-level insights to ensure a successful repair.
Checking the Batteries
The first step in repairing a DELLA AC remote is to check the batteries. Weak or dead batteries can cause the remote to malfunction, preventing it from communicating with the AC unit. To check the batteries:
- Locate the battery compartment on the back of the remote.
- Remove the old batteries and inspect them for any signs of corrosion or damage.
- Replace the batteries with new, high-quality alkaline or lithium-ion batteries, ensuring that the polarity (+ and -) is correctly aligned.
- Reassemble the remote and test it by pointing it directly at the AC unit’s sensor and pressing the buttons.
If replacing the batteries does not resolve the issue, proceed to the next step.
Testing the Remote

If the remote is still not functioning after replacing the batteries, you’ll need to test the remote itself to determine if it’s the source of the problem. To test the remote:
- Ensure that the remote is pointed directly at the AC unit’s sensor, which is typically located on the front panel of the unit.
- Press the buttons on the remote and observe the LED indicator light. If the LED light is not illuminating, the remote may be faulty and in need of replacement.
- If the LED light is illuminating, but the AC unit is still not responding, the issue may be with the sensor or the control board.
Checking the Sensor
If the remote is functioning properly, the next step is to inspect the AC unit’s sensor. The sensor is responsible for receiving the infrared (IR) signals from the remote and relaying them to the control board. To check the sensor:
- Locate the sensor on the front panel of the AC unit. It is typically a small, circular or rectangular component.
- Ensure that the sensor is clean and free of any obstructions, such as dust or debris.
- Use a multimeter to test the sensor’s continuity. If the sensor is not functioning properly, it may need to be replaced.
Replacing the Control Board
If the sensor is working correctly, but the AC unit is still not responding to the remote, the issue may be with the control board. The control board is the main electronic component that processes the signals from the remote and controls the various functions of the AC unit. To replace the control board:
- Locate the control board, which is typically housed inside the AC unit’s main body.
- Disconnect the power supply to the AC unit and remove the control board.
- Carefully compare the new control board to the old one, ensuring that the connections and mounting points are identical.
- Install the new control board, reconnect the power supply, and test the remote to ensure that the issue has been resolved.
Purchasing a Replacement Remote
If all of the above steps have been followed and the issue persists, the remote itself may be faulty and in need of replacement. To purchase a replacement remote:
- Locate the full model number of your DELLA AC unit, which can typically be found on a label or sticker on the side or back of the unit.
- Search for a compatible replacement remote online, either on the DELLA website or through a third-party retailer like Amazon or eBay.
- Ensure that the replacement remote is specifically designed for your DELLA AC model to ensure a proper fit and functionality.
- Follow the instructions provided with the replacement remote to properly pair it with your AC unit.
By following these comprehensive steps, you should be able to successfully troubleshoot and repair your DELLA AC remote, restoring full functionality to your air conditioning system.
References:
- YAOHUIMI Replacement Remote Control for DELLA AC Air Conditioner
- How to Troubleshoot an Air Conditioner That Won’t Respond to the Remote Control
- Troubleshooting an Aircon Unit That Won’t Respond to the Remote Control
- How to Fix an Air Conditioner Remote Control That’s Not Working
- Purchased DELLA Air Conditioner, Not Working
