
Summary
Resetting the MRCOOL AC remote settings is a straightforward process that can help troubleshoot various issues with your air conditioning system. This comprehensive guide will walk you through the step-by-step instructions, providing detailed technical information and expert-level insights to ensure a successful reset of your MRCOOL AC remote.
Removing the Batteries
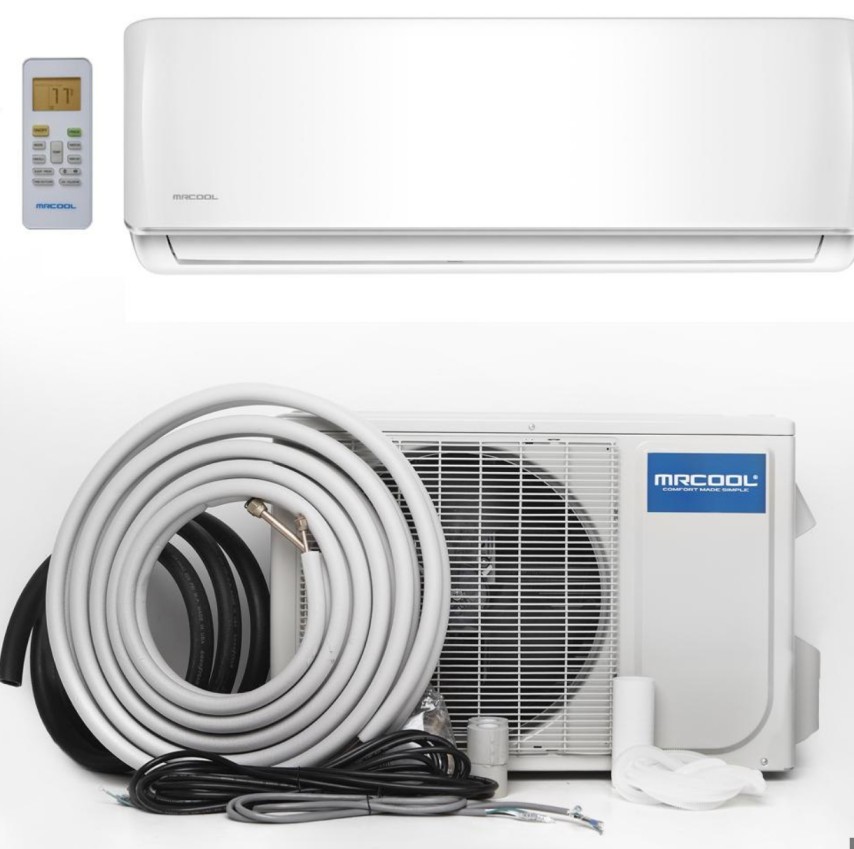
The first step in resetting your MRCOOL AC remote settings is to remove the batteries. Locate the battery compartment, typically situated at the back or rear part of the remote control. Gently remove the cover and take out the two dry batteries, which are typically R03/LR03X2 in size.
It’s important to note that the battery type and size may vary depending on the specific model of your MRCOOL AC remote. Consult your user manual or the manufacturer’s website to ensure you are using the correct battery type.
Draining Remaining Power
After removing the batteries, the next step is to drain any remaining power from the remote control. This process helps to clear the memory and ensure a fresh start for the reprogramming process.
To drain the remaining power, press and hold all the buttons on the remote control simultaneously for approximately 5 seconds. This action will discharge any residual electricity stored in the remote’s capacitors, effectively resetting the internal circuitry.
Inserting Fresh Batteries
With the remaining power drained, it’s time to insert fresh batteries into the remote control. Carefully place the new batteries, ensuring that the positive (+) and negative (-) ends are correctly aligned with the corresponding terminals in the battery compartment.
When inserting the new batteries, pay close attention to the polarity markings inside the battery compartment to avoid any potential damage to the remote control.
Reprogramming the Remote Control
After inserting the fresh batteries, the remote control must be reprogrammed to establish a connection with the MRCOOL air conditioning unit. This process may vary depending on the specific model of your MRCOOL AC, so it’s essential to refer to the user manual for detailed instructions.
The reprogramming process typically involves the following steps:
- Locating the Receiver Unit: Identify the location of the receiver unit on your MRCOOL AC, as this is where the remote control will communicate with the system.
- Entering Pairing Mode: Follow the instructions in the user manual to enter the pairing mode on the MRCOOL AC unit, which will allow the remote control to establish a connection.
- Synchronizing the Remote: Press the designated buttons on the remote control, as specified in the user manual, to synchronize it with the MRCOOL AC unit.
- Verifying Successful Pairing: After the pairing process, test the remote control by pressing various buttons to ensure that the MRCOOL AC unit responds accordingly.
It’s crucial to follow the manufacturer’s instructions precisely to ensure a successful reprogramming of the remote control.
Checking Signal Reception
Before finalizing the installation of the remote control, it’s essential to verify that the MRCOOL AC unit is receiving the signals from the remote properly. This step helps to ensure that the remote control is functioning correctly and can communicate with the air conditioning system.
To check the signal reception, stand in front of the MRCOOL AC unit and press various buttons on the remote control. Observe the response of the air conditioning unit, such as changes in the display, fan speed, or temperature settings, to confirm that the signals are being received correctly.
If the MRCOOL AC unit does not respond as expected, refer to the user manual or contact the manufacturer for further troubleshooting guidance.
Resetting the Timer
The final step in resetting the MRCOOL AC remote settings is to reset the timer function. This process ensures that the auto-on and auto-off timers are properly configured and ready for use.
To reset the timer, follow these steps:
- Press the TIMER ON Button: Locate the TIMER ON button on the remote control and press it.
- Observe the Display: The remote control will display “TIMER ON,” the last auto-on setting time, and the signal “H” on the LCD display area.
- Set the Desired Auto-on Time: Press the TIMER ON button again to set the desired auto-on time. Each press of the button will increase the time by half an hour between 0 and 10 hours, and by one hour between 10 and 24 hours.
Refer to the user manual for any additional instructions or specific details regarding the timer reset process for your MRCOOL AC model.
By following these comprehensive steps, you can effectively reset the MRCOOL AC remote settings and ensure that your air conditioning system is functioning optimally. Remember to consult the user manual and manufacturer’s resources for any model-specific instructions or troubleshooting guidance.