
Resetting your Pioneer AC remote settings can be a game-changer when it comes to optimizing the performance and efficiency of your air conditioning unit. Whether you’re dealing with a malfunctioning remote, inconsistent temperature control, or simply want to start fresh, this comprehensive guide will walk you through the step-by-step process to reset your Pioneer AC remote settings.
Hard Reset (Compressor)
The first step in resetting your Pioneer AC remote settings is to perform a hard reset on the compressor. This process involves turning off the main switch of the outdoor unit for a specific duration, allowing the system to reset and clear any lingering issues.
- Locate the Main Switch: Identify the main switch or circuit breaker that controls the outdoor unit of your Pioneer AC system. This is typically located near the outdoor unit or in your home’s electrical panel.
- Turn Off the Main Switch: Flip the main switch to the “Off” position and leave it in this state for 60 minutes. This duration is crucial to ensure the compressor is fully reset and ready for the next steps.
- Verify the Compressor is Off: During the 60-minute period, ensure that the compressor is not running and the outdoor unit is completely powered down. This is an essential step to ensure the hard reset is successful.
Soft Reset (Remote Control)
After the hard reset of the compressor, it’s time to focus on the remote control itself. Performing a soft reset on the remote will restore it to its factory settings, allowing you to start fresh with your AC settings.
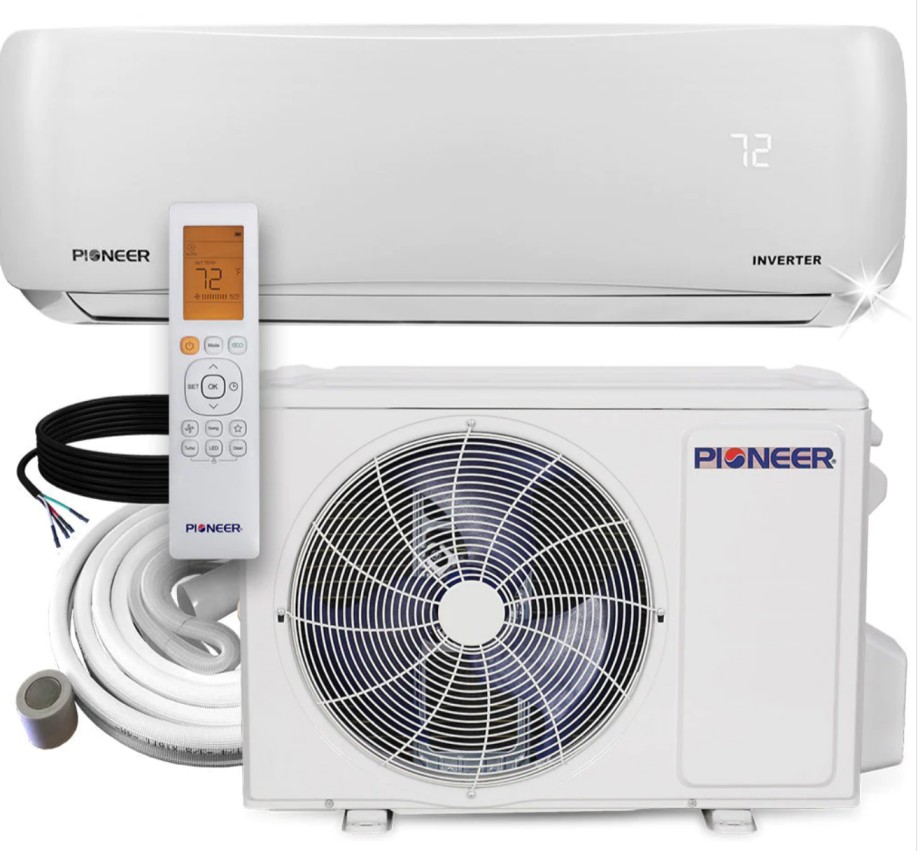
- Position the Remote: Ensure that the remote control is within 8 meters (25 feet) of the indoor unit and is pointed directly at the receiver.
- Locate the Reset Button: On the bottom of the remote control, you will find a small “Reset” button. Using a ballpoint pen or a similar thin object, press and hold this button for a few seconds.
- Observe the Screen: As you hold the “Reset” button, the remote control’s display should return to the factory settings mode, indicating that the soft reset has been successful.
Programming the Clock
With the hard and soft resets complete, it’s time to program the clock on your Pioneer AC remote control. Accurate time settings are crucial for proper timer and scheduling functions.
- Access the Clock Adjust: Press and hold the “Clock Adjust” button on the remote control for a few seconds.
- Set the Time and Day: Use the up and down arrow buttons to adjust the current time and day of the week. Ensure that the settings are accurate and reflect your local time.
- Confirm the Settings: Once you’ve set the time and day, press the “Send” button to confirm and save the changes.
Setting the Timer
The timer function on your Pioneer AC remote control allows you to automate the on and off cycles of your air conditioning unit. Follow these steps to set the timer to your desired schedule.
- Enter the Timer Mode: Press and hold the “Timer” button on the remote control for a few seconds to access the timer settings.
- Set the Timer: Use the up and down arrow buttons to adjust the desired time for the unit to turn on or off. You can set multiple timer events if needed.
- Confirm the Timer: Once you’ve set the timer to your preference, press the “Send” button to confirm and save the settings.
Adjusting the Settings
With the clock and timer set, you can now adjust the various settings on your Pioneer AC remote control to achieve your desired comfort level.
- Select the Mode: Use the mode button to choose between “Heat” or “Cool” mode, depending on your current needs.
- Adjust the Fan Speed: Utilize the fan speed buttons to set the desired airflow, ranging from low to high.
- Set the Temperature: Use the temperature up and down buttons to adjust the target temperature for your indoor environment.
Remember, the remote control specifications for your Pioneer AC system are as follows:
- Remote Controller Specifications:
- 3.0V dry batteries (R03/LR03x2)(2xAAA)
- 8m (25 feet) operational range
- Operational Temperature Range: 23°F – 140°F
- Model Number: RG10A4(D1)/BGEFU1
By following these comprehensive steps, you can effectively reset your Pioneer AC remote settings and take control of your home’s climate with precision and efficiency.