
Servicing a Gree air conditioner at home requires a deep understanding of the system’s components and technical specifications. This comprehensive guide provides step-by-step instructions, expert insights, and essential details to help you effectively service your Gree air conditioner and maintain its optimal performance.
Safety Precautions
Before starting any service work, it is crucial to prioritize safety. Ensure that the power to the unit is turned off and locked out to prevent accidental energization. Wear appropriate personal protective equipment (PPE), including safety glasses, work gloves, and a fire-resistant apron, to safeguard yourself from electrical hazards, sharp edges, and potential fire risks during brazing.
Maintain a quenching cloth and a fire extinguisher nearby, as brazing operations can pose a fire hazard. Familiarize yourself with the location of the main power disconnect and emergency shut-off switches to quickly respond in case of an emergency.
Identifying the Model
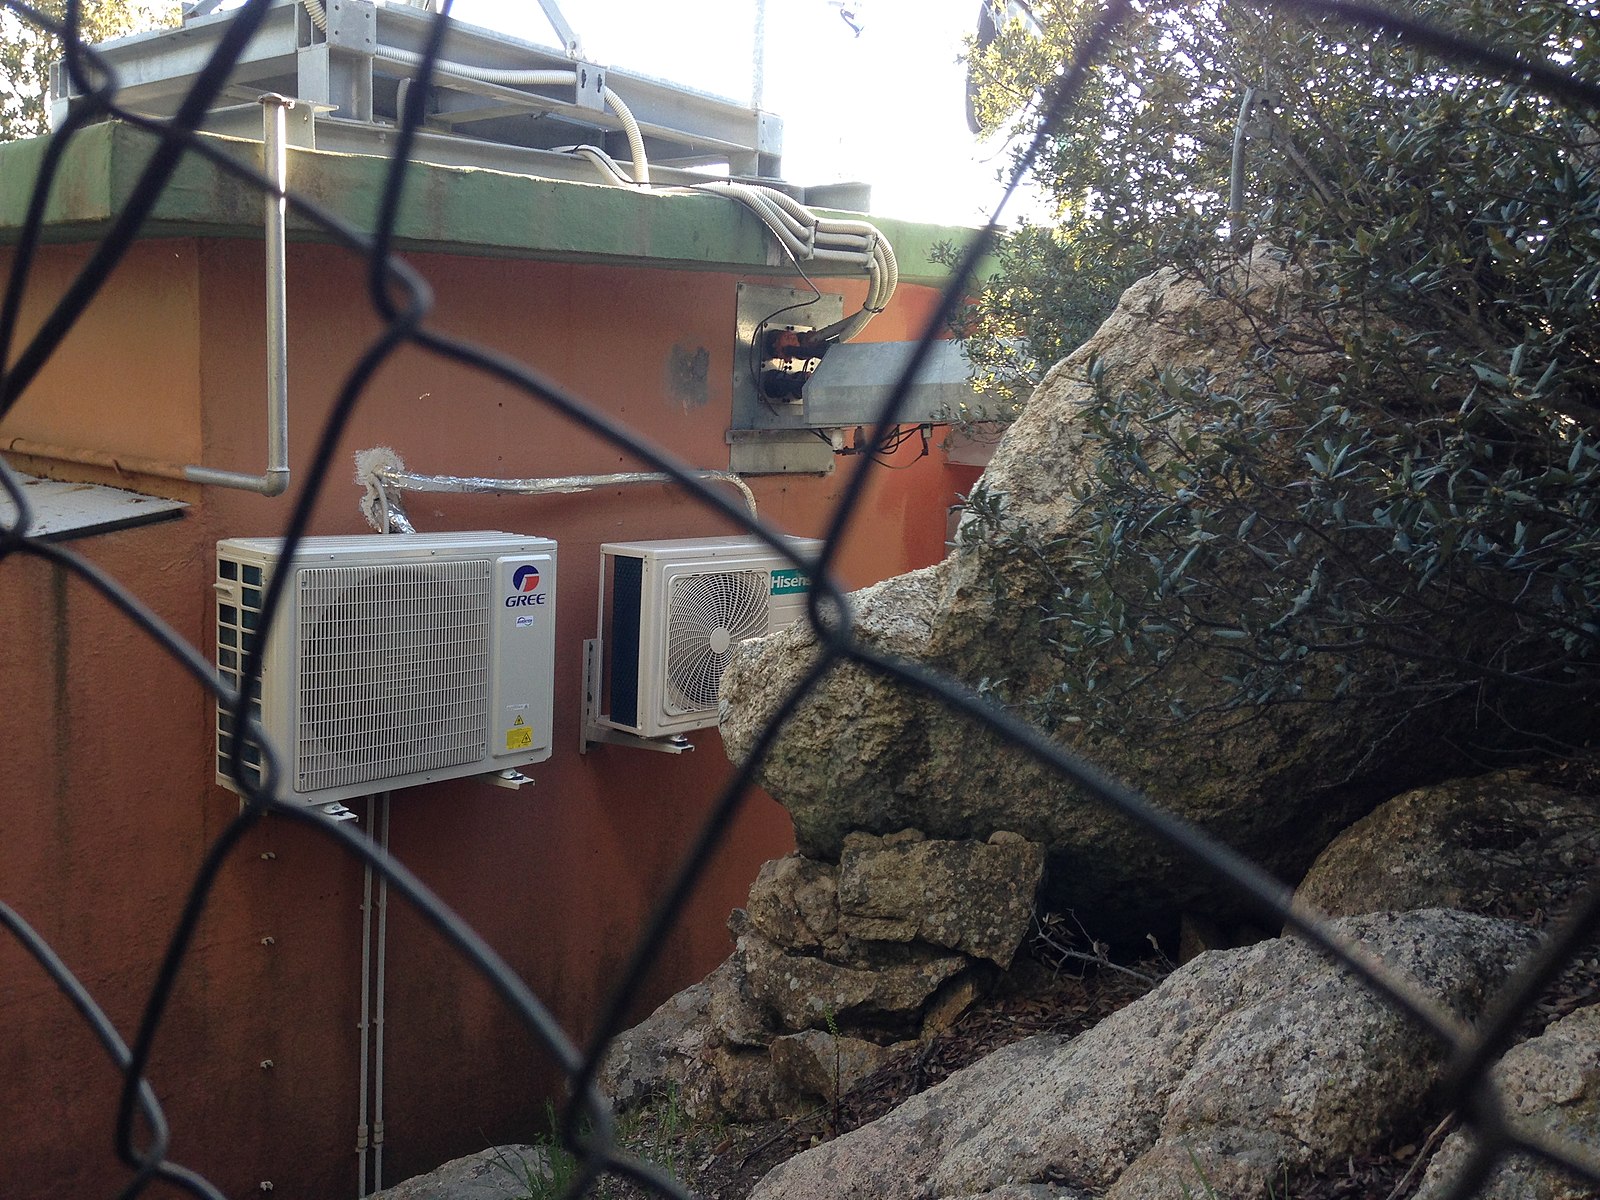 Image source: Gree ac by Air Fans
Locating the model number of your Gree air conditioner is a critical first step. This information is essential for accessing the correct service manual, which provides detailed technical specifications, safety guidelines, refrigeration cycle diagrams, electrical schematics, and troubleshooting procedures specific to your unit.
The model number is typically located on a data plate or label affixed to the indoor or outdoor unit. Carefully record the complete model number, including any alphanumeric codes or suffixes, to ensure you have the right information for your service needs.
Cleaning the Coils
Maintaining clean coils is a fundamental aspect of air conditioner maintenance. Untrained personnel can safely perform this task, which helps maintain efficient heat transfer and prevents airflow restrictions.
Indoor Coil Cleaning
- Disconnect power to the unit and remove the access panel or grille to expose the indoor coil.
- Use a soft-bristle brush or a vacuum cleaner with a coil-cleaning attachment to gently remove any accumulated dirt, dust, or debris from the coil fins and surfaces.
- Avoid using high-pressure water or compressed air, as these can damage the delicate coil fins.
- Carefully clean the coil from top to bottom, ensuring that all surfaces are thoroughly cleaned.
Outdoor Coil Cleaning
- Locate the outdoor unit and remove any protective grilles or panels to access the outdoor coil.
- Use a soft-bristle brush or a vacuum cleaner with a coil-cleaning attachment to gently remove any visible dirt, leaves, or other debris from the coil fins and surfaces.
- If the coil is heavily soiled, you can use a commercial coil-cleaning solution, following the manufacturer’s instructions. Avoid using harsh chemicals or abrasive cleaners, as they can damage the coil.
- Rinse the coil with a gentle stream of water, taking care not to bend or damage the delicate fins.
Inspecting the Refrigerant Lines
Carefully inspect the refrigerant lines, including the suction (low-pressure) and liquid (high-pressure) lines, for any signs of leaks, kinks, or damage. Ensure that the lines are properly insulated and secured to prevent heat transfer and potential refrigerant loss.
If you suspect a refrigerant leak, do not attempt to repair it yourself. Refrigerant leaks must be addressed by a trained HVAC technician, as they require specialized equipment and expertise to properly diagnose and fix the issue.
Checking the Electrical Connections
Inspect all electrical connections within the air conditioner, including the control board, compressor, fan motors, and any other components, for signs of wear, damage, or loose connections.
- Ensure that all wire connections are tight and free of corrosion or signs of overheating.
- Check the integrity of the insulation on all wiring and replace any damaged or worn-out components.
- Verify that the electrical supply voltage matches the specifications listed on the unit’s data plate.
- Ensure that the system is properly grounded and that all safety switches and controls are functioning correctly.
Cleaning or Replacing the Air Filter
The air filter plays a crucial role in maintaining indoor air quality and system efficiency. Regularly clean or replace the filter as recommended by the manufacturer.
- Locate the air filter, which is typically accessible from the front or side of the indoor unit.
- Remove the filter and inspect it for any visible dirt, dust, or debris buildup.
- If the filter is reusable, clean it using a vacuum cleaner or by gently rinsing it with water. Allow the filter to dry completely before reinstalling.
- If the filter is disposable, replace it with a new one that matches the specifications for your Gree air conditioner model.
- Ensure that the filter is properly installed and secured in its designated location.
Checking the Drainage System
Inspect the condensate drain pan and drain line for any blockages or leaks that could lead to water damage or system malfunctions.
- Visually inspect the drain pan for any standing water or debris buildup.
- Ensure that the drain line is properly sloped and free of any kinks or restrictions that could impede the flow of condensate.
- Clean the drain pan and line by flushing them with a mild bleach solution or a commercial drain cleaner, following the manufacturer’s instructions.
- Check for any signs of leaks around the drain pan or along the drain line, and address any issues promptly.
Testing the System
After completing all the service tasks, restore power to the unit and test it in both cooling and heating modes (if applicable) to ensure proper operation.
- Observe the system’s start-up sequence and monitor the compressor, fan motors, and other components for any unusual noises, vibrations, or signs of malfunction.
- Verify that the air conditioner is maintaining the desired temperature and humidity levels within the conditioned space.
- Check the refrigerant pressures and temperatures to ensure they are within the manufacturer’s specified ranges.
- Monitor the system’s operation for several hours to confirm that it is functioning correctly and maintaining stable performance.
If you encounter any issues or have concerns during the testing phase, refer to the Gree service manual for troubleshooting guidance or consult a qualified HVAC technician for further assistance.
Remember, while some basic maintenance tasks can be performed by homeowners, more complex repairs or modifications to the Gree air conditioner should be left to trained professionals to ensure the safety and proper functioning of the system.