Summary
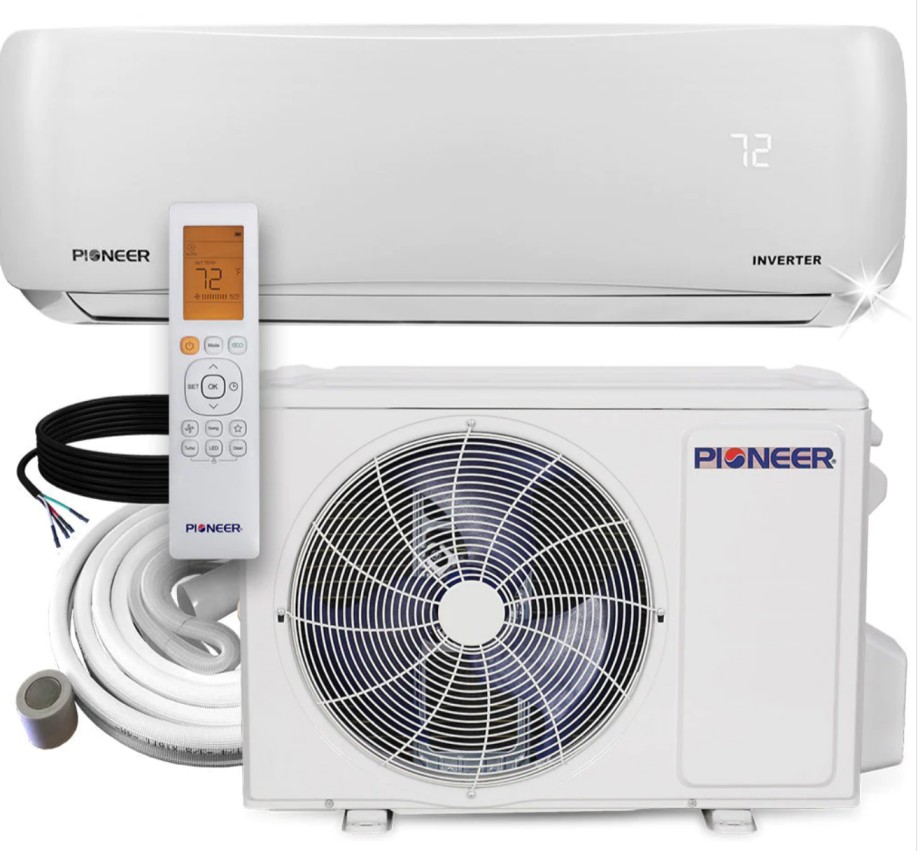
Servicing a Pioneer air conditioner at home involves a thorough cleaning of the air filters, evaporator coil, condensate pan, and the outdoor unit. This comprehensive guide will provide you with step-by-step instructions, technical details, and expert recommendations to ensure your Pioneer AC unit operates at peak efficiency.
Preparing for the Service
Before you begin servicing your Pioneer air conditioner, ensure that you have the necessary tools and supplies on hand. This includes:
- Mild detergent or coil cleaner
- Clean, dry cloths
- Cleaning brush
- Spray bottle
- Condensate drain pump treatment
- Condensate drain cleaner
- Garden hose or coil cleaning tool
Additionally, make sure to turn off and unplug the unit before starting any maintenance work.
Cleaning the Air Filters
- Accessing the Air Filters: Locate the front panel of the indoor unit and remove it to access the air filters.
- Removing the Filters: Carefully remove the air filters from the unit.
- Cleaning the Filters: Wash the filters with a mild detergent and water. Gently scrub the filters to remove any accumulated dust or debris.
- Drying the Filters: Allow the filters to air-dry completely before reinstalling them.
- Reinstalling the Filters: Once the filters are dry, place them back into the unit, ensuring they are properly aligned and secured.
Cleaning the Evaporator Coil
- Accessing the Evaporator Coil: Remove the cabinet of the indoor unit to access the evaporator coil.
- Inspecting the Coil: Visually inspect the evaporator coil for any signs of dirt, mold, or other contaminants.
- Cleaning the Coil: Use a clean, dry cloth or a cloth dampened with coil cleaner to gently wipe away any dirt or debris from the coil’s surface.
- Reassembling the Unit: Once the coil is clean, replace the cabinet and front panel of the indoor unit.
Cleaning the Condensate Pan
- Locating the Condensate Pan: Identify the location of the condensate pan, which is typically located at the base of the indoor unit.
- Inspecting the Pan: Check the condensate pan for any mold growth or accumulated debris.
- Cleaning the Pan: If necessary, clean the pan and drain with a solution of soapy water or a mild bleach solution.
- Checking the Drain: Ensure that the condensate drain is clear and unobstructed.
Cleaning the Outdoor Unit
- Removing Debris: Inspect the outdoor unit and remove any twigs, leaves, or other debris that may have accumulated around or on the unit.
- Cleaning the Exterior: Use a garden hose or a coil cleaning tool to spray down the exterior of the outdoor unit, removing any dirt or grime.
- Wiping the Housing: Use a clean cloth to wipe down the housing of the outdoor unit, removing any remaining dirt or debris.
Maintaining the Frequency of Cleaning
The frequency of cleaning your Pioneer air conditioner will depend on the usage and the environment in which it is installed. As a general guideline:
- Check the air filters monthly and clean them when dust starts to build up.
- Clean the evaporator coil and condensate pan at least once a year, or more frequently if the unit is used heavily or in a dusty environment.
- Clean the outdoor unit as needed, removing any debris or dirt that accumulates.
Conclusion
By following the step-by-step instructions and technical details provided in this guide, you can effectively service your Pioneer air conditioner at home and ensure it continues to operate at peak efficiency. Remember to use the right cleaning supplies and tools, and maintain a regular cleaning schedule to keep your unit in top shape.

