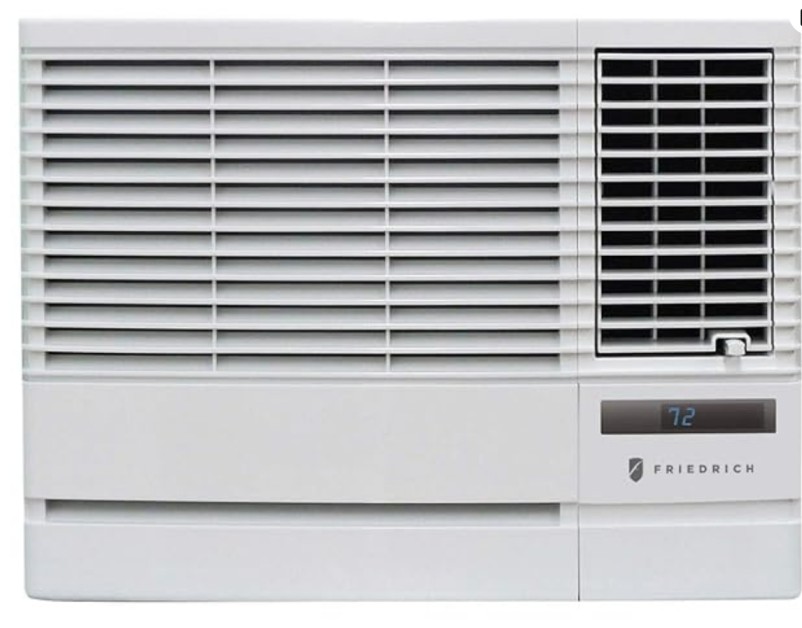
Setting a timer on your Friedrich AC remote can be a game-changer, allowing you to precisely control the temperature and energy usage of your home or office. Whether you have a traditional Friedrich AC unit or one with Wi-Fi capabilities, this comprehensive guide will walk you through the step-by-step process to ensure you get the most out of your cooling system.
Accessing the Timer Function on a Friedrich AC Remote
To access the timer function on a standard Friedrich AC remote, follow these steps:
- Locate the “Timer” Button: Carefully examine your Friedrich AC remote and identify the “Timer” button. This button is typically located among the various control buttons on the remote.
- Press the “Timer” Button: Once you have located the “Timer” button, press it firmly. This will activate the timer function, and the TIMER indicator on the indoor unit will light up. Additionally, the timer will be displayed on the remote control for approximately 5 seconds.
- Observe the Timer Display: After pressing the “Timer” button, you should see the timer display on the remote control. This display will show the current timer settings, including the start and stop times.
Setting the Start Time

- Use the Arrow Buttons: To set the start time, utilize the arrow buttons on the remote control. These buttons are typically labeled with up and down arrows and allow you to adjust the timer settings.
- Minimum and Maximum Start Time: The start time can be set to a minimum of one hour and a maximum of 23 hours from the current time.
- Incremental Adjustments: Each press of the arrow buttons will adjust the start time in increments of one hour. For example, if the current start time is 2:00 PM, pressing the up arrow button will increase the start time to 3:00 PM, and pressing the down arrow button will decrease the start time to 1:00 PM.
Setting the Stop Time
- Adjust the Stop Time: After setting the start time, you will need to set the stop time. Use the same arrow buttons on the remote control to adjust the stop time.
- Minimum and Maximum Stop Time: The stop time should be set to a minimum of one hour and a maximum of 23 hours apart from the start time.
- Incremental Adjustments: Similar to the start time, each press of the arrow buttons will adjust the stop time in increments of one hour.
Confirming the Timer Settings
- Press the “Set Hour” Button: Once you have set both the start and stop times, press the “Set Hour” button on the remote control to confirm your settings.
- Verify the Timer Indicator: After pressing the “Set Hour” button, the TIMER indicator on the indoor unit should remain lit, indicating that the timer is now active.
- Ensure Proper Functioning: It’s essential to verify that the timer is functioning correctly by observing the indoor unit’s operation and ensuring it turns on and off at the specified times.
Setting a Timer on a Friedrich AC Unit with Wi-Fi Capabilities
For Friedrich AC units with Wi-Fi connectivity, the process for setting a timer may differ slightly. Here’s how to do it:
- Connect to Wi-Fi: To enable the Wi-Fi adapter on your Friedrich AC unit, press the “Left-Right Swing” button on the remote controller six times in a row. Then, return to the Friedrich Go App to connect the AC unit to your home’s Wi-Fi network.
- Access the Timer Function: Once your Friedrich AC unit is connected to Wi-Fi, you can access the timer function through the Friedrich Go App.
- Set the Start and Stop Times: Within the app, you can easily set the start and stop times for the timer using the provided controls.
- Confirm the Settings: After setting the start and stop times, confirm your settings and save the changes within the Friedrich Go App.
It’s important to note that the specific steps for setting a timer on a Friedrich AC remote may vary depending on the model of the unit. Always refer to the user manual or product documentation for the most accurate and up-to-date instructions.
Troubleshooting Tips
If you encounter any issues while setting the timer on your Friedrich AC remote, consider the following troubleshooting tips:
- Check the Remote Batteries: Ensure that the batteries in your Friedrich AC remote are in good condition and properly installed. Low or dead batteries can prevent the remote from functioning correctly.
- Verify the Timer Settings: Double-check the start and stop times you have set to ensure they are within the acceptable range and that the timer is set correctly.
- Consult the User Manual: Refer to the user manual for your specific Friedrich AC model, as the steps may vary slightly from the general instructions provided in this guide.
- Contact Friedrich Support: If you are still unable to set the timer on your Friedrich AC remote, consider reaching out to the Friedrich customer support team for further assistance.
By following the detailed steps outlined in this comprehensive guide, you can confidently set the timer on your Friedrich AC remote and take control of your home’s cooling needs. Remember to always refer to the manufacturer’s instructions for the most accurate and up-to-date information.
