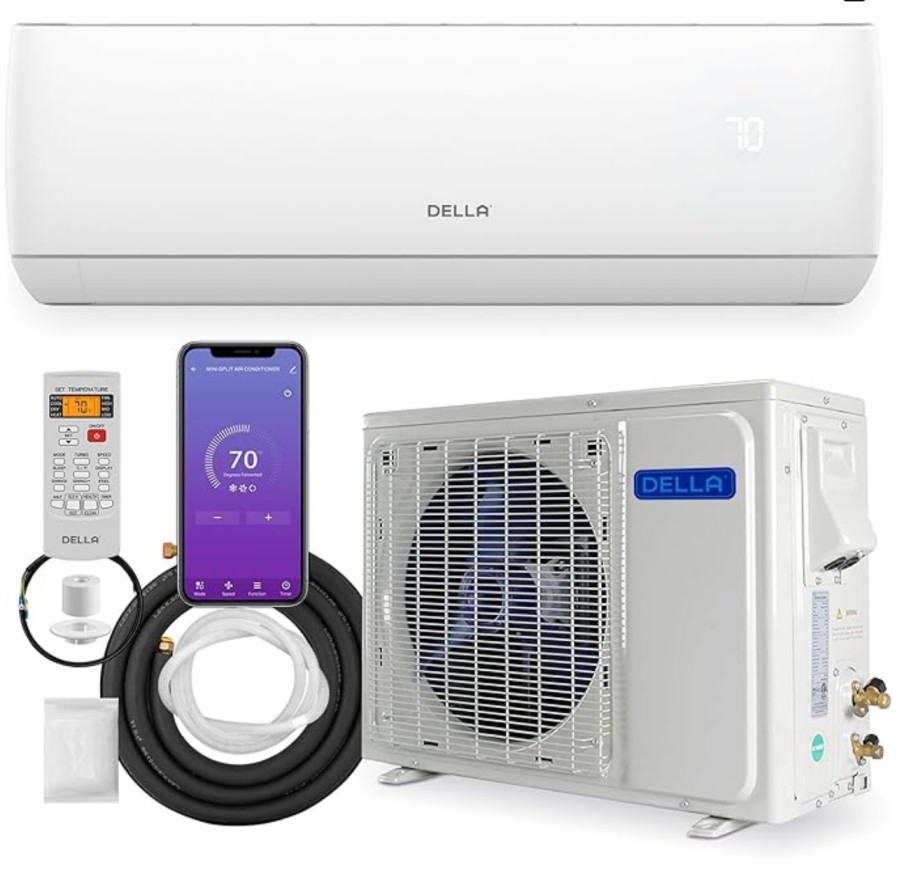
When it comes to troubleshooting HVAC systems, the inverter board is a critical component that often requires thorough testing to ensure proper operation. The DELLA inverter board, in particular, plays a vital role in controlling the compressor and other essential functions of the system. In this comprehensive guide, we will delve into the step-by-step process of testing a DELLA inverter board, providing you with the technical expertise and hands-on approach necessary to diagnose and address any issues.
Checking the Power Supply
The first step in testing a DELLA inverter board is to ensure that the power supply is functioning correctly. Using a high-precision digital multimeter, you will need to check the voltage at various points on the board.
- Place the negative meter lead on the positive test point of the inverter board.
- Individually check each terminal of the Intelligent Power Module (IPM) (U, V, W) with the positive meter lead.
- You should receive a reading of 0.3-0.7VDC, indicating that power is properly flowing through the IPM.
- If you receive a reading of 0 or O.L. (overload), it suggests that power is not flowing properly through the IPM, and further investigation is required.
Evaluating the Control Board

Next, you will need to assess the control board’s functionality, as it plays a crucial role in the overall operation of the inverter.
- Place the positive meter lead on the negative test point of the inverter board.
- Check each terminal of the control board IPM (U, V, W) with the negative meter lead.
- You should receive a reading of 0.3-0.7VDC, indicating that this section of the IPM is properly flowing power.
- If you receive a reading of 0 or O.L., it signifies that power is not flowing properly through the IPM, and the control board may require further examination.
Analyzing the Flow of Power
To ensure that the IPM is properly controlling the flow of power, you will need to perform additional tests.
- Place the negative meter lead on the negative test point of the inverter board.
- Check each terminal of the control board IPM (U, V, W) with the positive meter lead.
- You should receive a reading of O.L., indicating that this section of the IPM is properly controlling the flow of power through the IPM.
Examining the Other Section of the IPM
To complete the assessment of the IPM, you will need to test the other section of the module.
- Place the positive meter lead on the positive test point of the inverter board.
- Check each terminal of the control board IPM (U, V, W) with the negative meter lead.
- You should receive a reading of O.L., indicating that this section of the IPM is properly controlling the flow of power through the IPM.
Checking the Compressor Windings
Ensuring the integrity of the compressor windings is crucial, as any issues with the windings can impact the overall performance of the HVAC system.
- Use a high-precision megohmmeter to measure the resistance between the individual terminals of the compressor windings.
- Specific mega-ohm readings may vary depending on the manufacturer, but generally, you should look for a resistance greater than 500 mega-ohms between all the terminals.
- This test will help you determine if the compressor windings have adequate insulation, preventing them from touching one another and causing potential issues.
Evaluating the IPM
To thoroughly test the IPM, you will need a multimeter with a diode test function, often represented by the same symbol as the continuity function.
- Set your multimeter to the diode test function.
- Apply a small electrical signal by placing the positive meter lead on one terminal of the IPM and the negative meter lead on another terminal.
- Observe the reading on the multimeter, which will indicate how the signal is flowing through the IPM.
- Depending on the reading, you will be able to determine if the IPM is functioning properly or if it requires replacement.
By following these comprehensive steps, you will be able to thoroughly test the DELLA inverter board and diagnose any potential issues. Remember to always prioritize safety, use the appropriate tools and equipment, and refer to the manufacturer’s guidelines for specific instructions and specifications.
