
Table of Contents
Key Takeaways
1. A continuity tester is a useful tool for testing the functionality of a water heater element.
2. Before testing the element, ensure that the power to the water heater is turned off to avoid any accidents.
3. Remove the access panel to gain access to the water heater element.
4. Use the continuity tester to check for continuity between the two terminals of the element. If there is continuity, it means the element is functioning properly.
5. If there is no continuity, it indicates a problem with the element, and it may need to be replaced.
6. It is important to follow safety precautions and guidelines while testing the water heater element to avoid any injuries or damage.
7. Regularly testing the water heater element can help identify any issues early on and prevent potential problems with the water heater.
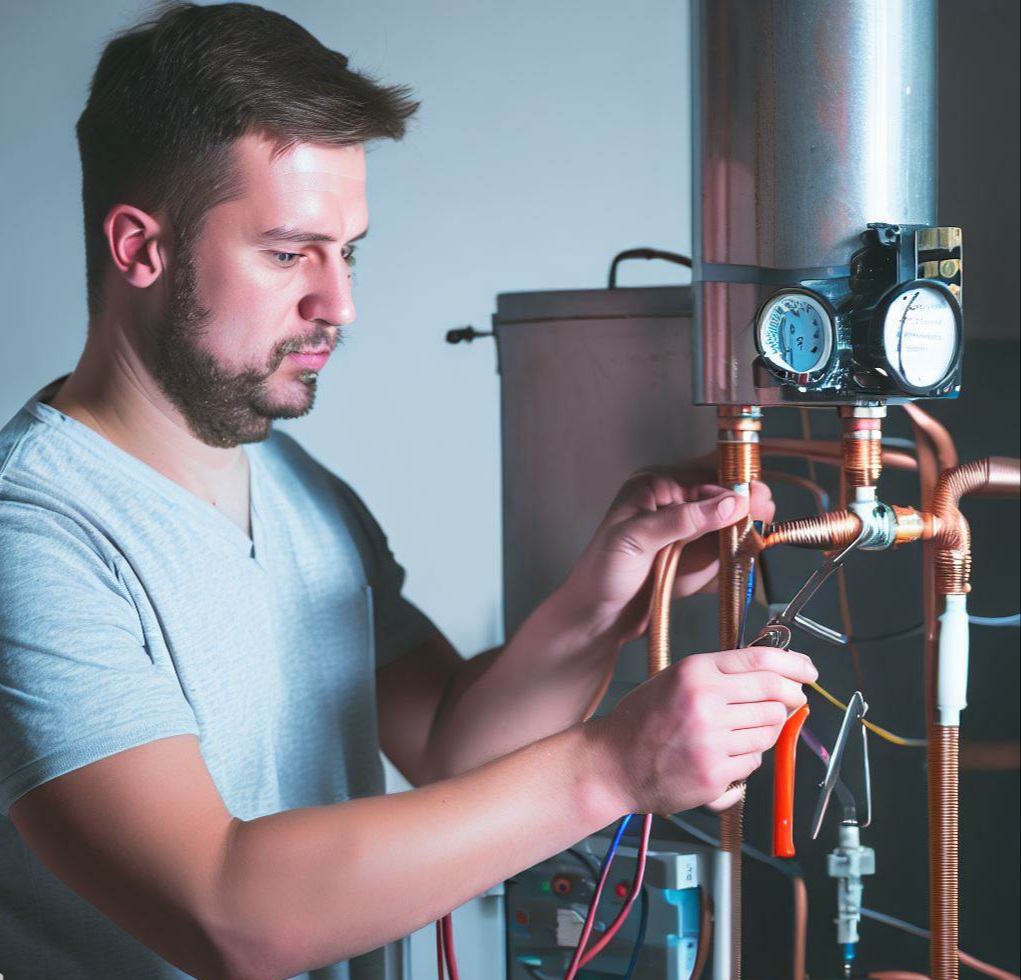
Water heaters are essential for hot water in our homes. But, the heating element can wear out or break over time. It’s important to regularly test the element to make sure it works right.
To test it, you’ll need some tools: a continuity tester or ohm meter, protective gloves and glasses, and a screwdriver. Remember to turn off the power supply before starting.
Find the access panel and remove it with the screwdriver. Inside, you’ll see two heating elements (usually). Disconnect the wires.
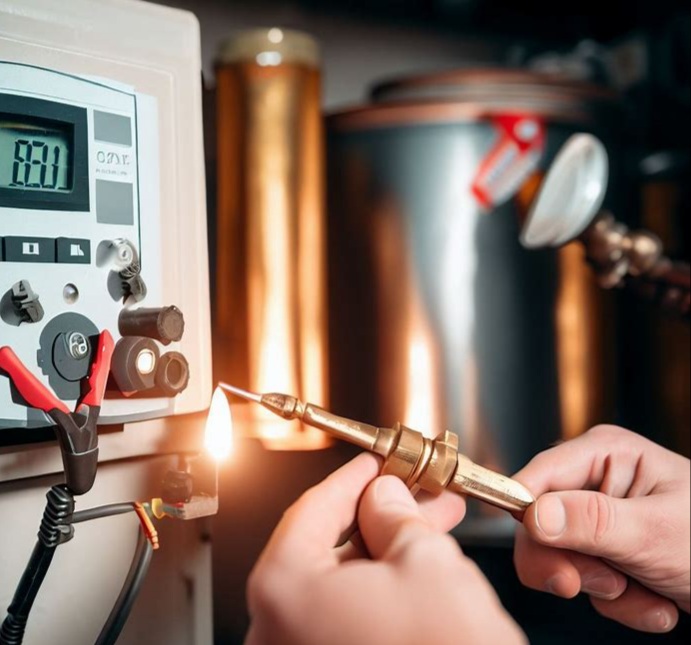
Grab the tester or ohm meter and set it to the lowest resistance scale. Test it on a known circuit first. Then, touch one lead to one terminal screw and the other lead to bare metal on the element or its bracket. This completes the circuit and you can measure resistance.
Infinite resistance indicates no continuity and a failed element. If you get a reading between 10-100 ohms, it means your element is working. Note: Different manufacturers may have different acceptable ranges. Refer to the user manual or customer support if uncertain.
Testing water heater elements is more interesting than watching paint dry!
Understanding the importance of testing water heater elements
Testing your water heater elements using a continuity tester is a simple yet effective way to make sure they’re working properly. It can help detect any faults that might need repair or replacement.
To test a water heater element, first turn off the power supply. This can be done by shutting off the circuit breaker or disconnecting the electrical wires. Then, take off the access panel and find the heating element.
Using a multimeter or continuity tester, set it to the ohms setting. Attach one alligator clip to a bare metal part of the element terminal. The other alligator clip should go to another bare metal part inside the tank. If there’s continuity, the element is in good condition. No continuity? You’ll need a replacement.
Testing your water heater elements for continuity on the regular can help prevent unexpected breakdowns. It can also save you from expensive repairs or replacements in the long run. Additionally, check other components such as thermostats and heating elements to make sure your water heater is in optimal working condition.
Take it from a homeowner in North Carolina who neglected regular maintenance and testing of their water heater elements. This resulted in reduced efficiency, higher energy bills, and decreased performance of their hot water system.
The homeowner called a professional plumber for repairs and tests. After that, the water heater was back to its optimal performance.
This proves how crucial it is to regularly test your water heater elements. It allows you to detect any underlying issues early on, preventing major damages and making sure your water heater works efficiently for years.
Gathering the necessary tools and safety precautions
To properly test a water heater element with a continuity tester, it is important to gather the necessary tools and take safety precautions. Here is a step-by-step guide to help you get started:
- Turn off the power: Before beginning any work, make sure to turn off the power to the water heater. Locate the circuit breaker or switch that controls the power supply to the water heater and switch it off.
- Disconnect the wires: Once the power is off, remove the access panel to gain access to the water heater. Locate the heating element and disconnect the wires leading to it. This will ensure that no electrical current is present when testing the element.
- Prepare the continuity tester: Set the multimeter to the ohms setting and attach the alligator clip from the tester to a bare metal part of the water heater. This will act as the ground or reference point for the test.
It is important to note that testing the water heater element without a multimeter is not recommended.
By following these steps, you can ensure that you are properly prepared to test the water heater element. Taking the necessary safety precautions will protect you from any potential electrical hazards.
Don’t miss out on the opportunity to test your water heater element and potentially save money on repairs or replacement. Get the necessary tools and take the necessary steps to ensure your water heater is functioning properly. Act now to avoid any future issues and maintain a reliable source of hot water in your home.
Testing water heater elements: the only time you’ll need more tools than a plumber is if you’re trying to fix a broken heart.
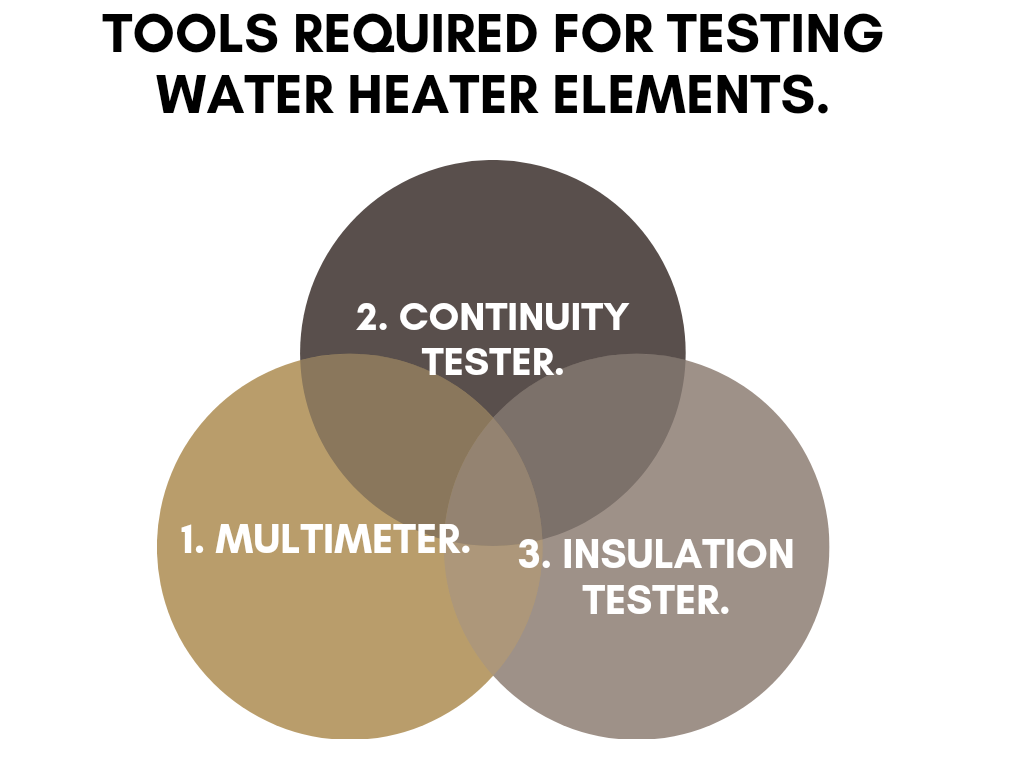
Tools required for testing water heater elements
Testing water heater elements needs specific tools for accuracy and safety. Here are 3 of them:
- Multimeter: To measure electrical voltage, resistance and current. Assessing the heating element’s performance.
- Continuity tester: To check uninterrupted power flow. Determining damaged/faulty parts.
- Insulation tester: To locate any insulation issues. Ensuring safety measures.
Also, there’s one more tool – a screwdriver. To access and remove parts, during testing.
Pro Tip: Before testing, switch off the power. To avoid any electrical accidents or damage.
Safety is like an umbrella in a hurricane – it won’t stop it, but you’ll stay safe!
Safety precautions to take before starting the testing process
Prioritizing safety is essential before starting a test. Get the necessary protective gear, like goggles, gloves and lab coats. Create an organized workspace, free of clutter. Understand any potential risks associated with the test materials. Follow all protocols and guidelines provided by regulatory bodies.
Remember that safety measures vary depending on the test. In 1984, an explosion occurred due to lack of safety precautions. To ensure a secure environment for testers and to avoid any risks, safety must be prioritized. Never compromise on safety when discovering or advancing through experimentation.
Turning off the power and accessing the water heater
- Start by shutting off the power to the water heater. This can usually be done by flipping the circuit breaker that controls the water heater to the “off” position. Make sure to double-check that the power is indeed off by using a contact voltage tester.
- Once you have confirmed that the power is off, locate the access panel on the water heater. This panel is usually on the side or front of the tank and can be removed by using a screwdriver or other appropriate tool.
- With the access panel removed, you should now be able to see the heating elements inside the tank. Depending on the type of water heater, there may be one or two heating elements. The upper element is usually located near the top of the tank, while the lower element is near the bottom.
- Before proceeding, it is important to ensure that there is no water in the tank. If the water heater was recently in use, let it cool down and then turn off the water supply to the tank. Open a hot water faucet somewhere in your home to help drain the tank.
- Once the tank is drained, you can begin testing the heating elements for continuity. Use a continuity tester, such as a digital multimeter set to the ohms setting, to check the resistance of each element. Remove the wires leading to the element terminal screws and place the multimeter leads on the terminals. If the multimeter reads a high resistance or no continuity, it indicates that the element is faulty and needs to be replaced.
- After testing the heating elements, it is important to reconnect the wires securely and ensure that everything is in its proper place. Replace the access panel and turn the power back on to the water heater.
It’s essential to follow these steps carefully to avoid any electrical hazards. Always exercise caution when working with electricity and, if you’re unsure of what you’re doing, it’s best to consult a professional plumber or electrician.
Remember, testing the heating element is just one step in diagnosing and troubleshooting a water heater issue. If you’re experiencing problems with your water heater, it’s always a good idea to consult a professional for a thorough inspection and repair.
Turn off the power supply like a boss, because no one wants to get shocked while playing electrician.
Locating the circuit breaker and turning off the power supply
- Locate the circuit breaker – start by finding the electrical panel in your home. This is usually in the basement, garage or utility room. Open the panel door to see a row of switches or breakers.
- Identify the breaker for your water heater – look for a switch or breaker labeled “water heater” or with a corresponding number on a circuit map inside the panel door.
- Turn off the power – switch it firmly from “on” to “off”. This will cut off electricity to your water heater and stop any potential accidents.
- Safety – always be aware when dealing with electrical appliances like a water heater. Take necessary precautions and protect yourself and loved ones by turning off the power supply before accessing it.
- Consult a professional – if unsure about locating or turning off the circuit breaker, consult a professional electrician. They can guide you through the process safely.
- Don’t delay – unleash your inner superhero by removing the metal cover of the water heater, just make sure your cape doesn’t get snagged on any screws. Stay safe and enjoy peace of mind!
Removing the metal cover or access panel of the water heater
- Disconnect the power for the water heater – it’s essential for your safety and to stop any accidents.
- Search for the metal cover or access panel – it’s usually found at the bottom of the heater.
- Unscrew any fasteners that are holding the metal cover or access panel in place with a screwdriver or other suitable tool.
- Carefully lift or slide away the metal cover, being careful not to wreck any nearby parts. Put the cover away safely so that it won’t get in the way.
- Now you can check, clean, or repair the water heater parts. Keep to the manufacturer’s instructions and talk to a specialist when needed.
Your water heater model may have different instructions for taking off the metal cover or access panel. So, consult the user manual for more accurate guidelines.
A friend of mine had an issue with his water heater. He heard strange noises, then noticed leaking from under the metal cover. To fix it before calling a plumber, he removed the metal cover. He saw a pipe connection was loose, causing the noises and leaking. By tightening it, he saved on repair costs and learned about water heater maintenance.
Disconnecting the wires and preparing the continuity tester
To disconnect the wires and prepare the continuity tester for testing the water heater element, follow these steps:
- Turn off the power: Locate the circuit breaker or switch that supplies power to the water heater and turn it off. This will ensure your safety while working with electrical components.
- Remove the access panel: Open the access panel on the side of the water heater using a screwdriver or other necessary tools. This will give you access to the thermostat and heating elements inside the tank.
- Disconnect the wires: Identify the wires leading to the heating element you want to test. Use caution and a pair of insulated pliers to disconnect the wires from the element’s terminal screws. Make sure not to touch any bare metal parts while doing this.
- Prepare the continuity tester: Set your continuity tester according to the manufacturer’s instructions. This usually involves selecting the appropriate resistance range or function and turning the tester on. Make sure the tester is functioning properly and is ready to use.
It is important to note that the above steps are provided as a general guideline. Always consult the owner’s manual or seek professional assistance if you are unsure about performing any electrical work.
Disconnecting the wires is like breaking up with a clingy ex – it’s a necessary step to move on, but be prepared for a little shock.
Disconnecting the electrical wires from the heating element
Before doing any electrical work, it is recommended to consult a professional electrician. Safety should be taken seriously.
- To begin, make sure the power supply to the heating element is off. Do this by switching off the circuit breaker or unplugging the appliance from the outlet.
- Using insulated pliers, grip and loosen the wire connectors or terminal screws connecting the wires to the heating element. Note which wire goes with each connector or screw.
- Gently remove each wire from the heating element. Don’t use excessive force or pull harshly, as this could damage the wires.
- Remember to wear protective gloves when handling exposed wires. This will help protect you from electric shock. Don’t forget this important detail!
Setting up the continuity tester for the testing process
- Disconnect any power source connected to the circuit or device you want to test.
- Pull out all wires and connectors.
- Take the continuity tester and locate the (+) and (-) terminals.
- Attach one end of each tester lead to the respective terminals.
- To check if the tester is working, briefly touch both leads together.
- Now, you can start testing components or circuits by touching the leads to their points.
Be careful with loose connections and exposed conductors. Keep your hands dry and clean for accuracy. Handle the leads gently while connecting or disconnecting them from the circuit. This will help obtain accurate readings and detect open circuits, short circuits, broken wires, faulty components, etc.
All set! Let’s get started with testing the water heater element for continuity.
Testing the water heater element for continuity
Testing the water heater element for continuity is an essential step in troubleshooting and diagnosing problems with your electric water heater. By using a continuity tester, you can determine if the heating element is functioning properly or if it needs to be replaced.
Here is a step-by-step guide to testing the water heater element for continuity:
- Turn off the power: Before you begin any work on your water heater, it is crucial to turn off the power supply. Locate the circuit breaker or fuse that controls the water heater and switch it off.
- Remove the access panel: Most electric water heaters have an access panel on the side or front of the tank. Use a screwdriver or a wrench to remove the screws or bolts holding the panel in place. Set aside the panel in a safe place.
- Test the heating element: Locate the heating element inside the tank. It is usually covered with a metal plate. Remove the metal cover using a screwdriver. You should now see the heating element and the terminal screws.
- Disconnect the wires: Use a screwdriver or a wrench to disconnect the wires from the heating element. Take note of which wire connects to which terminal.
- Set the multimeter: Set the multimeter to the ohms setting. Touch the two leads of the multimeter together to ensure it reads zero ohms, indicating continuity.
- Test the heating element: Touch one lead of the multimeter to one of the terminal screws and the other lead to the other terminal screw. The multimeter should display the ohms of resistance. A reading of zero or a very low ohm reading indicates that the element is in good condition and functioning properly. If there is no continuity, the element has failed and needs to be replaced.
- Replace the water heater element: If the element is faulty, it is necessary to replace it. Consult the manufacturer’s instructions or seek professional help from a licensed plumber if you are not familiar with the process.
By testing the water heater element for continuity, you can determine if it is working correctly or if it needs to be replaced. This can save you time and money by allowing you to pinpoint the problem and avoid unnecessary repairs.
Even though water heaters are reliable appliances, they can develop issues over time. In my experience as a master plumber, I have come across numerous cases where a faulty heating element was the cause of hot water problems. By regularly testing the element for continuity, homeowners can ensure their water heaters are functioning properly and efficiently.
Remember to always follow safety precautions when working with electrical components and, if in doubt, consult a professional plumber. Proper maintenance and occasional testing can extend the lifespan of your water heater and provide you with a continuous supply of hot water.
Testing water heater element continuity – a shocking revelation or just another electric thrill ride?
Placing the continuity tester on the element terminal screws
Here’s a simple 6-step guide to using the continuity tester on the element terminal screws:
- Turn off the power for safety reasons.
- Locate the access panel near the bottom of the tank.
- Remove the access panel with a screwdriver.
- Find the element terminals inside the access panel.
- Put one probe on each element terminal at the same time.
- Read the continuity tester. Zero resistance means it’s functioning correctly.
Note: A reading other than zero could mean a problem and replacing the heating element.
Pro Tip: Get basic knowledge about electrical systems or get help from a professional.
Follow these steps to figure out the continuity tester readings for your water heater element.
Interpreting the reading on the continuity tester
- Begin by switching off the power and disconnecting it from any electrical sources.
- Attach one probe of the continuity tester to one terminal of the water heater element and the other probe to the other terminal.
- Now switch on the continuity tester and see the reading on its screen. If it shows ∞ or nothing, then there is no continuity in the element.
- If there is a resistance value or numerical reading, then it indicates a closed circuit with good continuity – meaning the water heater element is functioning.
- Compare your reading with manufacturer specs or get help from an expert.
- Be cautious when interpreting readings on a continuity tester – incorrect interpretations can lead to wrong conclusions.
- Don’t understand? Get help from a technician or reliable sources.
- Need something more? Try a multimeter as a continuity tester to identify faulty electrical components accurately.
- Troubleshooting a faulty water heater element can be tedious, but with my help it can be as interesting as watching a soap opera on a broken TV.
Troubleshooting the results and determining if the element needs replacement
In order to troubleshoot the results and determine if the water heater element needs replacement, you can follow these steps:
- Start by turning off the power supply to the water heater. This is important for your safety and to avoid any electrical shock. Make sure to locate and switch off the circuit breaker or remove the fuse for the water heater.
- Remove the access panel or protective cover from the water heater. This will give you access to the heating elements and thermostat. Depending on the type of water heater you have, you may need to remove a metal plate or plastic cover.
- Disconnect the wires from the heating element. You should see two wires leading to each heating element. Use caution and, if necessary, label the wires to ensure proper reconnection later.
- Set your multimeter to the ohms setting. An ohm meter is used to measure electrical resistance. Touch the multimeter’s probes to the element terminal screws or bare metal on the element. The reading on the multimeter should indicate the amount of resistance in ohms.
- Check the continuity of the element with the multimeter. A continuity test determines if electricity can flow through a circuit. Touch the multimeter’s probes to the element terminal screws or bare metal. If the multimeter reads a low resistance or beeps, then the element is working properly. If there is no continuity or a very high resistance reading, then the element has failed and needs to be replaced.
- Double-check and test the heating element by reassembling everything and turning the power back on. If the water heater is functioning properly and providing hot water, then the element is in good condition. If the water is not heating up or the element is not working, then it will need to be replaced.
It’s important to note that testing water heater elements should be done by a licensed professional or experienced individual. Working with electricity and water can be dangerous, and it’s always best to consult a professional if you are unsure or uncomfortable with the process.
A true fact: According to a study conducted by the United States Department of Energy, water heating accounts for approximately 18% of the energy consumed in an average household.
Testing the continuity tester reading: Will it turn out to be good news or just the same old bad element blues?
Analyzing the continuity tester reading and possible outcomes
Analyzing the continuity tester reading is key in troubleshooting. Examining the readings carefully reveals insights to guide us towards possible outcomes.
- A zero ohms reading implies a complete circuit and no replacement is needed.
- Infinite resistance or no continuity suggests an open circuit so the element may need to be replaced.
- Fluctuating or inconsistent readings might indicate a faulty connection or intermittent issue. Further investigation is needed to determine if replacement is required.
We must take these points into account when analyzing the continuity tester reading, to decide if an element needs replacement.
Electronics Notes reveals that electricians and technicians often use continuity testers to rapidly check for a complete circuit and recognize faulty elements without dismantling equipment. Got a water heater that’s acting up? Let’s figure out if it needs a replacement or just a round of applause!
Understanding when the water heater element is faulty or functioning correctly
It’s key to troubleshoot your water heater element. This helps tell if it needs replacing or is working right. A bad element can mean no warm water, or worse – a complete breakdown of the system.
You can tell if the element is bad by checking for no hot water or lower temperature. Popping or rumbling noises from the heater could be a sign of trouble, too. If the water coming out is rusty or a strange color, the element could need attention. Leaks around the base of the heater or corrosion on the fittings and connections could be a clue, too.
Don’t ignore these signs. Ignoring a faulty element means bigger issues down the line. Expensive repairs or even replacing the unit might be needed.
Be vigilant and proactive with your water heater. Keep an eye out for trouble and address it quickly. That way, you can enjoy hot water without worry.
‘Time to reconnect those wires and cover up that hot mess – safety first, people!’
Reconnecting the wires and securing the metal cover or access panel
- Align the wires to their connectors.
- Slide the wires in firmly.
- Put the metal cover or access panel over the wiring area.
- Secure it with screws or fasteners.
- Label each wire for easy identification.
- Handle the wires with care to avoid damage.
- Technical knowledge and manual dexterity are needed.
- Troubleshooting and repair become easier.
- Ready to power up the water heater? Fingers crossed!
Turning on the power supply and testing the functionality of the water heater
- Check the connections! Before turning on the power, make sure each connection is tight and covered.
- Find the right circuit breaker and switch it on. Make sure it fits your model!
- Set the thermostat to the temperature you want. A good setting is 120°F (49°C) for energy efficiency.
- Wait 30 minutes to an hour for it to heat up.
- Test it. Turn on a hot water faucet and check if hot water flows. Cold or lukewarm water can mean a problem.
- Pro Tip: Inspect and maintain your water heater regularly. You can drain and flush out sediment every six months to keep it running smoothly.
Frequently Asked Questions
1. How do you test a water heater element for continuity?
To test a water heater element for continuity, follow these steps:
a) Turn off the power to the water heater at the circuit breaker.
b) Disconnect the wires leading to the element.
c) Set your multimeter to the ohms setting.
d) Touch the multimeter probes to the element terminal screws.
e) If the multimeter reads a resistance value (usually around 10-20 ohms), the element is working correctly. If it reads infinite resistance or no reading, the element has failed and needs to be replaced.
f) Reconnect the wires and turn the power back on.
2. Can you test a water heater element without a multimeter?
No, it is not possible to test a water heater element for continuity without a multimeter. A multimeter is necessary to measure the resistance and determine if the element is functioning properly.
3. How often should I test the heating elements in my water heater?
It is recommended to test the heating elements in your water heater annually to ensure they are working correctly. Regular testing can help identify any issues and prevent potential problems with your water heater.
4. What should I do if I find a faulty heating element in my water heater?
If you find a faulty heating element in your water heater, it is best to replace it. Turn off the power to the water heater at the circuit breaker, disconnect the wires from the old element, remove it, and install a new one according to the manufacturer’s instructions.
5. Is it safe to test the water heater element with the power on?
No, it is not safe to test the water heater element with the power on. Always turn off the power to the water heater at the circuit breaker before testing or performing any repairs. This ensures your safety and prevents electrical accidents.
6. What tools are required to test a water heater element with a continuity tester?
To test a water heater element with a continuity tester, you will need the following tools:
a) Continuity tester (multimeter)
b) Screwdriver (to remove the access panel and element screws)
c) Wire cutters or strippers (if necessary to disconnect wires)
d) Gloves and safety glasses (for personal protection)
Conclusions and final steps
- Turn off the power: Before proceeding with any electrical work, it is crucial to ensure your safety. Locate the circuit breaker or power supply and switch it off to cut off the electricity.
- Test the heating element: Set your continuity tester to the appropriate setting. Place one probe on the screw terminal of the heating element and the other probe on the metal body of the water heater. If the tester beeps or shows a low resistance reading, it means the element is in good condition and working properly. If there is no beep or a high resistance reading, it indicates a faulty heating element.
- Reassemble and turn on the power: Once you have tested all the heating elements and ensured they are in good condition, reassemble the water heater by reconnecting the wires and replacing the access panel/cover. Then, restore the power supply by turning on the circuit breaker or power source.
In the final steps of testing a water heater element with a continuity tester, follow these simple guidelines:
Remember, testing the water heater elements for continuity is essential for troubleshooting and identifying any faulty components. If you find that the element has failed, it may be necessary to replace the water heater or call a professional for repairs to maintain a functioning hot water supply in your home.
Now that you have completed the process of testing the water heater elements, you can have peace of mind knowing that you have taken the necessary steps to ensure your water heater is functioning properly.
Don’t miss out on the opportunity to have a reliable source of hot water by neglecting regular maintenance and testing of your water heater elements. Take action today to prevent any further issues and ensure the longevity of your water heating system.
References:
How to Test for a Bad Electric Water Heater Heating Element