
Turning the service valve on a mini-split air conditioning system is a critical task that requires advanced technical knowledge and specialized equipment. This comprehensive guide will walk you through the step-by-step process of locating, evacuating, charging, and turning on the service valve, ensuring your mini-split system operates at peak efficiency.
Locating the Service Valve
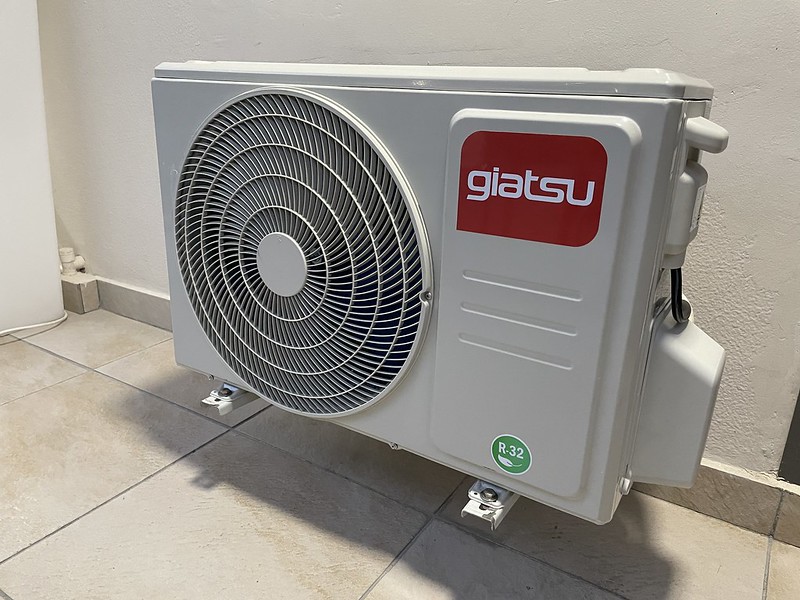
The service valve on a mini-split system is typically located on the liquid line, which runs between the indoor and outdoor units. This valve has a Schrader valve core that can be accessed by removing the protective cap.
To locate the service valve, follow these steps:
- Identify the liquid line: The liquid line is the smaller of the two refrigerant lines connecting the indoor and outdoor units. It is responsible for carrying the refrigerant in its liquid state.
- Visually inspect the liquid line: Carefully examine the liquid line, looking for a valve with a Schrader valve core. This valve is the service valve.
- Remove the protective cap: Using a wrench or pliers, gently remove the protective cap covering the Schrader valve core.
Evacuating the System
Before turning the service valve on, it is essential to ensure that the mini-split system has been properly evacuated. This process removes any air and moisture from the system, which can otherwise compromise the system’s performance and efficiency.
To evacuate the system, you will need the following equipment:
- Vacuum pump
- Manifold gauge set
- Micron gauge
Follow these steps to evacuate the system:
- Connect the manifold gauge set to the service valve: Attach the low-pressure (suction) side of the manifold gauge set to the service valve.
- Connect the vacuum pump: Attach the vacuum pump to the center port of the manifold gauge set.
- Start the vacuum pump and monitor the micron gauge: Turn on the vacuum pump and observe the micron gauge. The system is properly evacuated when the micron gauge reads 500 microns or less.
- Maintain the vacuum: Keep the vacuum pump running for at least 30 minutes to ensure the system remains evacuated.
Charging the System
Once the system has been properly evacuated, you can proceed to charge it with the correct amount of refrigerant. This step is crucial, as an improper refrigerant charge can lead to system inefficiency, reduced cooling capacity, and potential damage to the compressor.
To charge the system, you will need the following equipment:
- Refrigerant cylinder
- Manifold gauge set
- Thermometer or temperature probe
Follow these steps to charge the system:
- Connect the refrigerant cylinder: Attach the refrigerant cylinder to the center port of the manifold gauge set.
- Open the service valve: Slowly turn the service valve counterclockwise to the open position.
- Charge the system: Carefully add refrigerant to the system, monitoring the pressure and temperature readings on the manifold gauge set and thermometer. Add refrigerant until the system reaches the manufacturer’s recommended charge.
- Close the service valve: Once the system is properly charged, turn the service valve clockwise to the closed position.
Turning the Service Valve On
With the system evacuated and charged, you can now turn the service valve on. This will allow the refrigerant to flow through the system and begin the cooling process.
To turn the service valve on, follow these steps:
- Ensure the system is properly charged: Double-check that the system has the correct refrigerant charge before proceeding.
- Rotate the service valve: Slowly turn the service valve counterclockwise until it is in the fully open position. You should hear a hissing sound as the refrigerant begins to flow.
- Monitor the system pressure: Observe the pressure readings on the manifold gauge set to ensure the system is operating within the manufacturer’s recommended range.
Troubleshooting and Maintenance
If you encounter any issues during the process of turning the service valve on, or if the system is not performing as expected, it is essential to troubleshoot the problem and take appropriate action.
Some common issues and troubleshooting steps include:
- Low system pressure: Check for refrigerant leaks and add more refrigerant as needed.
- High system pressure: Ensure the system is not overcharged and adjust the refrigerant charge accordingly.
- Unusual noises or vibrations: Inspect the system for any mechanical issues and address them as necessary.
Regular maintenance of the mini-split system, including cleaning the filters, checking the refrigerant charge, and inspecting the system components, is also crucial to ensure optimal performance and longevity.
Remember, turning the service valve on a mini-split system is a complex task that requires advanced technical knowledge and specialized equipment. If you are not confident in your ability to perform this task safely and correctly, it is best to hire a licensed HVAC technician.