
The DELLA zone controller is a powerful and versatile tool designed for mini-split air conditioning and heating systems, allowing you to precisely control the temperature in different zones of your home or office. This comprehensive guide will walk you through the technical specifications, advanced features, and step-by-step installation process to help you maximize the efficiency and performance of your DELLA zone controller.
Understanding the DELLA Zone Controller’s Technical Specifications
The DELLA zone controller is compatible with mini-split systems that operate on either 110V or 220V power supply. It has a maximum current capacity of 15A, ensuring it can handle the electrical demands of your HVAC system.
One of the key technical specifications of the DELLA zone controller is its temperature range. In cooling mode, the controller can maintain a temperature between 16°C (61°F) and 30°C (86°F), while in heating mode, the range is 5°C (41°F) to 30°C (86°F). This wide temperature range allows you to create the perfect indoor climate for your needs.
The controller also features a built-in thermostat, providing accurate temperature control and ensuring your desired settings are maintained. Additionally, the DELLA zone controller has a maximum pipe length of 50 feet (15 meters) for the refrigerant lines and a maximum distance of 100 feet (30 meters) between the indoor and outdoor units.
Exploring the DELLA Zone Controller’s Advanced Features
The DELLA zone controller boasts a user-friendly interface with intuitive controls, making it easy to adjust the temperature, fan speed, and switch between cooling and heating modes. One of the standout features is the “Turbo” mode, which allows you to quickly cool or heat a room, ensuring your desired temperature is reached efficiently.
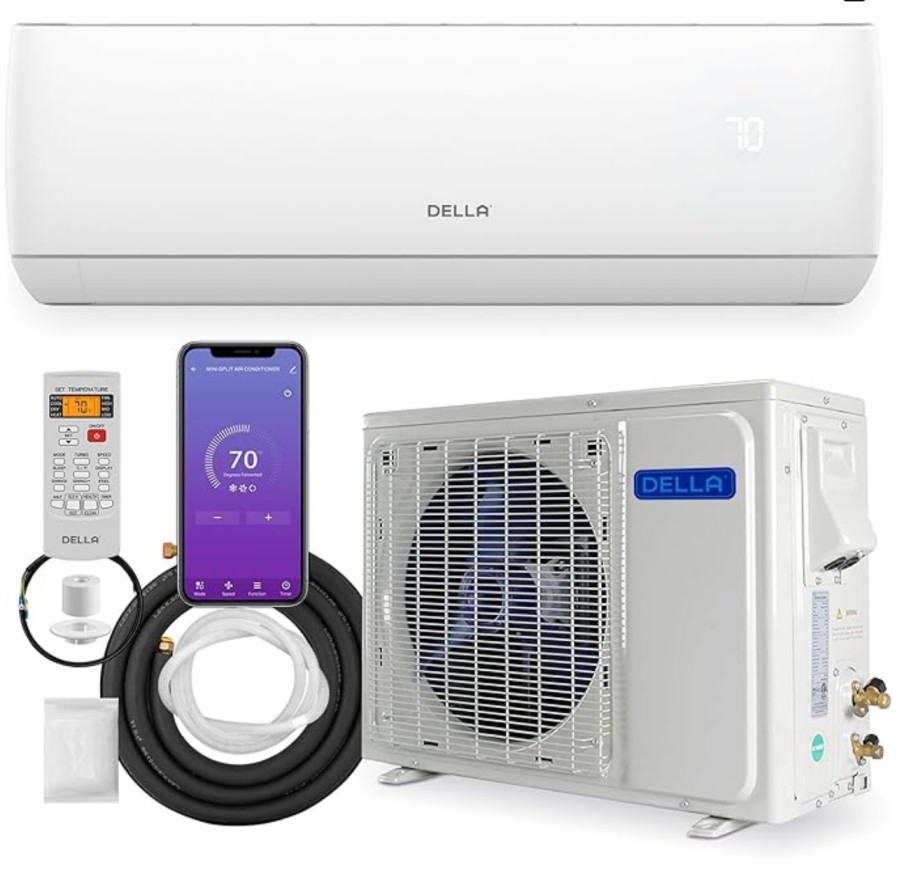
Another key feature of the DELLA zone controller is its Wi-Fi connectivity, which enables you to control the system using a smartphone app. This remote access functionality is particularly useful for DIY users, as it allows you to adjust the temperature and settings from anywhere, providing unparalleled convenience and control.
Installing the DELLA Zone Controller: Step-by-Step Guide
To install the DELLA zone controller, it’s essential to follow the detailed instructions provided in the user manual. The manual offers step-by-step guidance on the entire installation process, including wiring the controller and setting up the Wi-Fi connection.
Preparing for Installation
- Ensure that the indoor and outdoor units are properly aligned and that the refrigerant lines are correctly connected.
- Securely mount the DELLA zone controller in the desired location, taking into account the maximum pipe length and distance between the indoor and outdoor units.
- Carefully review the wiring diagrams in the user manual to understand the proper connections for your specific HVAC system.
Wiring the DELLA Zone Controller
- Disconnect the power supply to your HVAC system before beginning the wiring process.
- Refer to the user manual’s wiring diagrams and connect the DELLA zone controller to the appropriate terminals on your indoor and outdoor units.
- Pay close attention to the polarity and ensure all connections are secure and properly grounded.
- If your system requires additional components, such as zone dampers or transformers, follow the manufacturer’s instructions for their installation and integration with the DELLA zone controller.
Setting Up the Wi-Fi Connection
- Download the DELLA mobile app on your smartphone or tablet.
- Follow the in-app instructions to connect the DELLA zone controller to your home’s Wi-Fi network.
- Ensure the Wi-Fi connection is stable and the controller is successfully paired with the app.
Configuring the DELLA Zone Controller
- Use the controller’s interface or the mobile app to set the desired temperature, fan speed, and operating mode (cooling or heating).
- Familiarize yourself with the various settings and features, such as the “Turbo” mode, to optimize the performance of your HVAC system.
- Test the system’s functionality by adjusting the settings and verifying that the desired temperature is achieved in each zone.
By following these step-by-step instructions and utilizing the technical resources provided, you’ll be able to successfully install and configure the DELLA zone controller for your mini-split air conditioning and heating system. Remember to always prioritize safety and refer to the manufacturer’s guidelines throughout the installation process.
Conclusion
The DELLA zone controller is a powerful and versatile tool that can transform the way you manage the temperature in your home or office. With its advanced features, user-friendly interface, and Wi-Fi connectivity, the DELLA zone controller offers unparalleled control and convenience for DIY users. By understanding the technical specifications, exploring the advanced features, and following the detailed installation guide, you can unlock the full potential of your DELLA zone controller and enjoy a comfortable, energy-efficient indoor climate.