
Lennox zone controllers are designed to provide precise temperature control and increased comfort in your home by allowing you to customize the temperature in different zones or areas. Whether you have a multi-stage variable capacity system or a four-zone or two-zone system, Lennox offers a range of zoning solutions to meet your needs. In this comprehensive guide, we’ll dive deep into the technical details and step-by-step instructions on how to effectively use a Lennox zone controller.
Understanding Lennox Zoning Systems
Lennox offers three main zoning systems: LZSV, LZS2, and LZS1. Each system is designed for specific types of HVAC equipment and the number of zones you need to control.
LZSV System
The LZSV system is designed for multi-stage variable capacity equipment, such as the Lennox SLP98V or EL18XCV air conditioners. This system allows you to precisely control the airflow and temperature in each zone, ensuring maximum efficiency and comfort.
LZS2 System
The LZS2 system is a four-zone zoning solution, suitable for homes with multiple living spaces that require independent temperature control. This system is compatible with a wide range of Lennox furnaces and air conditioners.
LZS1 System
The LZS1 system is a two-zone zoning solution, ideal for smaller homes or areas that only require two distinct temperature zones. This system can be paired with various Lennox HVAC equipment.
Setting Up the Lennox Zone Controller
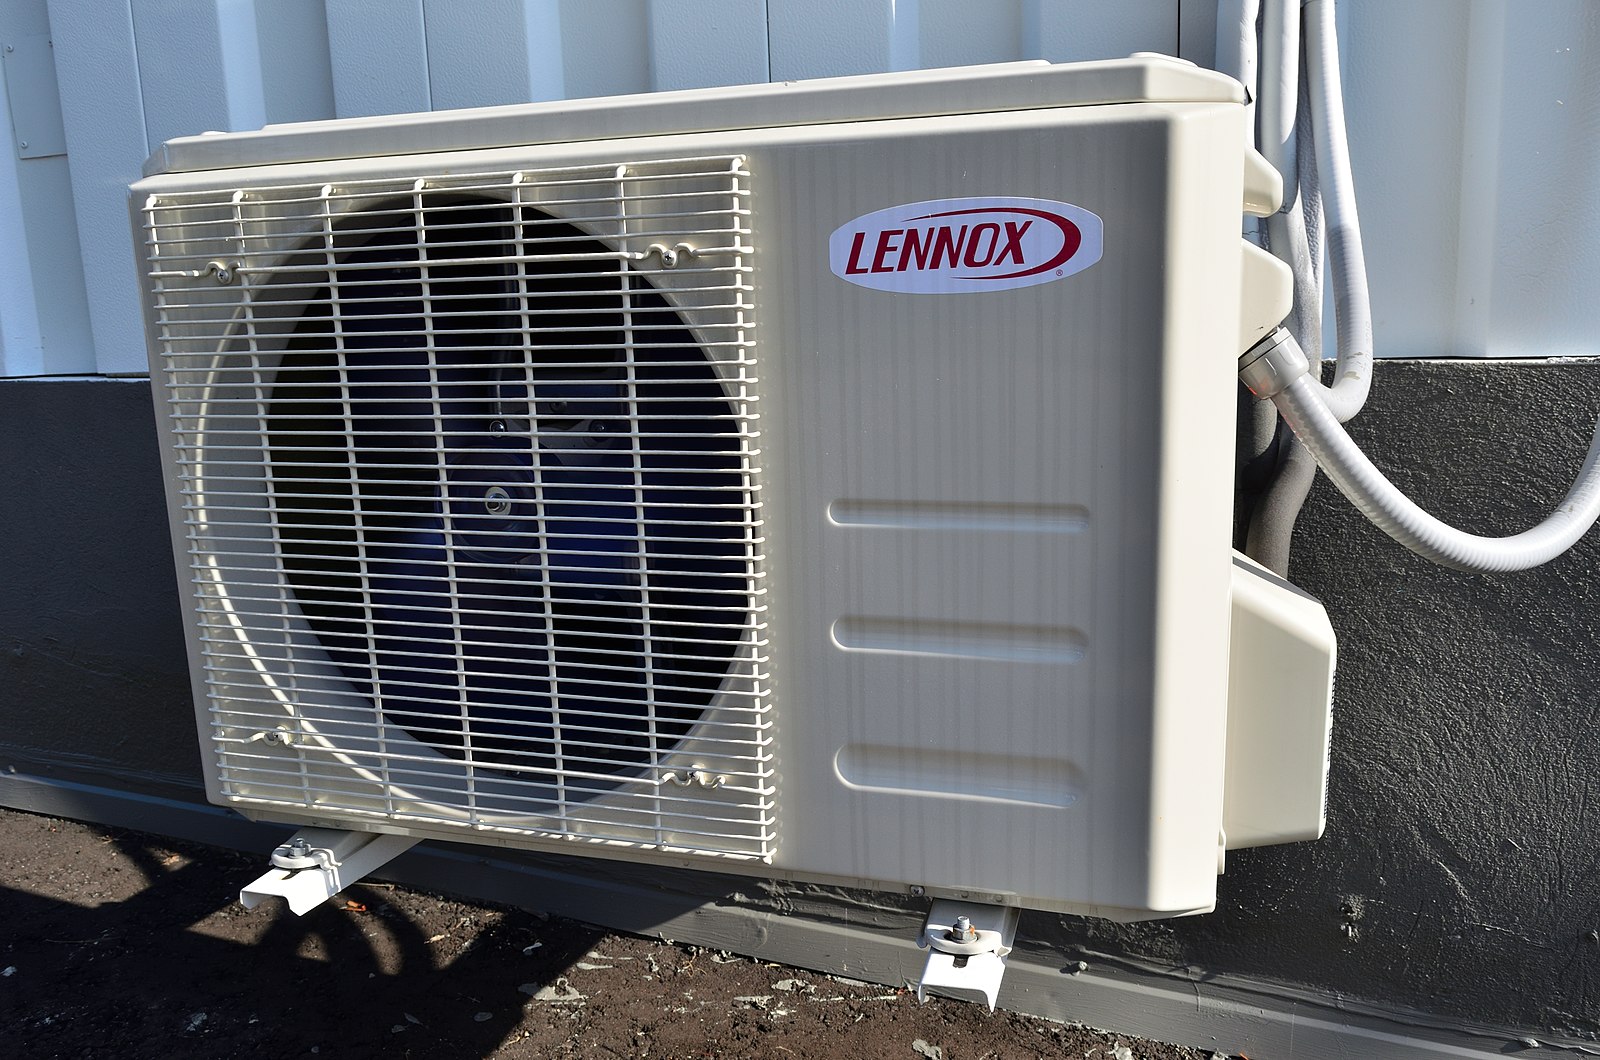 Image source: Lennox Ac by Raysonho
Once you’ve determined the appropriate zoning system for your home, you can begin the setup process. The steps may vary slightly depending on the specific system, but the general process is as follows:
-
Install the Zone Control Panel: The zone control panel is the central hub of the zoning system, responsible for managing the airflow and temperature in each zone. Follow the manufacturer’s instructions to properly install and connect the panel to your HVAC system.
-
Connect the Zone Dampers: The zone dampers are motorized dampers that open and close to direct airflow to the desired zones. Carefully install the dampers in the ductwork, ensuring a secure and airtight connection.
-
Install the Zone Thermostats: Place the zone thermostats in the desired locations, ensuring they are positioned away from direct sunlight, drafts, or other factors that could affect their accuracy. Connect the thermostats to the zone control panel.
-
Configure the Zone Control Panel: Use the control panel’s interface to set up the zones, assign the corresponding thermostats, and configure the airflow settings for each zone. Refer to the manufacturer’s instructions for detailed guidance on this process.
-
Calibrate the System: Once the physical installation is complete, you’ll need to calibrate the system to ensure accurate temperature readings and proper airflow distribution. Follow the manufacturer’s calibration procedures, which may involve adjusting damper positions, airflow settings, and other parameters.
-
Test and Verify: Thoroughly test the system by adjusting the temperature settings in each zone and verifying that the airflow and temperature changes as expected. Make any necessary fine-tunings to ensure optimal performance.
Using the Lennox Zone Controller
Depending on the specific Lennox thermostat you’re using, such as the iComfort S30, you can control the zones remotely using your smartphone or directly on the thermostat’s interface.
Controlling Zones with the iComfort S30
- Access the Zone Control Menu: On the iComfort S30 touchscreen, navigate to the “Zone Control” menu.
- Select the Zone: Choose the zone you want to adjust from the list of available zones.
- Adjust Temperature Settings: Use the touchscreen controls to set the desired temperature for the selected zone.
- Set Zone Schedules: The iComfort S30 allows you to create custom schedules for each zone, automatically adjusting the temperature at different times of the day.
Manual Zone Adjustment
If your Lennox thermostat doesn’t have a touchscreen interface, you can manually adjust the zones using a slide switch on the thermostat’s sub-base or a digital push button.
- Locate the Zone Adjustment Controls: Identify the slide switch or digital push button on your thermostat that allows you to select and adjust the different zones.
- Select the Zone: Use the slide switch or push button to choose the zone you want to control.
- Adjust the Temperature: Once the zone is selected, use the thermostat’s temperature controls to set the desired temperature for that zone.
Advanced Lennox Zone Controller Features
Lennox zone controllers offer a range of advanced features to enhance your home’s comfort and energy efficiency.
Zoned Humidity Control
Some Lennox zone controllers, such as the LZSV system, can also control the humidity levels in each zone, ensuring optimal comfort and indoor air quality.
Energy-Saving Modes
Lennox zone controllers often include energy-saving modes, such as “Unoccupied” or “Vacation” settings, that automatically adjust the temperature in unused zones to reduce energy consumption.
Integrated Diagnostics
Many Lennox zone controllers feature integrated diagnostic tools that can help you identify and troubleshoot any issues with the zoning system, ensuring optimal performance and reliability.
Remote Access and Monitoring
With compatible Lennox thermostats, you can remotely access and control your zone controller using a smartphone app or web portal, allowing you to make adjustments and monitor your home’s comfort from anywhere.
By understanding the technical details and following the step-by-step instructions provided in this guide, you’ll be able to effectively use your Lennox zone controller to create a customized and comfortable living environment in your home.