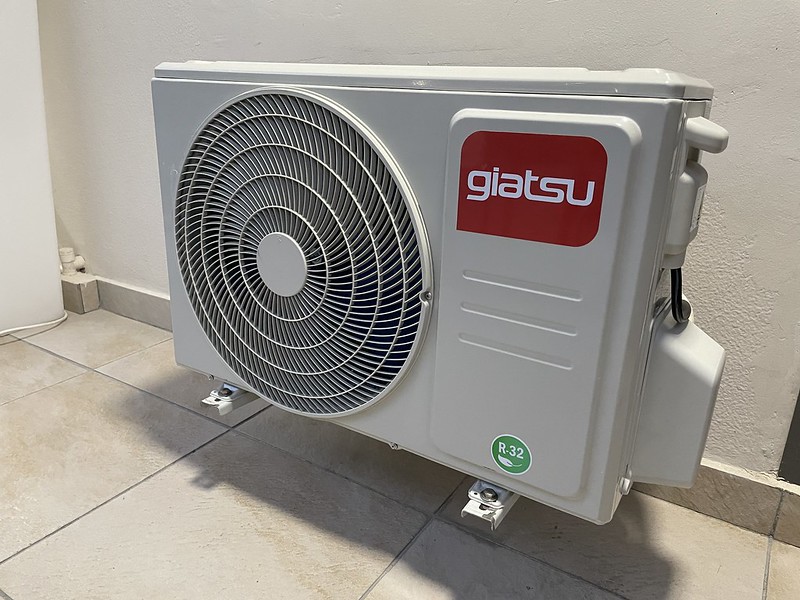
Error code F6 on a Carrier mini split system can be a frustrating issue, but with the right troubleshooting steps, you can diagnose and resolve the problem effectively. This comprehensive guide will walk you through the potential causes of the F6 error code and provide detailed, technical instructions on how to identify and fix the underlying issue.
Wiring Inspection and Verification
One of the most common causes of the F6 error code is a wiring problem between the indoor and outdoor units. To check the wiring:
- Disconnect Power: Ensure that the power to both the indoor and outdoor units is turned off before proceeding with any troubleshooting.
- Inspect Wiring Connections: Carefully examine all the wiring connections between the indoor and outdoor units. Look for any signs of damage, such as fraying, corrosion, or loose connections.
- Measure Resistance: Use a multimeter to measure the resistance across each wire connection. The resistance should be within the range specified in the Carrier service manual for your model.
- Repair or Replace Wiring: If you find any issues with the wiring, such as damaged or corroded connections, repair or replace the affected wires. Ensure that all connections are secure and free from any obstructions.
Temperature Sensor Diagnostics
The F6 error code can also be triggered by a problem with the temperature sensors in either the indoor or outdoor unit. To check the temperature sensors:
- Locate the Sensors: Identify the location of the temperature sensors in both the indoor and outdoor units. Typically, the outdoor unit sensor is near the compressor or condenser coil, while the indoor unit sensor is near the evaporator coil.
- Measure Sensor Resistance: Use a multimeter to measure the resistance of each temperature sensor. Refer to the Carrier service manual for the specific resistance values expected for your model.
- Replace Faulty Sensors: If the resistance of either the indoor or outdoor unit sensor is outside the specified range, the sensor is likely faulty and needs to be replaced.
When replacing temperature sensors, ensure that you use the correct replacement part recommended by Carrier. Improper sensor replacement can lead to further issues with the mini split system.
Control Board Evaluation
If the wiring and temperature sensors are functioning correctly, the issue may be with the control board. To test the control board:
- Inspect the Control Board: Visually inspect the control board for any signs of damage, such as burnt or discolored components, loose connections, or corrosion.
- Check Continuity: Use a multimeter to check the continuity of the control board’s components, particularly those related to temperature sensing and control. Refer to the Carrier service manual for the specific component locations and expected readings.
- Replace the Control Board: If you find any issues with the control board’s components, or if the control board is not functioning as expected, you may need to replace the entire control board.
When replacing the control board, ensure that you use the correct replacement part recommended by Carrier. Improper control board replacement can lead to further issues with the mini split system.
Safety Considerations
Working with HVAC systems can be dangerous, especially when dealing with high-voltage electricity and refrigerants. Always take the following safety precautions:
- Disconnect power to the mini split system before performing any troubleshooting or repairs.
- Wear appropriate personal protective equipment (PPE), such as gloves and safety glasses.
- Refer to the Carrier service manual for specific instructions and safety guidelines.
- Consider hiring a licensed HVAC technician if you are unsure about any step in the troubleshooting process.
Conclusion
By following the detailed, technical steps outlined in this guide, you can effectively diagnose and resolve the Carrier mini split error code F6. Remember to always prioritize safety, consult the manufacturer’s service manual, and consider seeking professional assistance if needed. With the right approach, you can get your Carrier mini split system back up and running in no time.

