
When it comes to installing a mini split system, choosing the right size screw is a crucial part of the process. This comprehensive guide will provide you with the technical details and expert-level insights to ensure a successful and secure installation of your mini split system.
Understanding the Screw Size Requirements
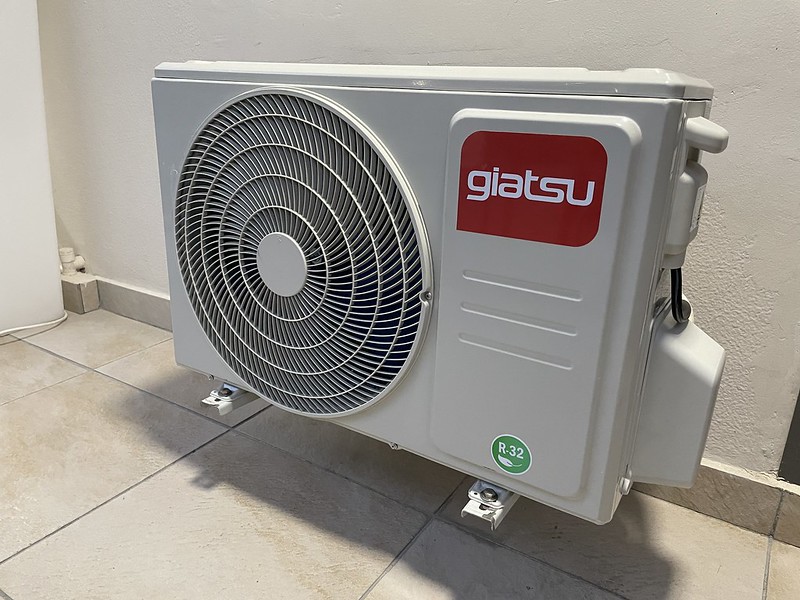
The size of the screws required for a mini split system installation depends on several factors, including the weight and size of the indoor and outdoor units, the thickness of the wall, and the type of wall material.
Screw Length Considerations
According to the Home Depot guide, installing a mini split system involves drilling a large hole (approximately 3 inches) through the wall to the outside, where refrigerant lines will be run from the indoor unit to the outdoor unit. This suggests that the screws used to mount the mini split system should be long enough to penetrate the wall studs and hold the system securely in place.
A screw length of at least 2.5 inches is recommended for most applications, although the exact length may vary depending on the thickness of the wall and the mounting bracket. For instance, if the wall is thicker than standard, you may need to use longer screws to ensure a secure and stable installation.
Screw Diameter Considerations
In addition to the length, the screw size also depends on the weight and size of the mini split system. The Garage Journal thread recommends using screws that are long enough to penetrate the wall studs by at least 1 inch, and wide enough to support the weight of the system.
For a typical mini split system, screws with a diameter of at least #10 or #12 are recommended, although larger screws may be needed for heavier systems. It’s important to choose screws that can adequately support the weight of the indoor and outdoor units, as well as any additional components, such as mounting brackets or wall sleeves.
Screw Type Considerations
When it comes to the type of screws to use, the consensus among DIY users is to use self-tapping screws that are designed for use with metal or masonry surfaces. These screws have a sharp point that can easily penetrate the wall material, and a threaded shank that can grip the wall studs securely.
Some users also recommend using washers or lock nuts to ensure a tight fit and prevent the screws from loosening over time. This is particularly important in areas with high winds or seismic activity, where the mini split system may be subjected to additional stress and strain.
Recommended Screw Sizes for Mini Split Installations
Based on the information gathered from various sources, the following screw sizes are recommended for a typical mini split system installation:
| Screw Length | Screw Diameter |
|---|---|
| 2.5 inches | #10 or #12 |
It’s important to note that these are general recommendations, and the exact screw size may vary depending on the specific requirements of your mini split system and the wall construction. Always refer to the manufacturer’s instructions or consult with a professional installer to ensure that you are using the appropriate screws for your installation.
Preparing the Wall for Screw Installation
Before installing the screws, it’s essential to properly prepare the wall to ensure a secure and stable mounting of the mini split system. Here are the steps to follow:
-
Locate the Wall Studs: Use a stud finder to locate the wall studs where the mini split system will be mounted. This will ensure that the screws are anchored into the solid wood, rather than just the drywall.
-
Mark the Screw Locations: Once you have identified the wall studs, mark the locations where the screws will be placed. This will help you ensure that the screws are evenly spaced and aligned with the mounting brackets or wall sleeves.
-
Pre-Drill Pilot Holes: To prevent the wall material from cracking or splitting, it’s recommended to pre-drill pilot holes at the marked locations. The diameter of the pilot holes should be slightly smaller than the diameter of the screws you will be using.
-
Clean the Wall Surface: Ensure that the wall surface is clean and free of any debris or obstructions that could interfere with the installation of the mini split system.
By following these steps, you can create a secure and stable foundation for your mini split system, ensuring that the screws are properly anchored and able to support the weight of the equipment.
Conclusion
Choosing the right size screw for your mini split system installation is crucial for ensuring a secure and long-lasting installation. By considering the length, diameter, and type of screws, as well as properly preparing the wall, you can ensure that your mini split system is mounted safely and securely.
Remember to always refer to the manufacturer’s instructions and consult with a professional installer if you have any doubts or concerns about the installation process. With the right tools and techniques, you can successfully install your mini split system and enjoy the benefits of efficient and reliable climate control in your home or office.