
Installing a thermostat can be a complex task, but with the right knowledge and tools, it can be a rewarding DIY project. This comprehensive guide will walk you through the step-by-step process of installing a thermostat, covering everything from choosing the right thermostat to testing the system. Whether you’re a seasoned DIY enthusiast or a first-time homeowner, this guide will provide you with the technical expertise and practical tips to ensure a successful thermostat installation.
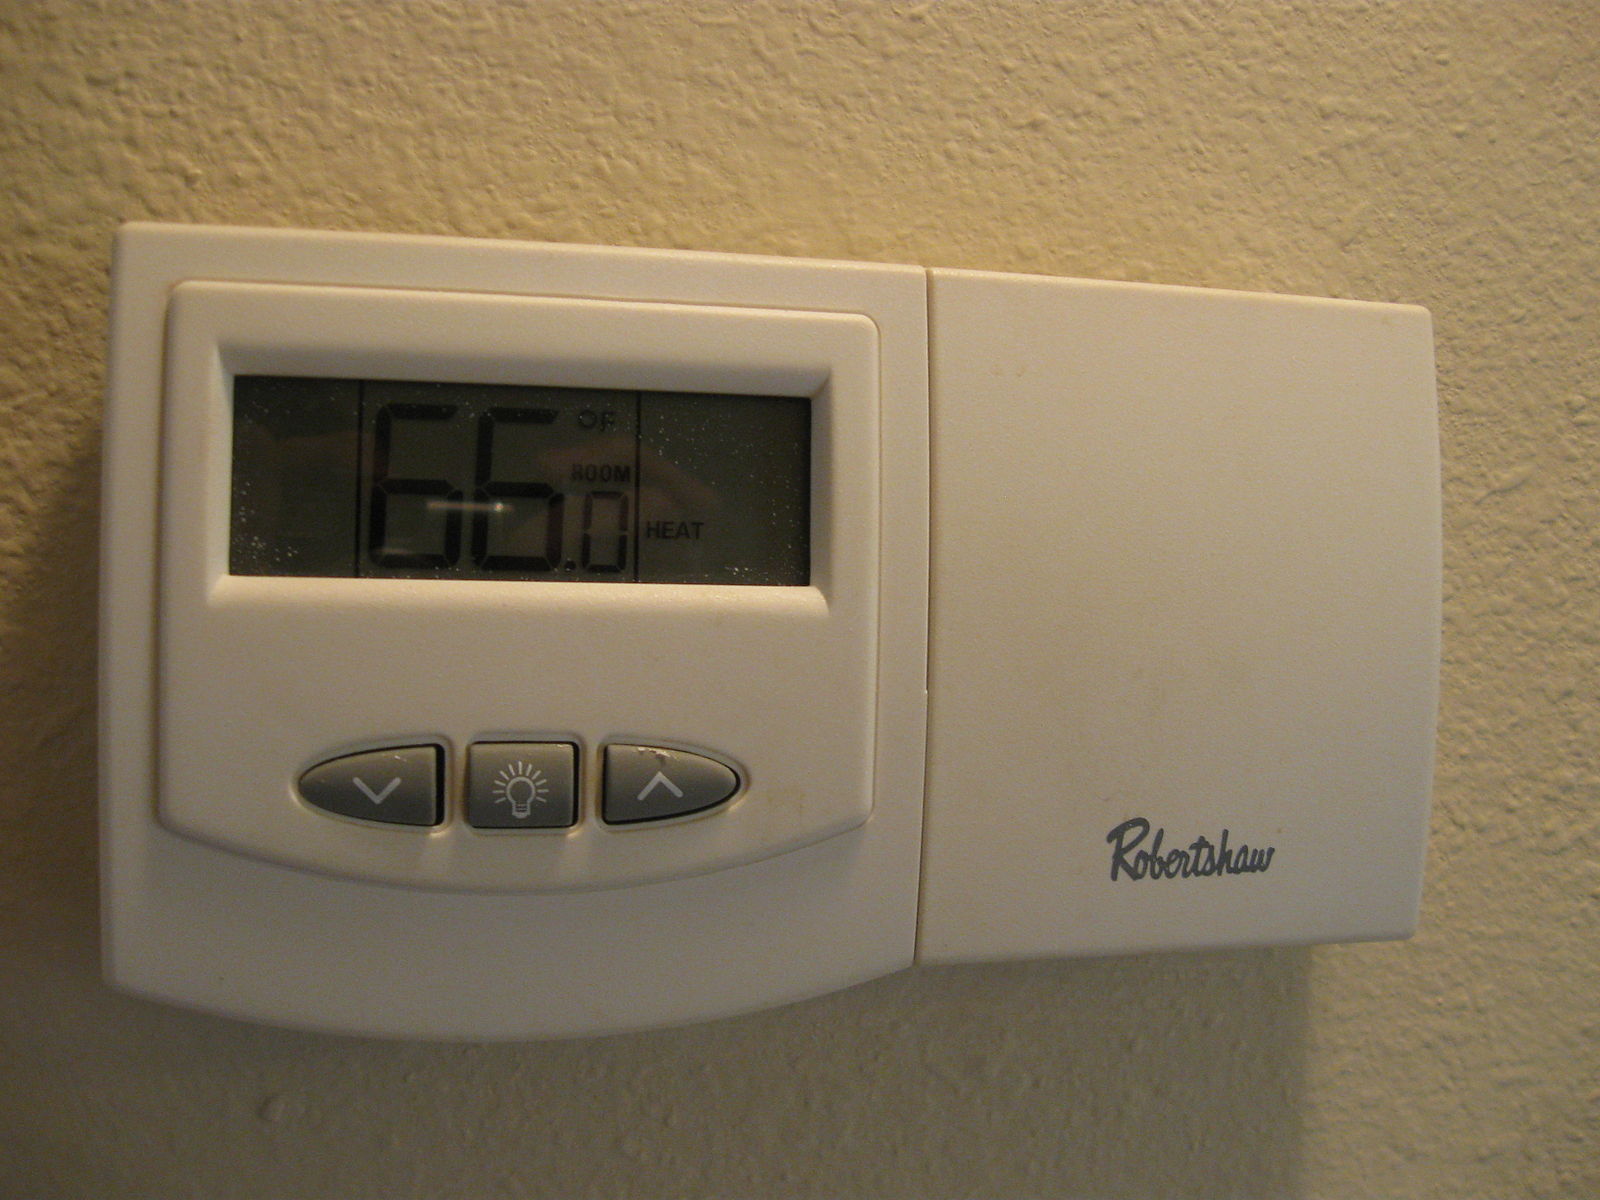
Choosing the Right Thermostat
The first step in the thermostat installation process is to select the appropriate thermostat for your heating and cooling system. This decision is crucial, as the wrong thermostat can lead to compatibility issues and potential system malfunctions. Consider the following factors when choosing a thermostat:
-
System Type: Determine the type of HVAC system you have, whether it’s a single-stage, two-stage, or variable-speed system. This information will help you select a thermostat that is compatible with your system’s specific requirements.
-
Voltage: Identify the voltage of your HVAC system, which can be either low-voltage (24V) or high-voltage (120V or 240V). This will ensure that the thermostat you choose is compatible with your system’s electrical configuration.
-
Features: Evaluate the features you need in a thermostat, such as programmable settings, Wi-Fi connectivity, or smart home integration. These features can enhance the functionality and energy efficiency of your HVAC system.
-
Compatibility: Ensure that the thermostat you select is compatible with your specific HVAC system. Check the manufacturer’s specifications and consult with a professional if you’re unsure about the compatibility.
Gathering Tools and Materials
Before you begin the installation process, it’s essential to gather the necessary tools and materials. This will ensure a smooth and efficient installation, minimizing the risk of delays or complications. The following items are typically required for a thermostat installation:
- Screwdriver (flathead and Phillips)
- Wire stripper
- Voltage tester
- Mounting screws
- Level
- Drill (if drilling is required for mounting)
- C-wire (if your thermostat requires it)
Ensure that you have all the necessary tools and materials on hand before starting the installation process.
Turning Off the Power
Safety should be your top priority when installing a thermostat. Before you begin, it’s crucial to turn off the power to your HVAC system at the circuit breaker. This step is essential to prevent any electrical shocks or damage to the system during the installation process.
- Locate the circuit breaker that controls the power to your HVAC system.
- Turn the circuit breaker to the “off” position to cut the power.
- Verify that the power is off by using a voltage tester on the wires connected to the old thermostat.
Ensuring that the power is turned off is a critical step in the thermostat installation process, as it protects both you and your HVAC system.
Removing the Old Thermostat
With the power turned off, you can now proceed to remove the old thermostat from the wall. This step requires careful attention to the wiring connections to ensure a smooth transition to the new thermostat.
- Carefully remove the old thermostat from the wall, taking note of the wiring connections.
- Label each wire with its corresponding terminal letter (e.g., “R,” “W,” “Y,” etc.) to ensure proper reconnection.
- Take a photograph of the wiring connections for future reference.
- Gently pull the wires out of the wall, being careful not to damage them.
Properly documenting the wiring connections is essential for a successful thermostat installation, as it will guide you in correctly connecting the new thermostat.
Installing the New Thermostat
With the old thermostat removed and the wiring connections documented, you can now proceed to install the new thermostat. This step requires attention to detail and careful following of the manufacturer’s instructions.
- Attach the mounting plate of the new thermostat to the wall, using the provided screws and a level to ensure it’s properly aligned.
- Connect the labeled wires to the corresponding terminals on the new thermostat, following the manufacturer’s instructions.
- Ensure that all connections are secure and that the wires are not damaged or frayed.
- Carefully tuck any excess wiring back into the wall, taking care not to crimp or damage the wires.
- Attach the thermostat body to the mounting plate, ensuring a secure fit.
It’s important to follow the manufacturer’s instructions precisely, as improper wiring connections can lead to system malfunctions or even safety hazards.
Testing the System
After installing the new thermostat, it’s crucial to test the system to ensure it’s functioning correctly. This step will help you identify and address any issues before fully restoring power to the HVAC system.
- Turn the power back on at the circuit breaker.
- Set the thermostat to a temperature that will activate the heating or cooling system.
- Observe the HVAC system’s response and ensure that it’s operating as expected.
- Adjust the thermostat settings as needed to achieve the desired temperature and comfort level.
- Verify that the thermostat’s features, such as programmable settings or Wi-Fi connectivity, are working correctly.
If you encounter any issues during the testing phase, refer to the manufacturer’s troubleshooting guide or consult a professional HVAC technician for assistance.
By following these steps and paying attention to the technical details, you can successfully install a thermostat as a DIY project, saving on labor costs and gaining a sense of accomplishment. Remember to always prioritize safety and follow the manufacturer’s instructions to ensure a safe and effective installation.