
Table of Contents
Introduction.
Do you suspect your gas furnace is on? A lot of homeowners worry about this during the heating season. You can check by looking for a pilot light or hearing the blower fan. If you’re not sure, call a licensed technician.
Signs your furnace may need attention include:
- Strange noises.
- Smells.
- Low airflow.
- Clogged filter.
Ignoring these may cause decreased efficiency or even carbon monoxide exposure.
Regular maintenance is key. This includes:
- Changing air filters.
- Inspecting valves and controls.
- Checking the heat exchanger for cracks.
If the unit is more than 15 years old or has issues, consider replacing it.
Don’t wait; book an appointment with Andy’s Heating & Cooling in NJ or Steve’s Heating & Cooling in NY now. Enjoy knowing your appliances are running well and avoid any potential danger from malfunctioning furnaces.
Remember to turn off the power and gas before checking your furnace; unless you want to warm the whole area!
Checking The Furnace Power And Fuel.
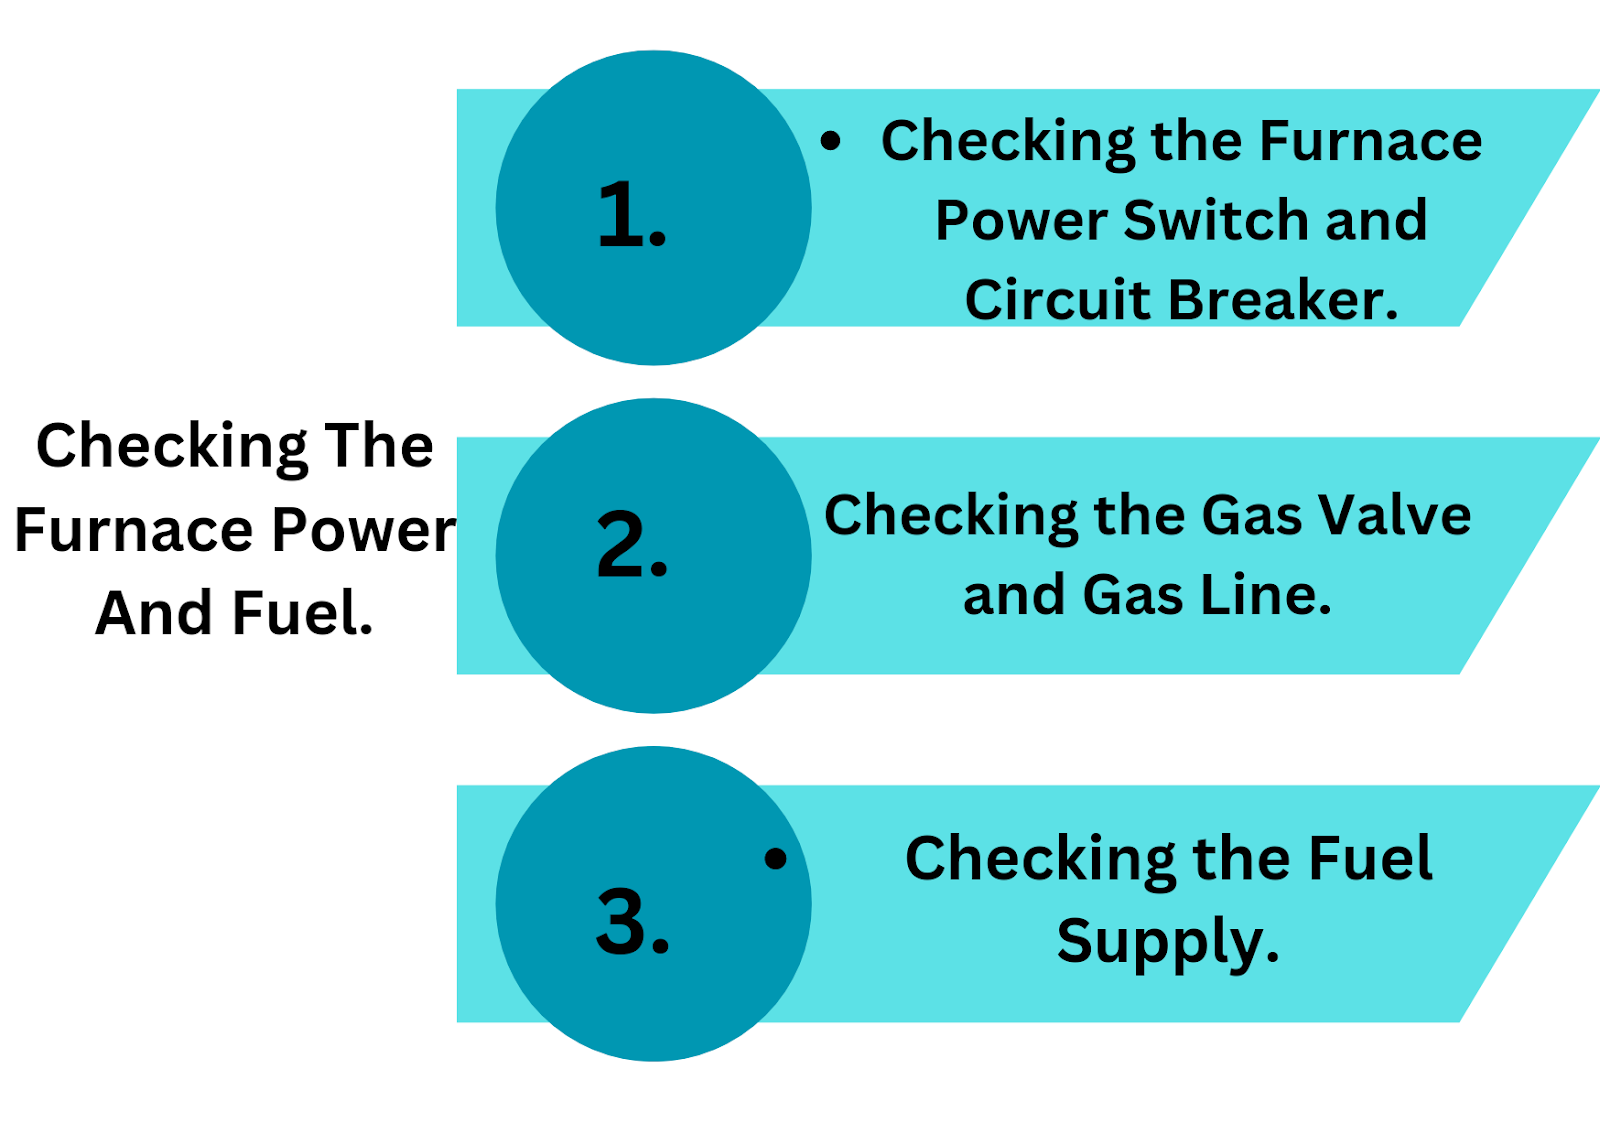
Checking the electricity supply and gas line is essential to ensure the proper functioning of your furnace.
Here’s how you can do it:
- Check the power supply switch and circuit breaker to ensure they’re on for electric furnaces. For those with battery power, make sure that the batteries are new.
- For gas furnaces, locate the gas valve and switch it on to supply gas to the pilot light. Look for the pilot light; if it’s not lit, try relighting it by following the manufacturer’s instructions on the furnace.
- Set the thermostat temperature setting higher than the current room temperature to trigger the furnace to start running. Listen out for its sound, and ensure proper airflow through the registers.
It’s worth noting that you should only perform these steps if you’re confident in your abilities or if you’ve had previous experience with furnaces. If you’re unsure, it’s best to call a licensed HVAC technician to do it.
Also, keep an eye out for warning signs, such as a burning odor, strange noises, or a clogged filter. These symptoms could indicate common furnace problems that require repair or replacement.
According to Andy Bonner, a certified heating expert from NJ, dirty filters can affect furnace efficiency, and homeowners should replace them every one to three months.
By checking the furnace’s power and fuel, you can ensure that your heating system is running efficiently and safely during the colder months.
If your furnace won’t turn on, check the power switch and circuit breaker first; because nothing says cozy winter nights like a chilly house and a blown fuse.
Checking the Furnace Power Switch and Circuit Breaker.
Checking the Furnace Power Switch and Circuit Breaker?
Here’s what to do:
- Look for the power switch near or on your furnace.
- Make sure it’s switched on.
- If not, switch it on.
- Next, go to your circuit breaker panel.
- Locate the breaker associated with your furnace.
- Confirm it’s in an ‘on’ position. If not, reset it.
Be careful! If you’re not comfortable with electricity, hire a professional. Also, keep testing by flipping it after resetting any tripped circuit breakers. Doing this often can prevent future problems. Better safe than sorry. Don’t wait. Get help from trained professionals or certified electricians ASAP.
Finally, make sure the gas valve isn’t just a decoration!
Checking the Gas Valve and Gas Line.
A furnace is essential for a home’s comfort and health. Regular maintenance is the key to keeping it functioning properly.
Follow these 4 steps to check the gas valve and gas line:
- Turn off the power supply to the furnace at the main electrical panel.
- Locate the gas valve, usually near the bottom of the furnace.
- Clear any debris or obstructions from the inlet side of the gas valve.
- Inspect both ends of the gas line between the furnace and outside the home for any leaks or damages.
Remember to always wear protective gloves when handling propane or natural gas. If you find any signs of damage or leaks, contact a professional right away!
Prevent issues by regularly checking your heating system. A faulty system can be costly, and cause serious health risks.
To conclude, following these steps will help you keep it running safely and save money. If you don’t feel comfortable doing the inspection or repairs, hire a professional team for expert advice.
Checking the Fuel Supply.
Maintain your furnace fuel supply for no-hassle warmth this winter! It’s essential to make sure you won’t run out of heat.
Here are three things to take into account:
- Inspect the Fuel Tank: Fill it up before heating season and keep it at least half-full.
- Schedule Deliveries: Get an idea of how often you’ll need a refill based on usage.
- Check Fuel Quality: Impurities can damage the furnace or be a danger.
Remember to factor in how much you use the furnace and if there’s sufficient insulation. For a safe and warm home, practice efficient fuel management!
Don’t let running out of heat put family members in danger. Keep the small flame burning!
Checking The Pilot Light Of The Furnace.
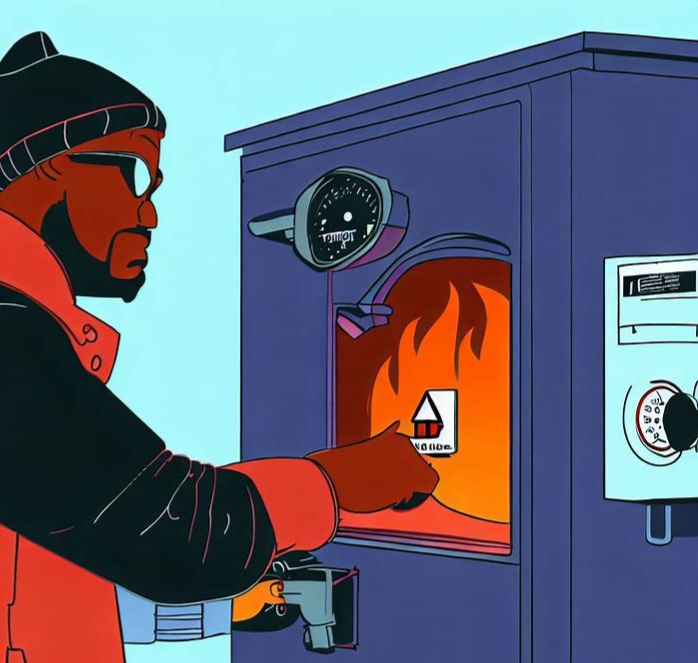
When it comes to ensuring that your furnace is functioning correctly, one of the essential things to check is the pilot light. This small, continuous flame is vital to ignite the gas in your furnace, which ultimately keeps your home warm and comfortable during the heating season.
Here is a step-by-step guide to checking the pilot light in your gas furnace:
- Locate your furnace’s pilot light and/or ignition sensor. It is usually visible through a small viewing window on the furnace’s front panel.
- Check the position of the gas valve. If it is not in the “on” position, turn it to “on”.
- Look for a reset button nearby and press it. If there is no reset button, turn the power switch off and on again to reset the furnace.
- Hold down the pilot light switch and wait for a few minutes for the gas to flow through the line and ignite the flame. The flame should be blue and stable.
- If the flame is not stable or there is no flame, call a licensed technician for assistance.
It is also essential to note that if you smell gas while checking the pilot light, turn off the gas valve immediately, open windows for ventilation, and call a professional for emergency help.
In addition, ensuring that your furnace’s air filter is clean, and the thermostat is set to the desired temperature can also help improve your furnace’s efficiency.
Pro Tip: Check your furnace’s model number and purchase carbon monoxide detectors to ensure that your heating system is as safe as possible.
Finding the pilot light is like playing hide and seek, but with gas; and consequences if you lose.
Locating the Pilot Light.
When it comes to gas-powered appliances, the pilot light is a must! Knowing where to locate it is key.
Here’s how:
- Turn off the Gas: Safety first! Prevent any accidents by turning off the gas valve.
- Look for a metal knob near the control panel.
- Open the access panel: Unscrew or lift off the metal plate near the knobs.
- Locate the pilot light assembly: Seek a small tube from the gas supply to the burner. This is where it should be.
- Check The Pilot Light: Inspect it visually and with your nose for any signs of damage or weakness before using.
Different appliances have different steps to locate their pilot lights. Refer to the user manual first! And remember, your pilot light isn’t just a tiny flame, it’s a million-year-old reminder of our ancestors’ use of fire.
So don’t get in hot water; keep it lit!
Checking the Pilot Light Position and Flame.
It’s important to make sure the pilot light on your appliance is in the right place and flame.
To check this, follow these 3 steps:
- Find the pilot light; usually behind a small access panel near the main gas valve.
- Look at the flame; it should be blue with a clear inner cone and steady. If it’s yellow or flickering, there may be an issue with combustion or debris blocking the burner.
- Check the position; the flame should touch only the thermocouple or sensor, not any other parts.
Different appliances have different lights and positions. Check their manual first and wear protective gear when handling combustible materials.
Did you know that 22% of house fires in 2019 were due to heating equipment malfunctions? So always prioritize regular maintenance and inspections.
Now, let’s get to work; it’s time to relight that pilot light!
Relighting the Pilot Light.
- First, turn off the gas supply and wait for at least five minutes.
- Locate the pilot light assembly; it is usually beneath a metal plate, with a red or black button labeled “pilot.”
- Press and hold the pilot button, and light the flame with a long lighter or matchstick.
- Continue holding for 30-60 seconds until the thermocouple is heated and the flame stays lit.
- Release the pilot button and turn the gas supply back on.
- Check that all flames appear brightly.
- If uncertain or uncomfortable, contact a professional.
Regular checks of appliances are crucial for safety and efficiency. Neglecting maintenance could lead to leaks and fires. Take action and do the necessary upkeep now.
Lastly, make sure the ignition sensor isn’t sensing anything it shouldn’t.
Checking The Ignition Sensor And Burner Of The Furnace.
Checking the Functionality of the Ignition Sensor and Burner.
Ignition sensors and burners play a crucial role in ensuring the heating system of your house works effectively.
Here is a guide to checking if they are functioning optimally.
- Turn off all Power Sources:Turn off the power switch on the heating system and cut off the circuit breaker. This step ensures that you do not cause any damage during the inspection.
- Locate the Ignition Sensor: The ignition sensor is typically situated in the furnace system. Locate the position of the sensor, which is usually in front of the burner.
- Examine the Burner: Check the burner for any signs of dust, dirt, rust, or debris. Use light to inspect the burner’s condition and ensure it has no blocked holes.
- Inspect the Ignition Sensor: Take a clean cloth and gently clean the ignition sensor. Check for any visible damage, and if present, replace it. Ensure you check the wires and connections to the sensor and burner for any signs of corrosion or wear.
It is essential to seek help from a licensed technician to avoid causing damage during the inspection. Ignition sensor or burner replacement requires technical know-how and expertise.
Sometimes replacing the ignition sensor or burner does not solve the problem. Ensure you check for clogged filters, faulty thermostats, or low fuel levels, which can cause issues in the heating system.
History has seen instances where furnace malfunctions cause fatal incidents like carbon monoxide poisoning. Therefore, it is essential to ensure your heating system is working adequately to avoid such incidents.
Better safe than sorry, inspecting the ignition sensor could save you from a potential furnace fiasco.
Inspecting the Ignition Sensor.
Ready to light up? Make sure your ignition sensor is in proper condition first! Inspecting and maintaining it regularly is essential.
Here’s how to do it in three easy steps.
- Power down: Shut off the power supply to your appliance before you start. This’ll keep you safe from electrical shocks and any other hazards.
- Locate the sensor: Refer to the manual or look for a small black/gray box near or on the burner.
- Inspect and clean: Check for chips, cracks, or damage with a soft cloth or brush.
Keep in mind: If you spot any issues, call a pro immediately. Faulty ignition sensors are a common cause of appliance malfunctions. Regular inspections will ensure optimal performance and avoid potential accidents.
Checking the Burner and Flame.
Maintaining a functioning furnace is key. To keep it going and avoid sudden breakdowns, check the burner and flame regularly.
Here’s how:
- Turn off the power and gas valves for safety.
- Open access door panel. Find burner assembly and clean with cloth or vacuum.
- Turn on the gas valve and light the pilot light. Observe if the flame burns blue. If not, contact a professional.
Safety first! Follow the manufacturer’s guidelines and never touch anything wet.
Experts suggest servicing your furnace once a year for better efficiency and longer life. Not servicing could cause serious damage. My friend didn’t do his annual servicing and got oil residue buildup. This blocked airflow and caused an increase in temperature.
When the blower motor and fan don’t work, crank up the music. Make it a white noise machine.
Checking The Blower Motor And Fan Of The Furnace.

When inspecting your heating system, it is crucial to also check the blower motor and fan. Doing so will ensure proper airflow and efficient heating in your home.
Here is a 5-Step Guide to Checking the Blower Motor and Fan:
- Turn off the power switch and circuit breaker to your furnace.
- Remove the panels on the front and side of the furnace to access the blower compartment.
- Inspect the blower motor and fan for any signs of dust, dirt, or debris. If there is a clogged filter, remove and replace it.
- Check the fan belt tension and adjust it if necessary.
- If you spot any warning signs like strange noises or burning smells, it’s best to call a licensed technician for further inspection.
Additionally, be sure to clean the blower motor and fan at least once during the heating season to maintain efficiency.
It’s important to note that natural gas appliances can produce carbon monoxide, a deadly gas. Always check for warning signs like rust around the exhaust vent or a yellow flame instead of a blue one. If you suspect carbon monoxide poisoning, leave your house immediately and call 911.
A fact: According to Andy Bonner, a technician from NJ, a dirty filter can cause the blower motor to malfunction and reduce airflow. Regularly replacing air filters is crucial for a properly functioning heating system.
You know what they say, a dirty filter makes for a lousy blower fan; time to roll up my sleeves and get to work inspecting!
Inspecting the Blower Motor and Fan.
It’s important to give your HVAC system’s blower motor and fan some regular TLC, as part of routine maintenance.
Here’s a quick 3-step guide:
- Switch off the power: Before inspecting, make sure to switch off the power supply.
- Check the blower motor: Open the access panel and look for dirt or signs of wear and tear. If you notice any issues, like grinding or vibration, get help from a pro.
- Inspect the fan: Check that the blades are not loose or bent, so they can do their job properly.
Keep an eye out for strange sounds or vibrations from your furnace or AC; if you spot something unusual, get a professional opinion.
For example, one winter I heard a weird noise from my furnace. A technician found my blower assembly needed replacing. Had I not noticed the problem, my entire system could have stopped working!
So don’t hesitate to get an expert’s opinion if something feels off.
Checking the Airflow and Registers.
Making sure your HVAC is working properly is super important. Unhealthy air circulation can cause discomfort and health problems.
Here’s a 6-step guide to check your airflow and registers:
- Turn on your HVAC and wait a few minutes.
- Feel the air coming out of each register.
- Note if some are weaker than others.
- Check if your return grills are blocked.
- Replace any clogged or dirty air filters.
- If there are still issues, contact an HVAC technician.
Remember, furniture and curtains can also reduce airflow. So, move them away.
Pro Tip: Maintaining your HVAC helps it to work properly and circulate clean air.
Also, don’t forget to check the heat exchanger and exhaust for carbon monoxide poisoning before you go.
Checking The Heat Exchanger And Exhaust Of Furnace.
The proper way to ensure that your gas furnace is working efficiently throughout the heating season is by regularly checking the heat exchanger and exhaust. Neglecting this crucial system can result in a malfunctioning furnace that leaves you and your family feeling the chill.
Here are three simple steps you can follow to check the heat exchanger and exhaust:
- Locate the heat exchanger panel and remove it.
- Inspect the heat exchanger for any cracks or signs of damage that could allow carbon monoxide to leak into your home.
- Check the exhaust flue and ensure that it’s clear of any debris or blockages. This ensures that no harmful gases such as carbon monoxide are being emitted into your home.
It’s important to note that attempting to repair any damage to your heat exchanger or exhaust flue on your own is not recommended. Always contact a licensed technician if you notice any issues.
Remember that regular checks can prevent common furnace problems, such as a clogged filter or malfunctioning blower motor, that could cause the system to shut down. If you’re unsure how to keep your furnace running optimally or if you suspect that something is wrong, don’t hesitate to contact a professional for help. You don’t want to miss out on a cozy, warm winter due to a malfunctioning heating system.
Inspecting the heat exchanger is like playing a game of Operation: one false move and you’ll be paying for a furnace replacement.
Inspecting the Heat Exchanger.
The heat exchanger is a must-have for any heating system. So, inspect and maintain it regularly for optimal performance and efficiency.
Here’s what you should check and why:
| What to Check | How often to check | Why it’s important |
| Clogs, blockages, or restrictions in the tubes or channels of the heat exchanger. | Twice a year | To ensure consistent airflow and improved system performance. |
| Rust, corrosion, cracks, or leaks in the heat exchanger surface. | Annually | To identify damage that could cause malfunctions or CO leaks. |
Also, be on the lookout for strange sounds or smells, like grinding noises or burning smells. This could mean that there’s an issue with your heat exchanger that needs immediate attention from a certified HVAC pro.
Pro Tip: Regularly maintain your heating system to avoid costly repairs and keep your family safe and comfy during the cold months.
And don’t forget to check the exhaust and CO levels!
Checking the Exhaust and Carbon Monoxide.
When securing your home or workspace, testing the exhaust and carbon monoxide is a must.
Follow these four steps to ensure you’re safe:
- Examine the exhaust pipe for any damage or leakage. Look for rust, cracks, holes, or loose connections. The pipe should be firmly secured and clear of blockage.
- Activate the HVAC system and let it run for a few minutes. Search the exhaust pipe for smoke or strange smells.
- Use an inexpensive carbon monoxide detector to measure the levels in your space. It will alert you to dangerous levels of carbon monoxide.
- Get regular maintenance from a certified technician to clean and tune your HVAC system.
It’s important to remember that carbon monoxide is odorless and can cause dizziness, nausea, and even death when in high concentrations. To stay safe, prioritize regular inspections.
The CDC states that every year more than 400 Americans die from unintentional carbon monoxide poisoning. Be aware of your surroundings and take action to protect yourself.
Before you check the air filter, have your nose plugs ready!
Checking The Air Filter Of the Furnace.
Having a clean air filter is crucial for the efficient functioning of your heating system. Neglecting to check and replace the air filter can result in reduced airflow, decreased efficiency, and even furnace failure.
Here’s what you need to do to keep your air filter in top condition:
- Locate your air filter, usually found next to the blower motor or inside the return air register.
- Turn off power to your furnace by switching off the power switch or circuit breaker.
- Check your air filter for any visible dirt, dust, or debris. If it’s clogged, replace it with a new one.
- Make sure the filter is the correct size for your furnace by checking the model number.
- Reinstall the new filter the same way the old one was installed, making sure it’s tightly secured in place.
- Turn the power back on to your furnace.
By checking and changing your air filter regularly, you can ensure proper airflow, improve your furnace’s efficiency, and save money on energy bills. If you’re unsure about how to check your air filter or if you need a replacement, contact a licensed technician for help.
It’s important to note that neglecting to change your air filter can lead to serious problems, such as reduced indoor air quality, carbon monoxide leaks, and even furnace replacement. Stay on top of your filter by checking it at least once every three months during the heating season.
As a cautionary tale, Steve had neglected to check his air filter for months, resulting in reduced airflow and a loud grinding sound coming from his furnace. He called a professional to inspect the problem, and they found that his blower motor had burned out due to the clogged filter. Steve ended up having to replace his furnace altogether, costing him much more than a simple air filter replacement would have. Don’t make the same mistake; check your air filter regularly.
Locating the air filter is like playing a game of hide and seek with your furnace, but finding it is key to keeping your heating system running smoothly.
Locating the Air Filter.
Uncover the mysteries of your car’s air filter! It’s an essential component for proper functioning. Locate it, inspect it, and replace it if needed, to avoid any engine issues.
Here’s what you need to know:
- Open the hood.
- Look for a rectangular-shaped box on the engine block.
- Remove any clips or screws that hold down the cover.
- Check for a plastic or rubber enclosure.
- Refer to your owner’s manual if needed.
Inspect the filter carefully. Watch out for any holes or cracks. Replace as necessary. According to AAA, an average motorist spends $1329/year on car maintenance.
So, don’t let a clogged or damaged air filter suffocate engine performance; keep it clean for a healthy ride.
Inspecting and Replacing the Air Filter.
Air filters are super important for your car’s engine air quality. Not replacing or checking the air filter can cause poor performance, more fuel consumption, and unnecessary damage.
Here’s how to check and replace it:
- Find the air filter housing: Normally in a plastic box near the top of your engine.
- Open the air filter housing cover: Refer to your manual to unlock and remove it.
- Check the current condition of the air filter: Check for dirt, debris, or damage.
- Clean or replace as necessary: If the filter is dirty, either clean it with a dry cloth or replace it.
- Replace the housing cover and lock it firmly.
Change the air filter every 12 months or 12,000 miles; whichever comes first. Dusty roads might require more changes. Make sure you get a filter that fits your car.
Wear gloves to prevent oily residue on your hands. Look out for warning signs of common furnace issues; strange noises and bad smells.
Warning Signs And Common Furnace Problems.
When it comes to home heating systems, identifying warning signs and common furnace problems can save you time, money, and even your health.
Below are some key points to note:
- Unusual sounds like grinding, squeaking, or banging from the furnace may mean worn or broken parts, or a clogged filter.
- A yellow, flickering pilot light instead of a steady blue one, indicates a carbon monoxide leak or issues with the fuel supply.
- Frequent cycling on and off may mean a dirty filter, incorrect thermostat settings, or an issue with airflow or the ignition sensor.
- Inadequate heating despite the correct temperature setting or a dirty/low air filter may mean a damaged heat exchanger, clogged filter, or malfunctioning fan motor.
- Higher utility bills can indicate poor efficiency, a clogged filter, or a problem with the gas line or valve.
- An unexplained smell of gas, exhaust, or burning odor should be taken seriously, and the furnace should be turned off immediately. Call a licensed technician to inspect it.
It is important to note that each furnace model and heating system is unique, and some symptoms listed may not apply to your particular system.
Proper maintenance, regular professional check-ups, and prompt action upon detecting warning signs can prolong your furnace’s lifespan, improve energy efficiency, and most importantly, keep you and your household safe and comfortable.
Pro Tip: If you have an older heating system that requires frequent repairs or your energy bills are increasing while the system’s efficiency is decreasing, it may be time to consider furnace replacement. Consult a professional for the best option for your home and budget.
If your furnace is emitting a strange odor, it’s time to call a licensed technician; unless you enjoy the scent of carbon monoxide in the morning.
Identifying Warning Signs.
Furnace issues are common, so detecting them quickly is key. If you smell something weird, hear strange noises, or feel uneven heat; these are warning signs to take action. Replacing your filter regularly will help keep the system running smoothly.
- Gas leaks from furnaces are serious, so tackle them ASAP!
- A faulty thermostat can lead to incorrect readings or a full breakdown.
- Old furnaces may let out too much dust, leading to breathing problems.
- Clean your ductwork every few years to avoid debris buildup.
- Also, check your combustion chambers and burners once a year to prevent corrosion or combustion issues.
Be sure to keep the area around your furnace neat and well-ventilated. Unusual changes in your utility bills could be an indication of efficiency or functioning problems.
Regular maintenance and swift identification of warning signs can help maintain your furnace and keep your home toasty!
Common Furnace Problems and Solutions.
As the temp falls, furnaces become a must-have in homes. But, many homeowners don’t know furnace troubles and their solutions.
- Dirty filters lead to bad air quality and poor efficiency. Cleaning or replacing filters every 1-3 months is recommended.
- Ignition issues like unreliable pilot lights or faulty electronic ignition systems can cause a furnace to not start or malfunction. Regular maintenance checks can prevent such issues.
- Frequent cycling could be because of clogged filters or improper air circulation. Adjusting thermostat settings or fixing airflow blockages can help.
- Noisy functioning could be due to worn-out parts, loose belts, blocked burners, or dirty ductwork. Professional inspections and cleaning services can fix these issues.
- Inconsistent heating may show a problem with the thermostat, furnace size, ductwork design, or insulation. Consulting an HVAC expert is advised.
- Cracked heat exchangers can cause gas leaks into living spaces. Licensed professionals are needed to fix or replace them.
Apart from these common issues, regular maintenance by certified technicians helps increase performance efficiency and reduce energy costs. Homeowners should take note of warning signs like odd smells, weak airflow, and high bills.
Research shows that malfunctioning gas furnaces killed around 430 people in the US annually between 2011-2015. So, it’s essential to address furnace problems quickly and prioritize regular maintenance for safe and efficient operation in colder seasons.
Think of furnaces like relationships; if you don’t cater to them, they’ll leave you out in the cold.
Frequently Asked Questions.
Q1: What are the signs that my furnace is running?
A: Some common indications that your furnace is operating include feeling warm air coming out of the vents, hearing the sound of the blower motor or burner running, and observing the pilot light or electronic ignition system in action.
Q2: Can I check if my furnace is on by looking at the thermostat?
A: Yes, the thermostat is an excellent indicator of whether your furnace is running. If the temperature setting on the thermostat is higher than the current room temperature, and the display shows that the system is “heating” or “on,” it suggests that your furnace is operational.
Q3: Is there a way to verify furnace operation by listening to specific sounds?
A: Yes, you can listen for certain sounds that indicate the furnace is running. These include the humming noise of the blower motor, the intermittent clicks of the thermostat relays, the whooshing sound of the burner igniting, and the steady sound of air circulating through the ductwork.
Q4: Are there visual cues I can observe to determine if my furnace is on?
A: Absolutely. Look for the pilot light flame (in older furnaces with a standing pilot) or the electronic ignition system’s glow (in modern furnaces) to confirm that the furnace is operational. Additionally, you can check if the blower fan is spinning and if any indicator lights on the furnace control panel are illuminated.
Q5: Is it possible to feel the air coming out of the vents to determine furnace activity?
A: Yes, feeling the air coming out of the vents is a reliable way to determine if the furnace is running. Place your hand near a vent, and if you sense warm air being blown out, it suggests that the furnace is actively heating your home.
Q6: Can I check if my furnace is running by inspecting the air filter?
A: While the condition of the air filter can provide information about your furnace’s overall maintenance, it may not directly indicate whether the system is on or off. However, if the air filter appears clean or recently replaced, it suggests that the furnace has been running efficiently, as a clogged filter can impede proper airflow.
Conclusion:
As winter draws near, it is important to know how to check if your gas furnace is working.
- Check the pilot light. If it isn’t lit, relight it.
- Check the switch/power source. If it’s okay and the unit has been recently serviced, adjust the thermostat.
Strange odors or noises may indicate a problem. Call a technician. Furthermore, a clogged filter may reduce airflow and efficiency. Change the air filter often. Invest in a high-efficiency model for energy savings. Also, install carbon monoxide detectors near all bedrooms and gas appliances. Never ignore warning signs. Deal with small issues before they become big. That way, you can avoid costly repairs and have reliable warmth all winter!