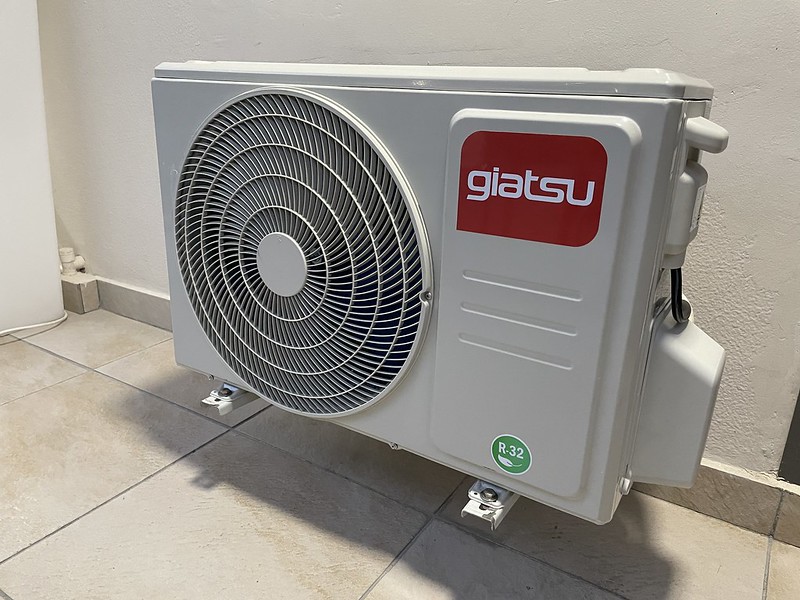
Charging an empty mini split system is a critical task that requires careful attention to detail and adherence to safety protocols. This comprehensive guide will walk you through the step-by-step process of charging an empty mini split, ensuring your system is properly filled and functioning at optimal levels.
Preparing the Mini Split System for Charging
Before you can begin the charging process, you’ll need to ensure that the mini split system is properly prepared. This involves the following steps:
-
Vacuum the System: Use a high-quality vacuum pump to remove any moisture or air from the system. It’s essential to achieve a deep vacuum, typically around 500 microns or less, to ensure the system is thoroughly purged.
-
Inspect the Vacuum Gauge: Carefully monitor the vacuum gauge during the evacuation process to ensure the system is reaching the desired level of vacuum. If the vacuum level is not reaching the target, there may be a leak in the system that needs to be addressed.
-
Purge the Service Hoses: Before connecting the refrigerant tank, it’s crucial to purge the service hoses to remove any air or contaminants. This can be done by opening the hose valves and allowing the refrigerant to flow through, effectively flushing the hoses.
Charging the Mini Split System
Once the system is properly prepared, you can begin the charging process. Follow these steps carefully:
-
Determine the Correct Refrigerant Charge: Refer to the manufacturer’s specifications to determine the appropriate amount of refrigerant for your mini split system. This will depend on factors such as the system capacity and the length of the refrigerant lines.
-
Connect the Refrigerant Tank: Attach the refrigerant tank to the service port using the appropriate hoses and adapters. Ensure a secure connection to prevent any leaks.
-
Purge the Service Hoses: Before opening the refrigerant tank valve, purge the service hoses again to remove any remaining air or contaminants.
-
Slowly Add the Refrigerant: Carefully open the refrigerant tank valve and allow the refrigerant to flow into the system. Monitor the system pressure and the amount of refrigerant added to ensure you do not exceed the recommended charge.
-
Weigh the Refrigerant: Use a digital scale to accurately measure the amount of refrigerant added to the system. This will help you ensure you have added the correct amount.
-
Check for Leaks: Once the system is charged, carefully inspect all connections and fittings for any signs of leaks. Use a leak detector or soapy water solution to identify any potential issues.
-
Adjust the Charge as Needed: If the system is undercharged or overcharged, you may need to adjust the refrigerant charge accordingly. Refer to the manufacturer’s guidelines for the appropriate steps.
Finalizing the Charging Process
After the system has been charged, there are a few additional steps to ensure the mini split is functioning properly:
-
Verify System Performance: Turn on the mini split system and observe its operation. Check for proper airflow, temperature, and any unusual noises or vibrations.
-
Document the Charging Process: Record the details of the charging process, including the amount of refrigerant added, the system pressures, and any other relevant information. This will be helpful for future maintenance and troubleshooting.
-
Dispose of Refrigerant Properly: If you need to remove any refrigerant from the system, ensure it is disposed of in an environmentally responsible manner, in accordance with local regulations.
By following these detailed steps, you can confidently charge an empty mini split system and ensure its optimal performance. Remember to always prioritize safety, follow the manufacturer’s instructions, and seek professional assistance if you have any doubts or concerns.

