
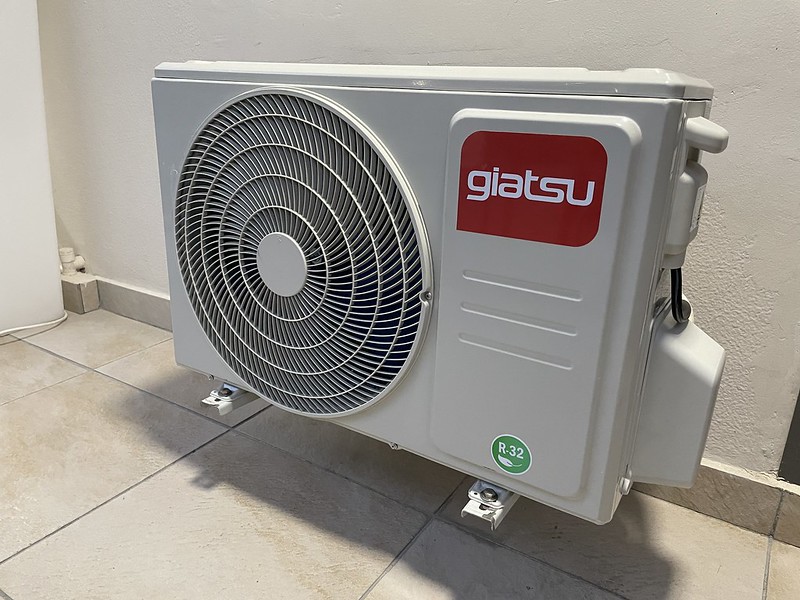
When it comes to maintaining and repairing a mini split system, one of the most critical tasks is properly charging the system with refrigerant. This process requires the use of specialized tools, such as a set of gauges, to ensure that the right amount of refrigerant is added to the system. In this comprehensive guide, we’ll dive deep into the technical details and step-by-step instructions on how to charge a mini split with gauges.
Preparing the System for Charging
Before you can begin the charging process, it’s essential to properly prepare the system. This includes:
- Vacuuming the System: Use a high-quality vacuum pump to remove any air and moisture from the system. This is crucial to ensure the system’s performance and efficiency.
- Checking for Leaks: Carefully inspect the system for any signs of refrigerant leaks. If leaks are detected, they must be repaired before proceeding with the charging process.
- Disconnecting the Vacuum Pump: Once the system has been evacuated, disconnect the vacuum pump and connect the refrigerant tank to the yellow service line.
- Purging the Yellow Service Line: Crack the gauge end of the service line to purge any air out of the yellow service line. This step ensures that there are no air pockets in the system.
Measuring and Adding Refrigerant
The next step in the charging process is to measure and add the correct amount of refrigerant to the system. This involves the following steps:
- Connecting the Refrigerant Tank: Connect the refrigerant tank to the system while the tank is in an upright position. Open the valve on the refrigerant tank.
- Weighing the Refrigerant: Flip the refrigerant tank upside down onto a digital scale to weigh the amount of refrigerant being added. This ensures that you add the exact amount of refrigerant required for your system.
- Measuring Superheat: Use a temperature probe to measure the superheat of the system. This measurement is crucial to ensure that you’re adding the right amount of refrigerant and that the system is operating at the correct temperature and pressure.
- Slowly Adding Refrigerant: Slowly open the blue valve on the gauge set to allow the refrigerant to flow into the system. Keep a close eye on the weight of the refrigerant tank to ensure that you add the correct amount.
- Closing the Valve: Once you’ve added the right amount of refrigerant, close the blue valve on the gauge set.
Key Specifications and Considerations
When charging a mini split with gauges, there are several key specifications and considerations to keep in mind:
- Refrigerant Charge Amount: The amount of refrigerant required for your system is typically specified on the machine or in the installation manual. For example, a typical LG mini split system requires 6.17 pounds of R410a refrigerant.
- Line Set Length: If your line set is longer than 98 feet, you may need to add additional refrigerant to the system.
- Pressure Requirements: The required pressure for the system is also typically specified on the machine or in the installation manual. Ensuring that the system is operating at the correct pressure is essential for optimal performance and efficiency.
- Calibration of Tools: It’s crucial to ensure that all of your tools, including the temperature probe, digital scale, and micron gauge, are properly calibrated to ensure accurate readings.
Safety Considerations
When charging a mini split with gauges, it’s essential to follow all safety guidelines and manufacturer recommendations. This includes:
- Wearing Protective Gear: Always wear gloves and safety glasses when handling refrigerant and working with the system.
- Avoiding Direct Contact: Avoid touching the refrigerant tank or hoses with your bare hands.
- Consulting a Professional: If you’re unsure about any part of the process, it’s best to consult a qualified HVAC technician.
By following these detailed instructions and adhering to the critical technical specifications, you can successfully charge your mini split with gauges and ensure optimal system performance and efficiency.