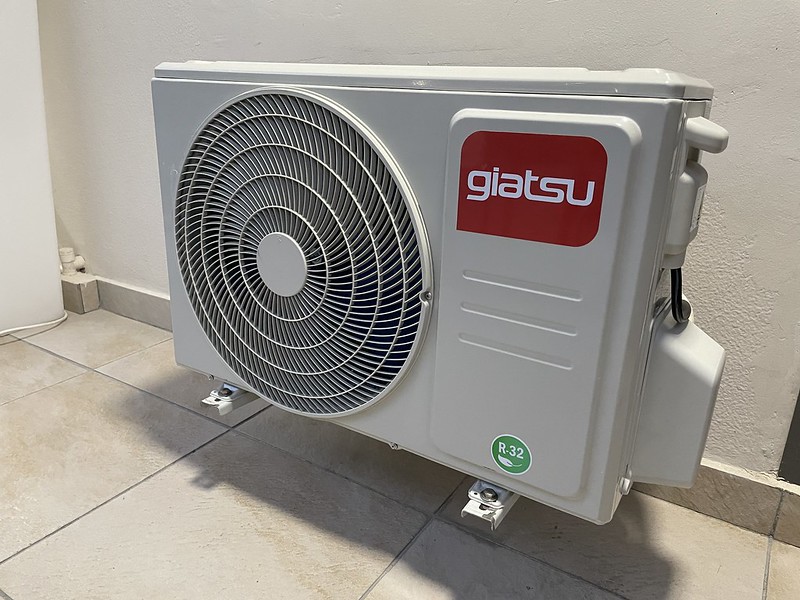
Changing the fan in a mini split system can be a complex task, but with the right tools and knowledge, it can be a manageable DIY project. This comprehensive guide will walk you through the step-by-step process of replacing a fan in a mini split system, providing detailed technical information and expert-level insights to ensure a successful outcome.
Preparing for the Fan Replacement
Before you begin the fan replacement process, it’s crucial to ensure that you have the necessary tools and equipment on hand. This includes:
- Screwdrivers: You’ll need a variety of screwdrivers, including flathead and Phillips head, to remove the indoor unit’s cover and access the fan.
- Wire cutters/strippers: These tools will be necessary for disconnecting and reconnecting the electrical wiring.
- Multimeter: A multimeter is essential for testing the electrical components and ensuring proper wiring connections.
- Replacement fan: Ensure that you have the correct replacement fan for your specific mini split system model. Measure the dimensions of the existing fan to ensure a proper fit.
- Gloves and safety glasses: Wear protective gear to prevent injuries during the installation process.
Shutting Off Power and Accessing the Fan
- Turn off power: Locate the circuit breaker that controls the power to your mini split system and turn it off. This is a crucial safety step to prevent electrical shocks.
- Remove the indoor unit cover: Carefully remove the screws or clips that secure the indoor unit’s cover, and gently lift the cover off. This will expose the internal components, including the fan.
- Identify the fan location: Locate the fan, which is typically situated near the bottom of the indoor unit. Familiarize yourself with its position and orientation to ensure a smooth replacement process.
Disconnecting the Old Fan
- Disconnect the electrical connectors: Carefully disconnect the electrical connectors attached to the fan. Make note of the wire colors and their respective positions to ensure proper reconnection later.
- Remove the fan mounting screws: Locate and remove the screws or bolts that secure the fan in place. This may require the use of a wrench or socket set.
- Carefully remove the old fan: Gently lift the old fan out of the indoor unit, taking care not to damage any surrounding components.
Installing the New Fan
- Prepare the new fan: Ensure that the new fan matches the dimensions and mounting requirements of the old one. Transfer any necessary mounting brackets or screws from the old fan to the new one.
- Position the new fan: Carefully place the new fan in the same location as the old one, aligning it with the mounting holes.
- Secure the new fan: Use the appropriate screws or bolts to securely fasten the new fan in place, ensuring a tight and stable fit.
- Reconnect the electrical connectors: Carefully reconnect the electrical connectors to the new fan, matching the wire colors and positions to the original configuration.
Finalizing the Installation
- Reinstall the indoor unit cover: Carefully replace the indoor unit’s cover, ensuring that all screws or clips are properly secured.
- Turn on power: Restore power to the mini split system by turning the circuit breaker back on.
- Test the new fan: Turn on the mini split system and observe the operation of the new fan. Ensure that it is running smoothly and without any unusual noises or vibrations.
Troubleshooting and Maintenance
If you encounter any issues during the fan replacement process or notice any problems with the new fan’s operation, consider the following troubleshooting steps:
- Check electrical connections: Verify that all electrical connectors are properly secured and that the wiring is intact.
- Inspect for obstructions: Ensure that there are no physical obstructions or debris interfering with the fan’s rotation.
- Monitor for unusual sounds or vibrations: Listen for any unusual noises or excessive vibrations, which may indicate a problem with the fan’s balance or bearings.
- Consult the manufacturer’s instructions: Refer to the mini split system’s manufacturer’s instructions for any specific troubleshooting or maintenance recommendations.
Remember, if you are not comfortable performing this task or encounter any issues that you are unsure how to address, it is recommended to consult a professional HVAC technician for assistance.
Conclusion
Changing the fan in a mini split system can be a challenging task, but with the right tools, knowledge, and attention to detail, it can be a manageable DIY project. By following the step-by-step instructions and technical guidance provided in this comprehensive guide, you can successfully replace the fan in your mini split system and ensure its continued efficient operation.

