Troubleshooting a Fujitsu inverter air conditioner can be a daunting task, but with the right knowledge and tools, you can effectively diagnose and resolve the issue. This comprehensive guide will walk you through the step-by-step process of checking Fujitsu inverter error codes, helping you identify the problem and find the appropriate solution.
Identifying the Error Code
The first step in troubleshooting a Fujitsu inverter air conditioner is to identify the error code displayed on the unit’s LED screen. This error code will provide valuable information about the nature of the problem, allowing you to narrow down the potential causes and determine the appropriate course of action.
To identify the error code, closely examine the LED display on the indoor or outdoor unit. The error code will typically be a two-digit or three-digit number, such as “62” or “F07.” Make a note of the specific error code, as this information will be crucial in the next step.
Consulting the Service Manual
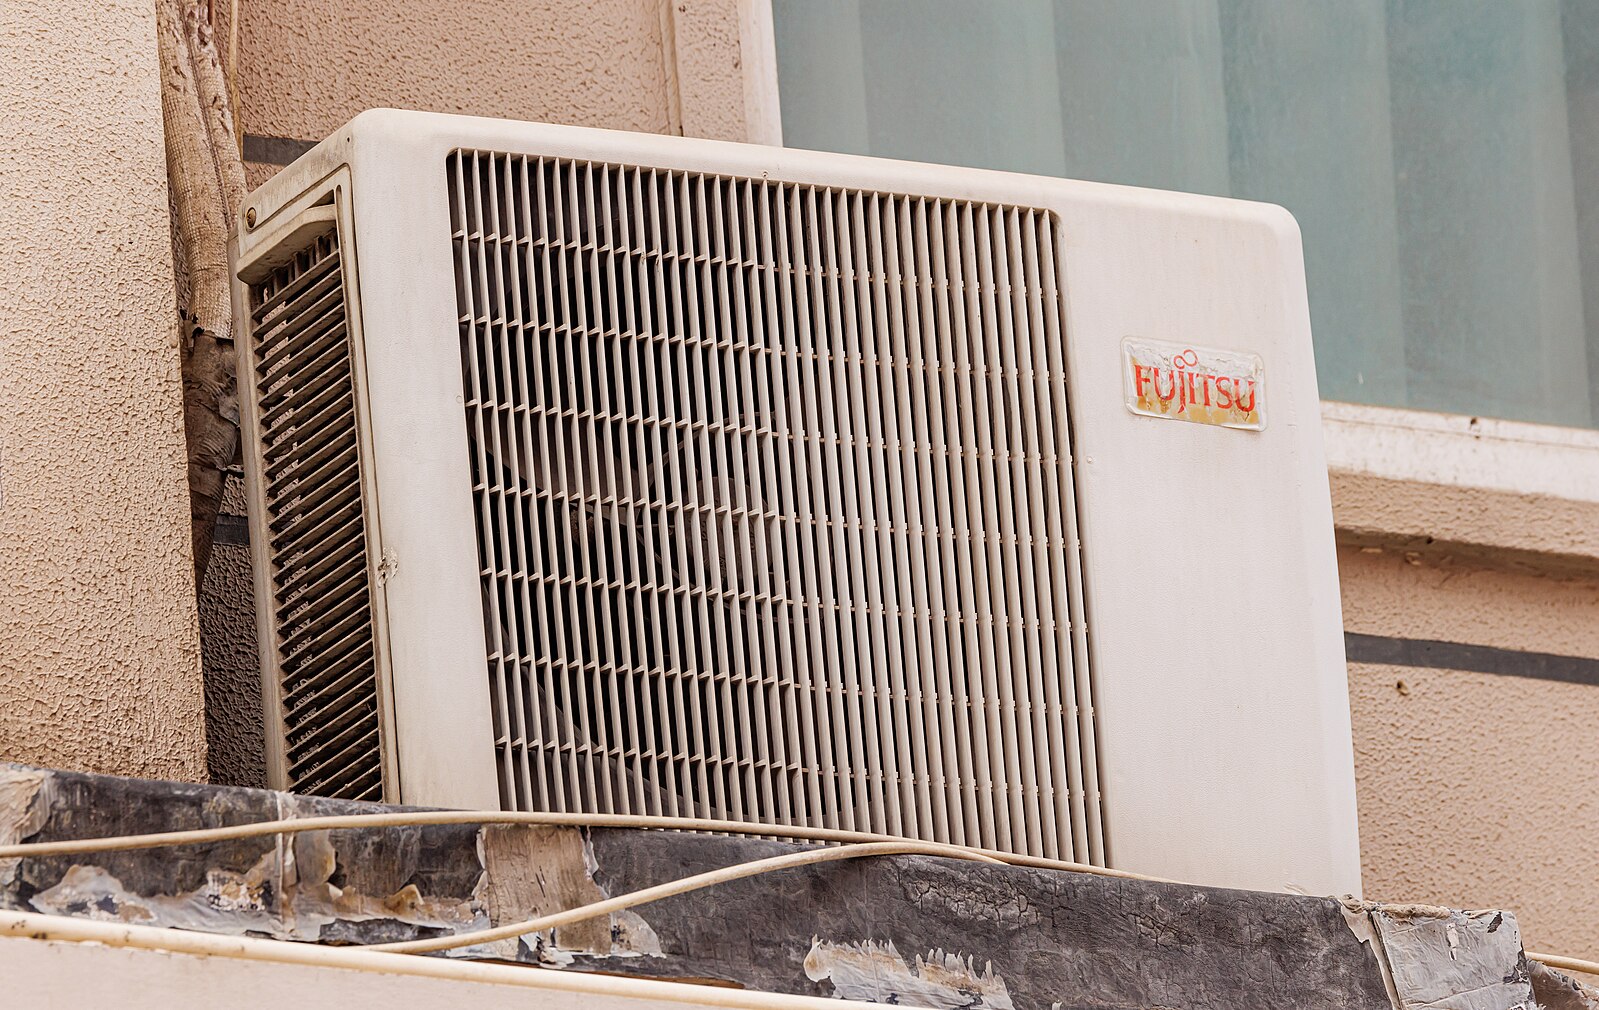
 Image source: Fujitsu AC by Raysonho
Once you have identified the error code, the next step is to consult the Fujitsu General B2B Service Instruction manual. This comprehensive manual provides detailed troubleshooting steps for each error code, including potential causes and recommended solutions.
The service manual can be accessed online through the Fujitsu General Global website or by contacting your local Fujitsu service center. It is essential to have the model number of your Fujitsu inverter air conditioner handy, as the troubleshooting steps may vary depending on the specific model.
Checking the Control Unit Connections
Depending on the error code, you may need to check the connections in the control unit. For example, if the error code is “62,” which indicates a compressor location detection error, you will need to inspect the connections in the control unit.
To check the control unit connections, follow these steps:
- Disconnect the power supply to the air conditioner.
- Locate the control unit, which is typically located inside the indoor or outdoor unit.
- Carefully remove the control unit cover and inspect the connections for any signs of damage, loose wiring, or corrosion.
- If any issues are found, carefully reconnect the wiring or replace the damaged components as necessary.
- Reassemble the control unit and restore power to the air conditioner.
Checking the Inverter PCB to Compressor Connection
If the problem persists after checking the control unit connections, you may need to inspect the connection between the inverter PCB and the inverter compressor.
To check the inverter PCB to compressor connection:
- Disconnect the power supply to the air conditioner.
- Locate the inverter PCB, which is typically located in the outdoor unit.
- Carefully remove the inverter PCB cover and inspect the connection between the PCB and the inverter compressor.
- Check for any signs of damage, loose wiring, or disconnection.
- If the connection is not normal, replace the inverter PCB.
- Reassemble the inverter PCB and restore power to the air conditioner.
Checking the Inverter Compressor
If replacing the inverter PCB does not solve the problem, you may need to check the inverter compressor itself.
To check the inverter compressor:
- Disconnect the power supply to the air conditioner.
- Locate the inverter compressor, which is typically located in the outdoor unit.
- Carefully remove the compressor and inspect it for any signs of damage, such as burnt windings or a seized rotor.
- If the inverter compressor is defective, replace it with a new one.
- Reassemble the compressor and restore power to the air conditioner.
Checking the Outdoor Unit Fan Motor
If the problem is still not resolved, you may need to check the outdoor unit fan motor.
To check the outdoor unit fan motor:
- Disconnect the power supply to the air conditioner.
- Locate the outdoor unit fan motor, which is typically located in the outdoor unit.
- Carefully remove the fan motor and inspect it for any signs of damage, such as a seized bearing or a broken winding.
- If the fan motor is defective, replace it with a new one.
- Reassemble the fan motor and restore power to the air conditioner.
Checking the Outdoor Unit Main PCB
If none of the above solutions work, the final step is to check the outdoor unit main PCB.
To check the outdoor unit main PCB:
- Disconnect the power supply to the air conditioner.
- Locate the outdoor unit main PCB, which is typically located in the outdoor unit.
- Carefully remove the PCB cover and inspect the board for any signs of damage, such as burnt components or cracked traces.
- If the outdoor unit main PCB is defective, replace it with a new one.
- Reassemble the PCB and restore power to the air conditioner.
Remember, some error codes may require more advanced troubleshooting steps, such as checking the wiring and connector disconnection, open, or motor winding resistance. It is essential to consult the service manual for detailed instructions on how to handle these more complex issues.
If you are still having trouble diagnosing and resolving the problem, it is recommended to seek the assistance of a professional HVAC technician. They have the necessary tools, expertise, and experience to effectively troubleshoot and repair Fujitsu inverter air conditioners.
References:
– Fujitsu General B2B Service Instruction Manual
– Fujitsu General Global Error Code Support
– Whirlpool Forums – Fujitsu Inverter Error Codes
